News
·
Koi
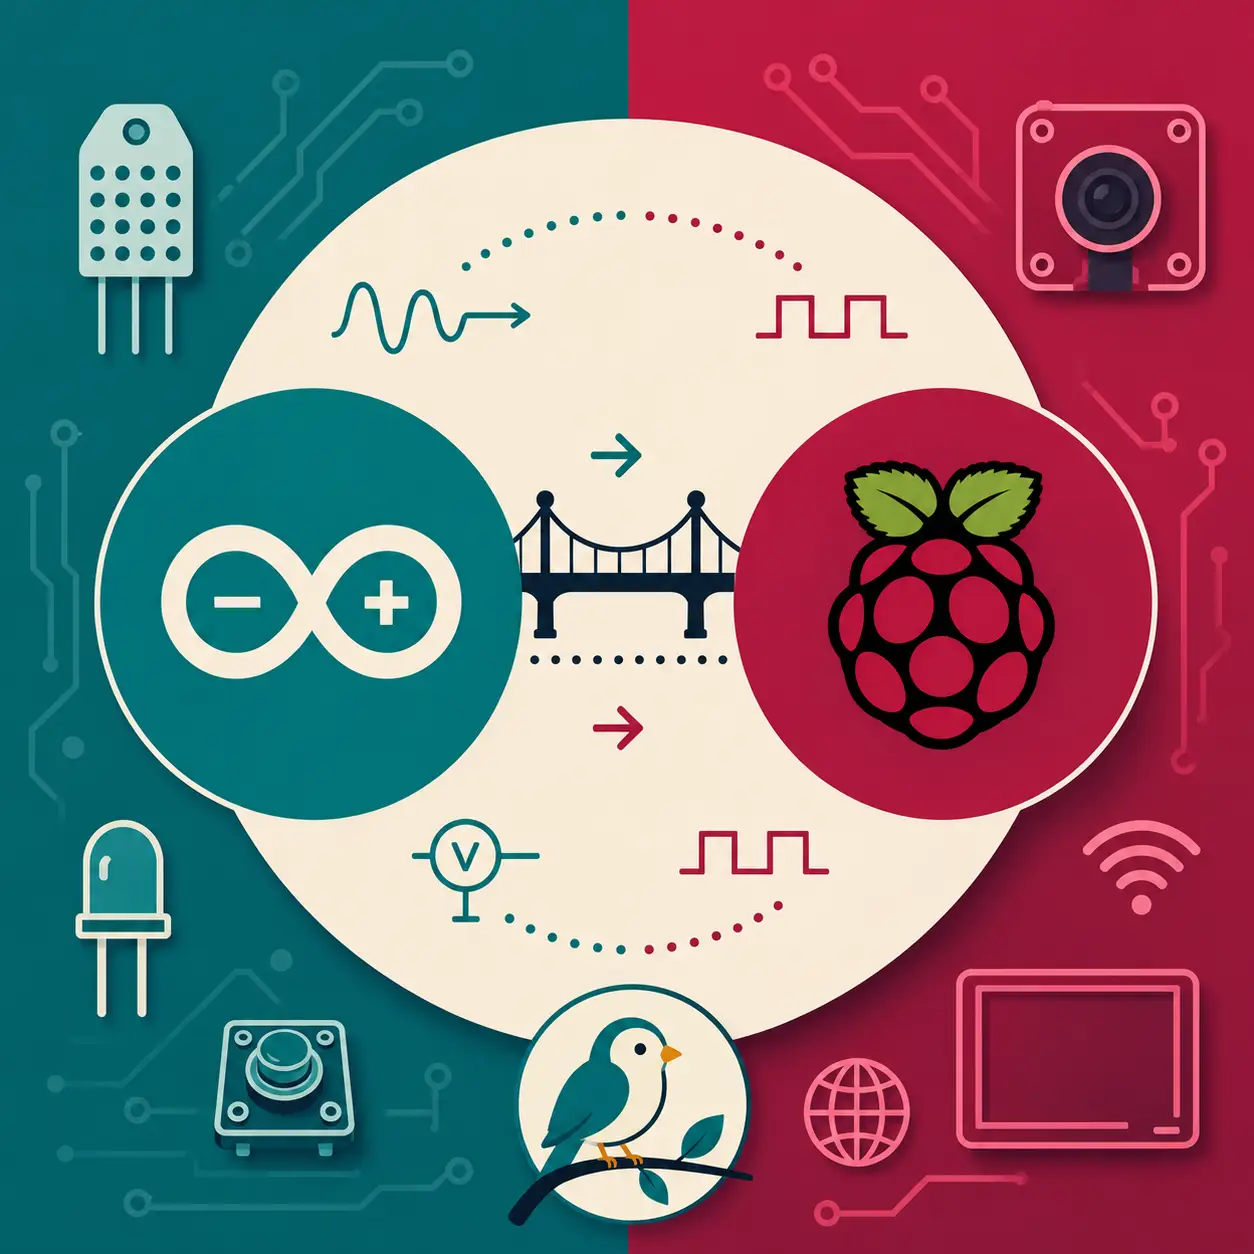
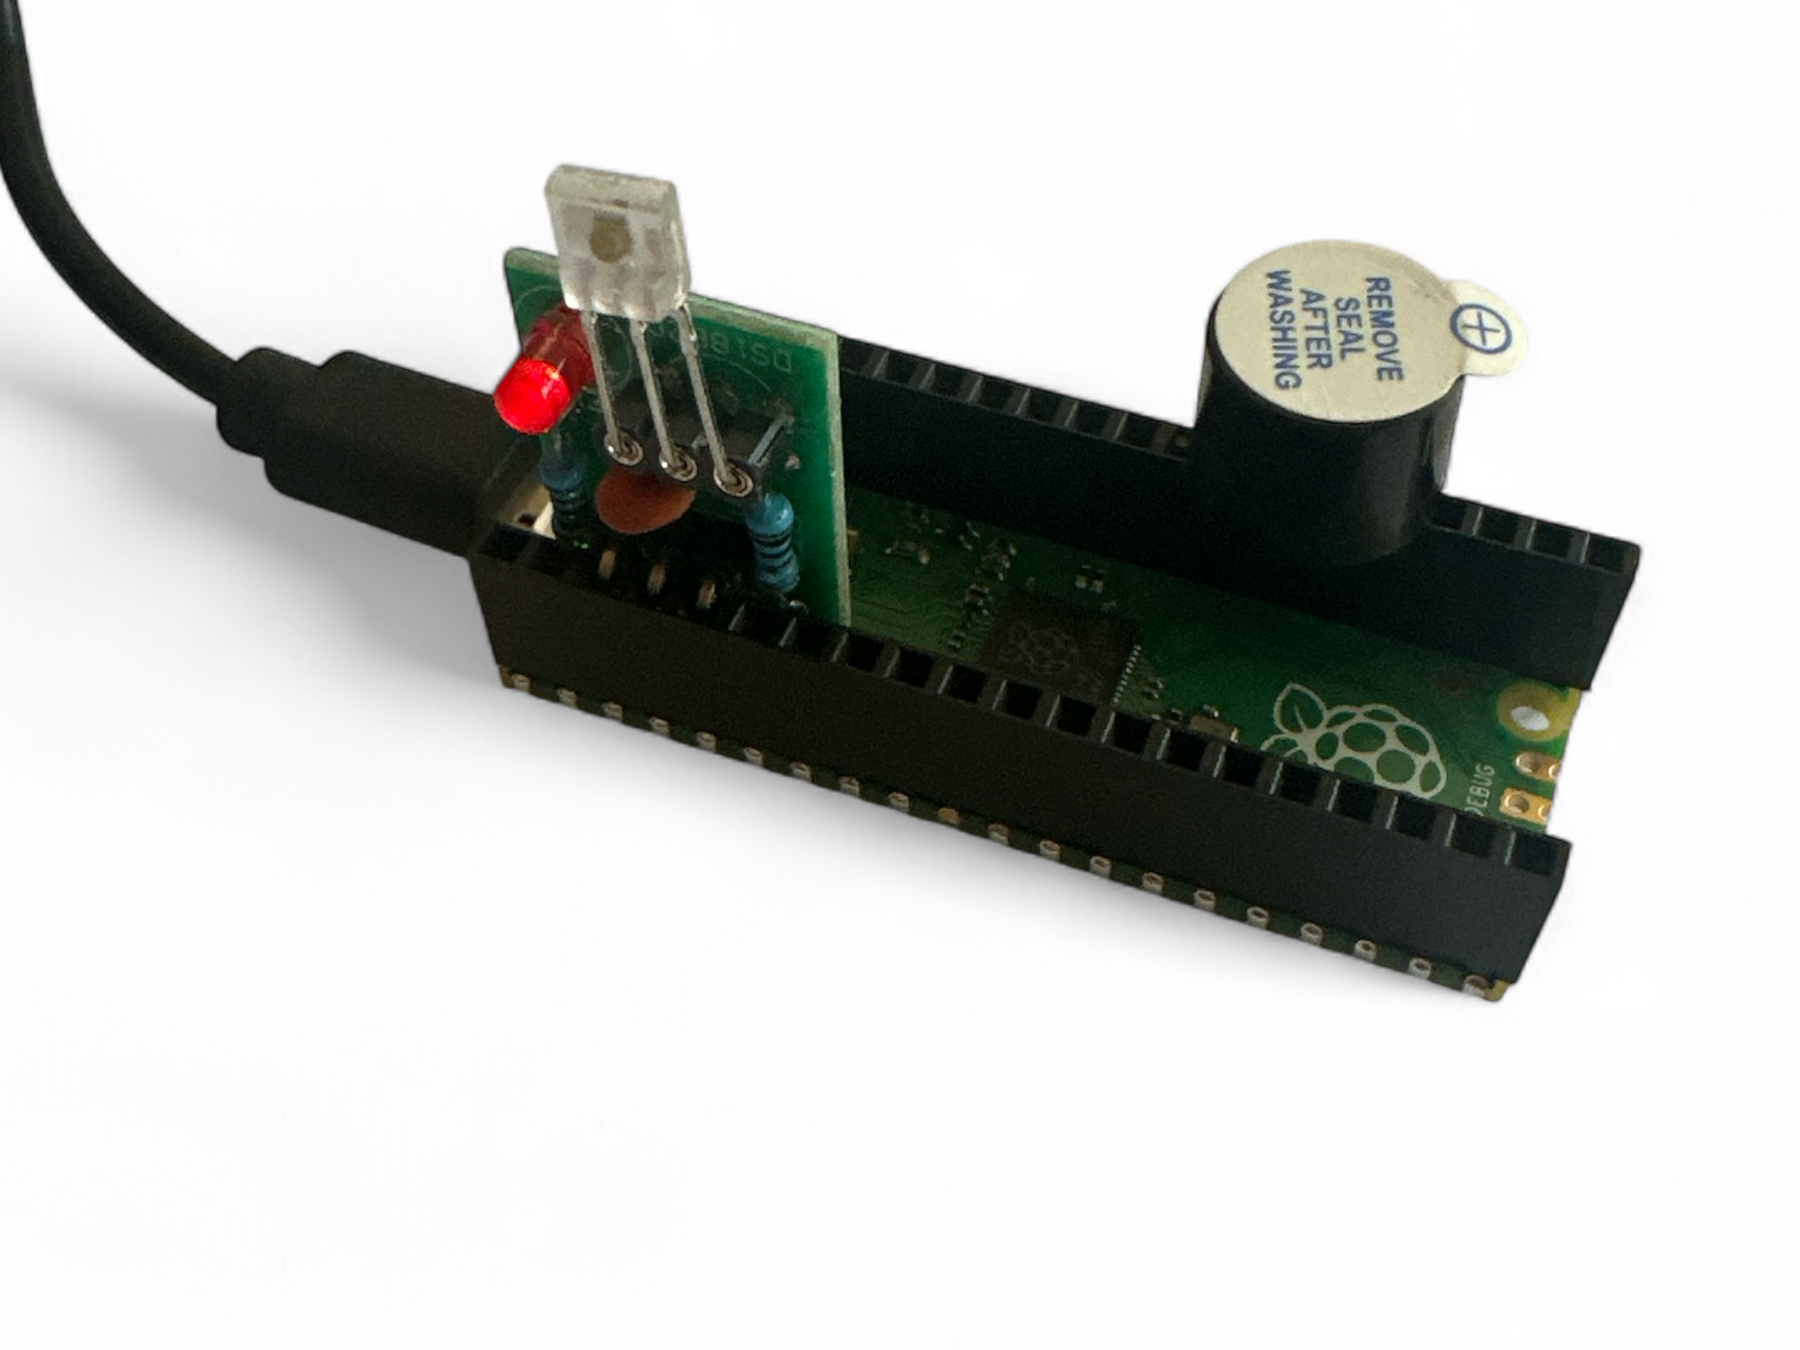
What works with Arduino vs Raspberry Pi (and how to bridge the two)
New to Arduino and still working out what's Arduino-specific versus Raspberry Pi? Most parts work with both — the real differences come down to analog inputs (ADCs) and logic voltage. Here's how to tell what works with what, and the two cheap parts that bridge the gap.
·
Maddy
We Built Little Bird a New Home — and It Was Made Just for You
For more than a decade, our store ran on Shopify. It served us well, and we're grateful for it. But Little Bird has never been a normal online shop. We're part shop, part workshop, part classroom —...

·
Koi
Why a 27 Watt Power Supply Matters for Raspberry Pi 5
Using a proper 27 watt USB-C power supply helps the Raspberry Pi 5 run reliably under load, avoid throttling, and support power-hungry peripherals without random resets or unstable behaviour.
·
Madeleine Schappi
Electronics at Scouts
🔧 Scouts Electronics Adventures This week at Scouts, we’ll be diving into the exciting world of electronics! From soldering a LAMP kit to coding with a Raspberry Pi Pico to make a Trip Wire, you’l...
·
Madeleine Schappi
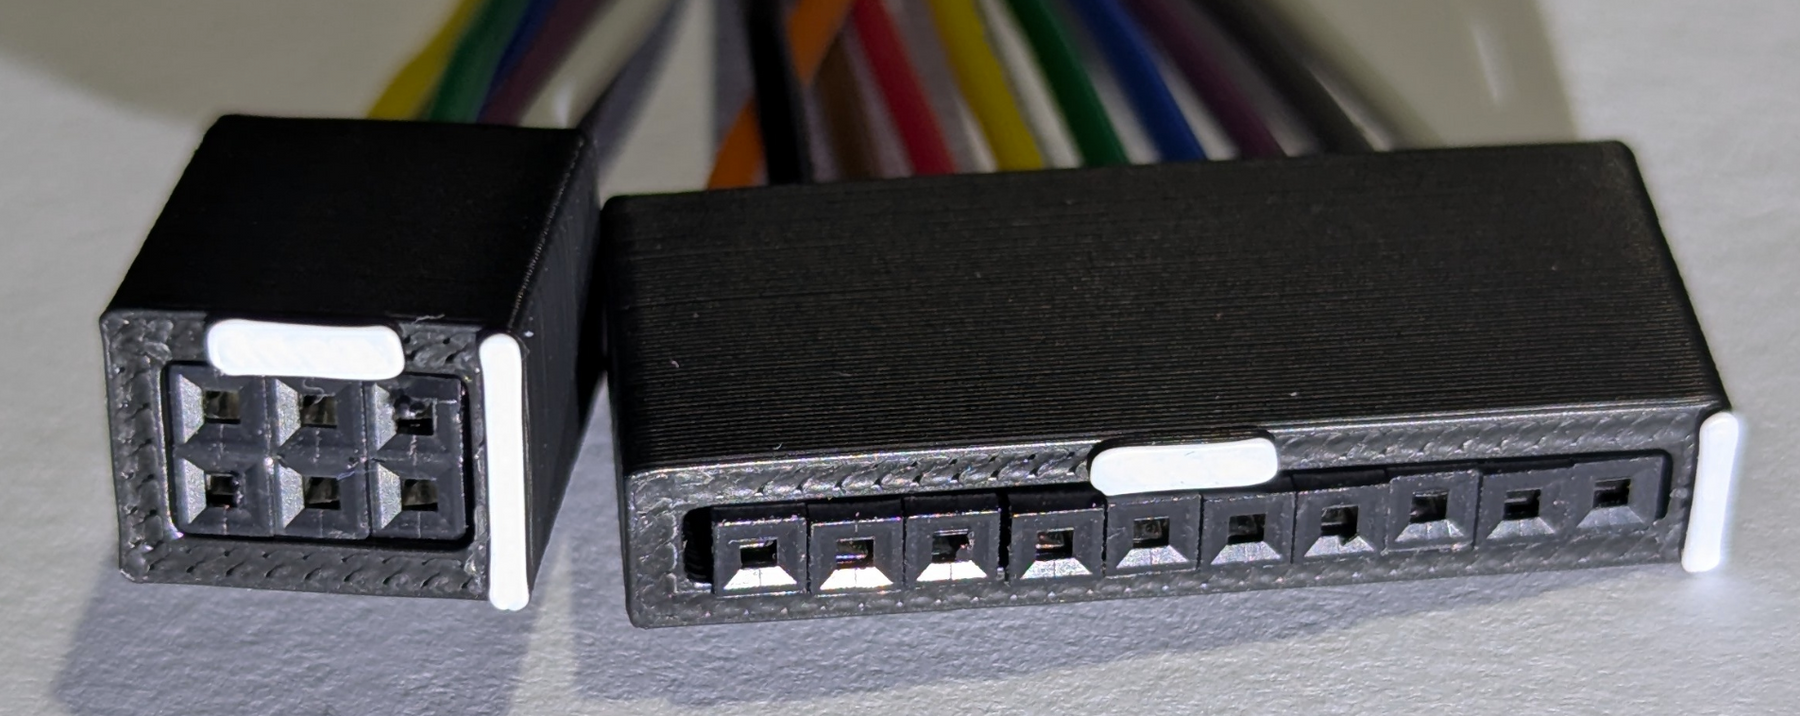
Keeping Jumper Wires in Place: A Clever 3D Printed Holder
Anyone who has worked with microcontroller boards and breakout modules knows the pain of loose jumper wires. Whether connecting a device programmer to a board with a different in-circuit programming connector layout, or linking 0.1" header pins between boards, standard male/female jumper wires fr...
·
Madeleine Schappi
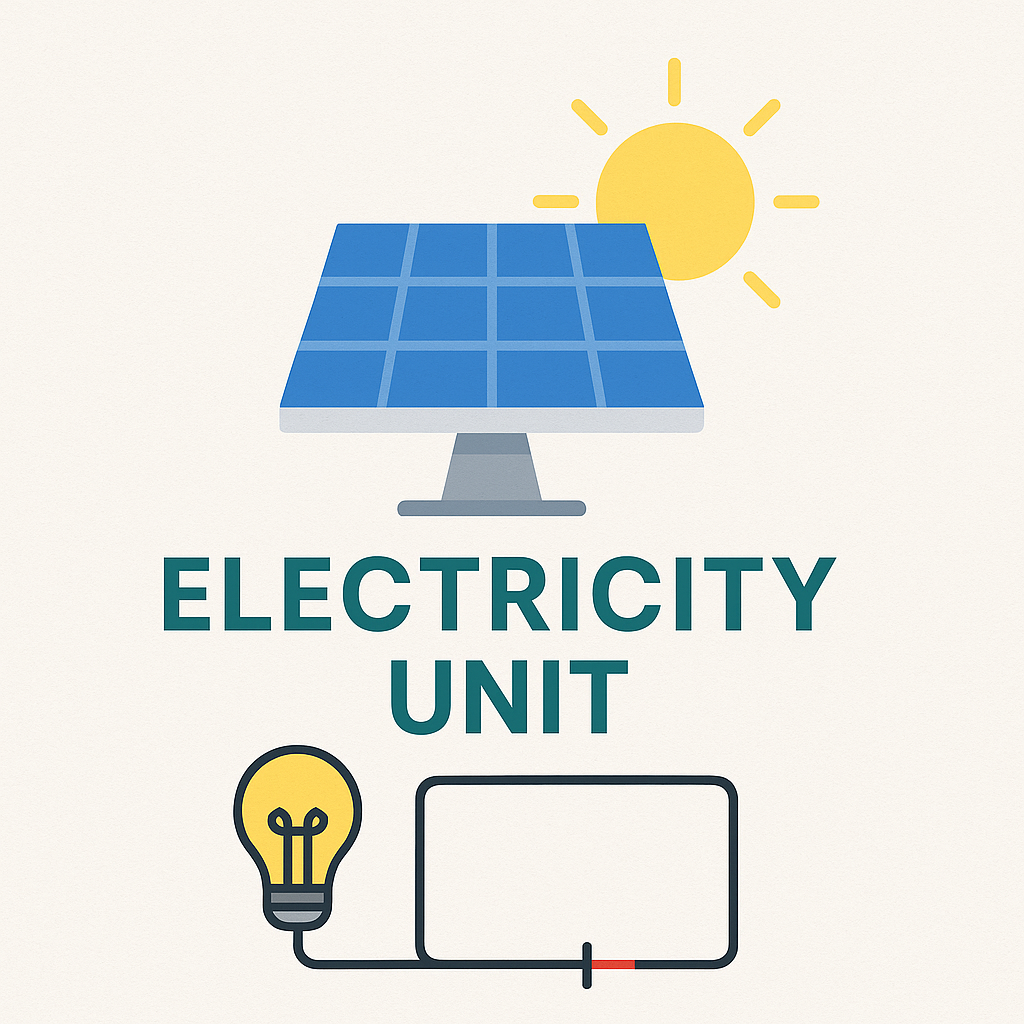
Electricity Unit with Stage 3 - yr 5 and 6
It's great that you're planning a hands-on Electricity Unit with your Year 5/6 students. Building a solar-powered house is a fantastic and engaging way to introduce renewable energy and basic circuits. Lets look at both in supplies and setup, with tips to make it age-appropriate and manageable.

·
Madeleine Schappi
"Whale of a Time": A School Fair Game Made with Micro:bit and Imagination
Inspired by a fun game at the Sydney Royal Easter Show, my daughter had a brilliant idea: let’s build a game for our school fair! Not just any game—one that lights up every time you score a hit by shooting a whale in the mouth!
·
Marcus Schappi
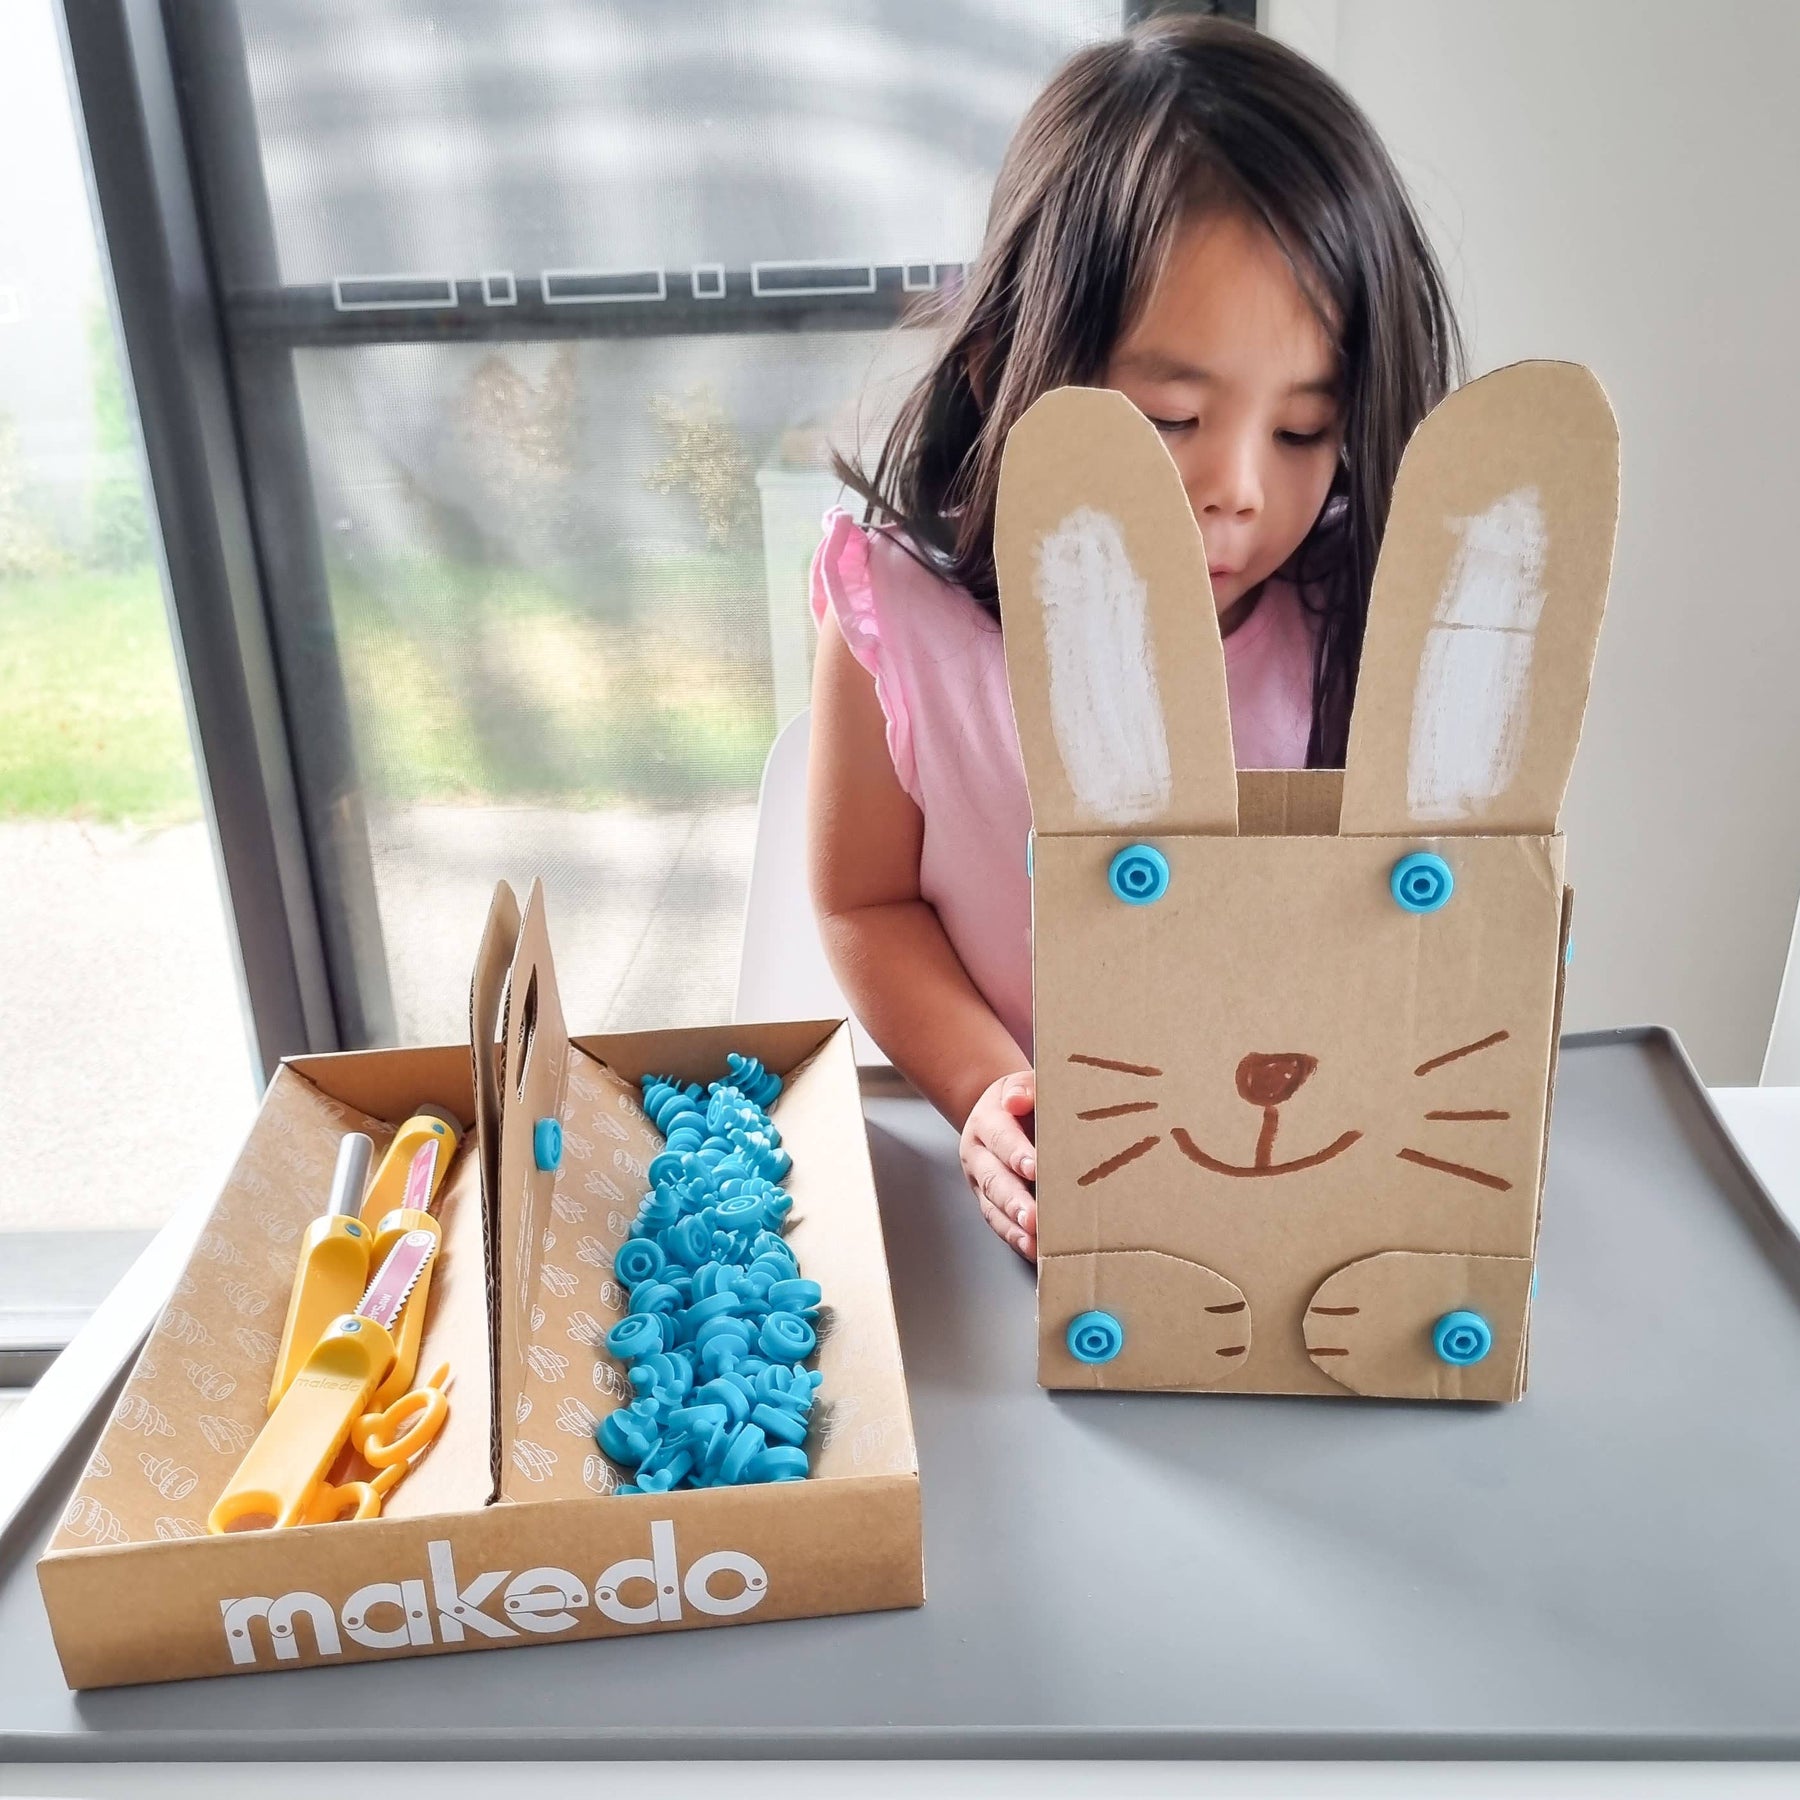
Easter Crafting with Makedo: Bunnies, Baskets, and Bonnets from Cardboard!
If you're looking for a fun and eco-friendly way to celebrate Easter, look no further than cardboard crafting with Makedo. Whether you're creating decorative bunnies, Easter baskets, or festive bonnets, Makedo's safe tools and reusable connectors let you build amazing 3D projects out of everyday ...
·
Madeleine Schappi
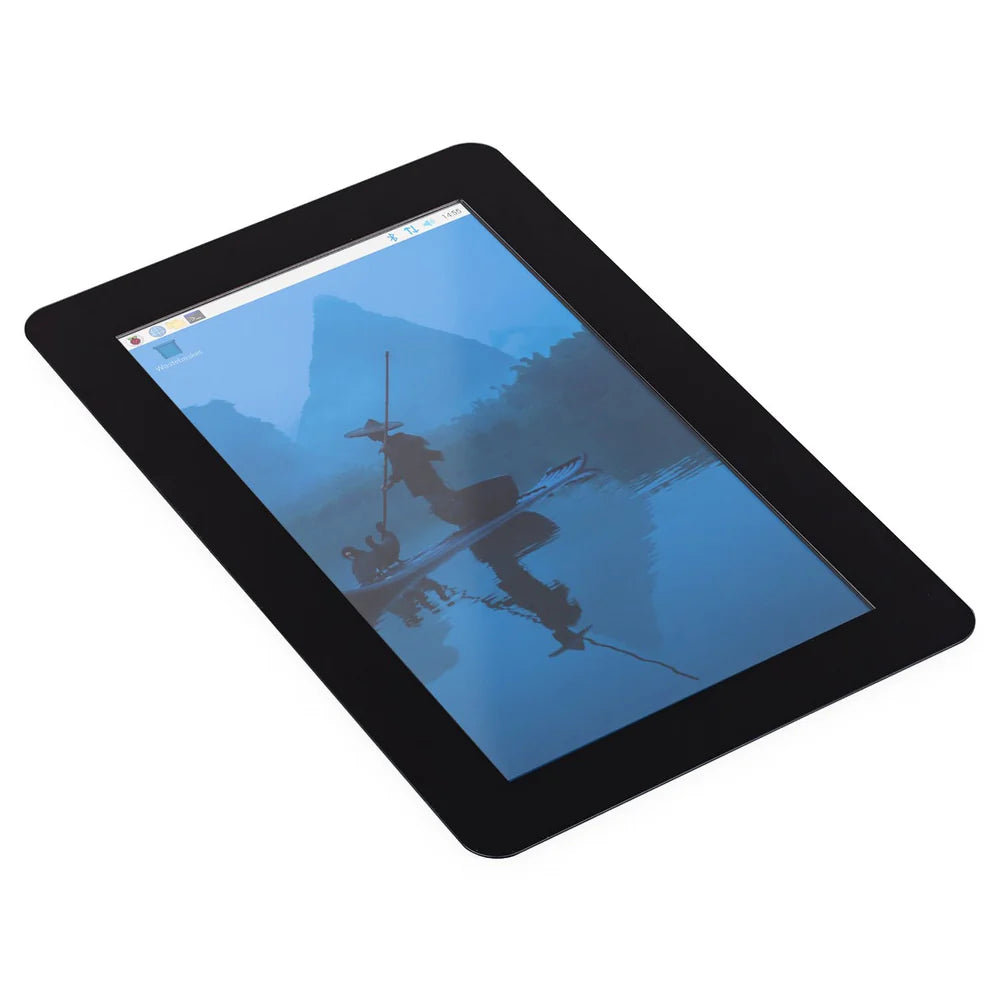
Introducing the Raspberry Pi Touch Display 2: A Higher Resolution, Slimmer Design
Way back in 2015, the original Raspberry Pi Touch Display, a 7″ 800×480-pixel LCD launched, it quickly became one of the bestsellers, finding its way into a wide array of maker projects and embedded applications. Today, we’re thrilled to announce the arrival of its successor, the Raspberry Pi Tou...
·
Madeleine Schappi
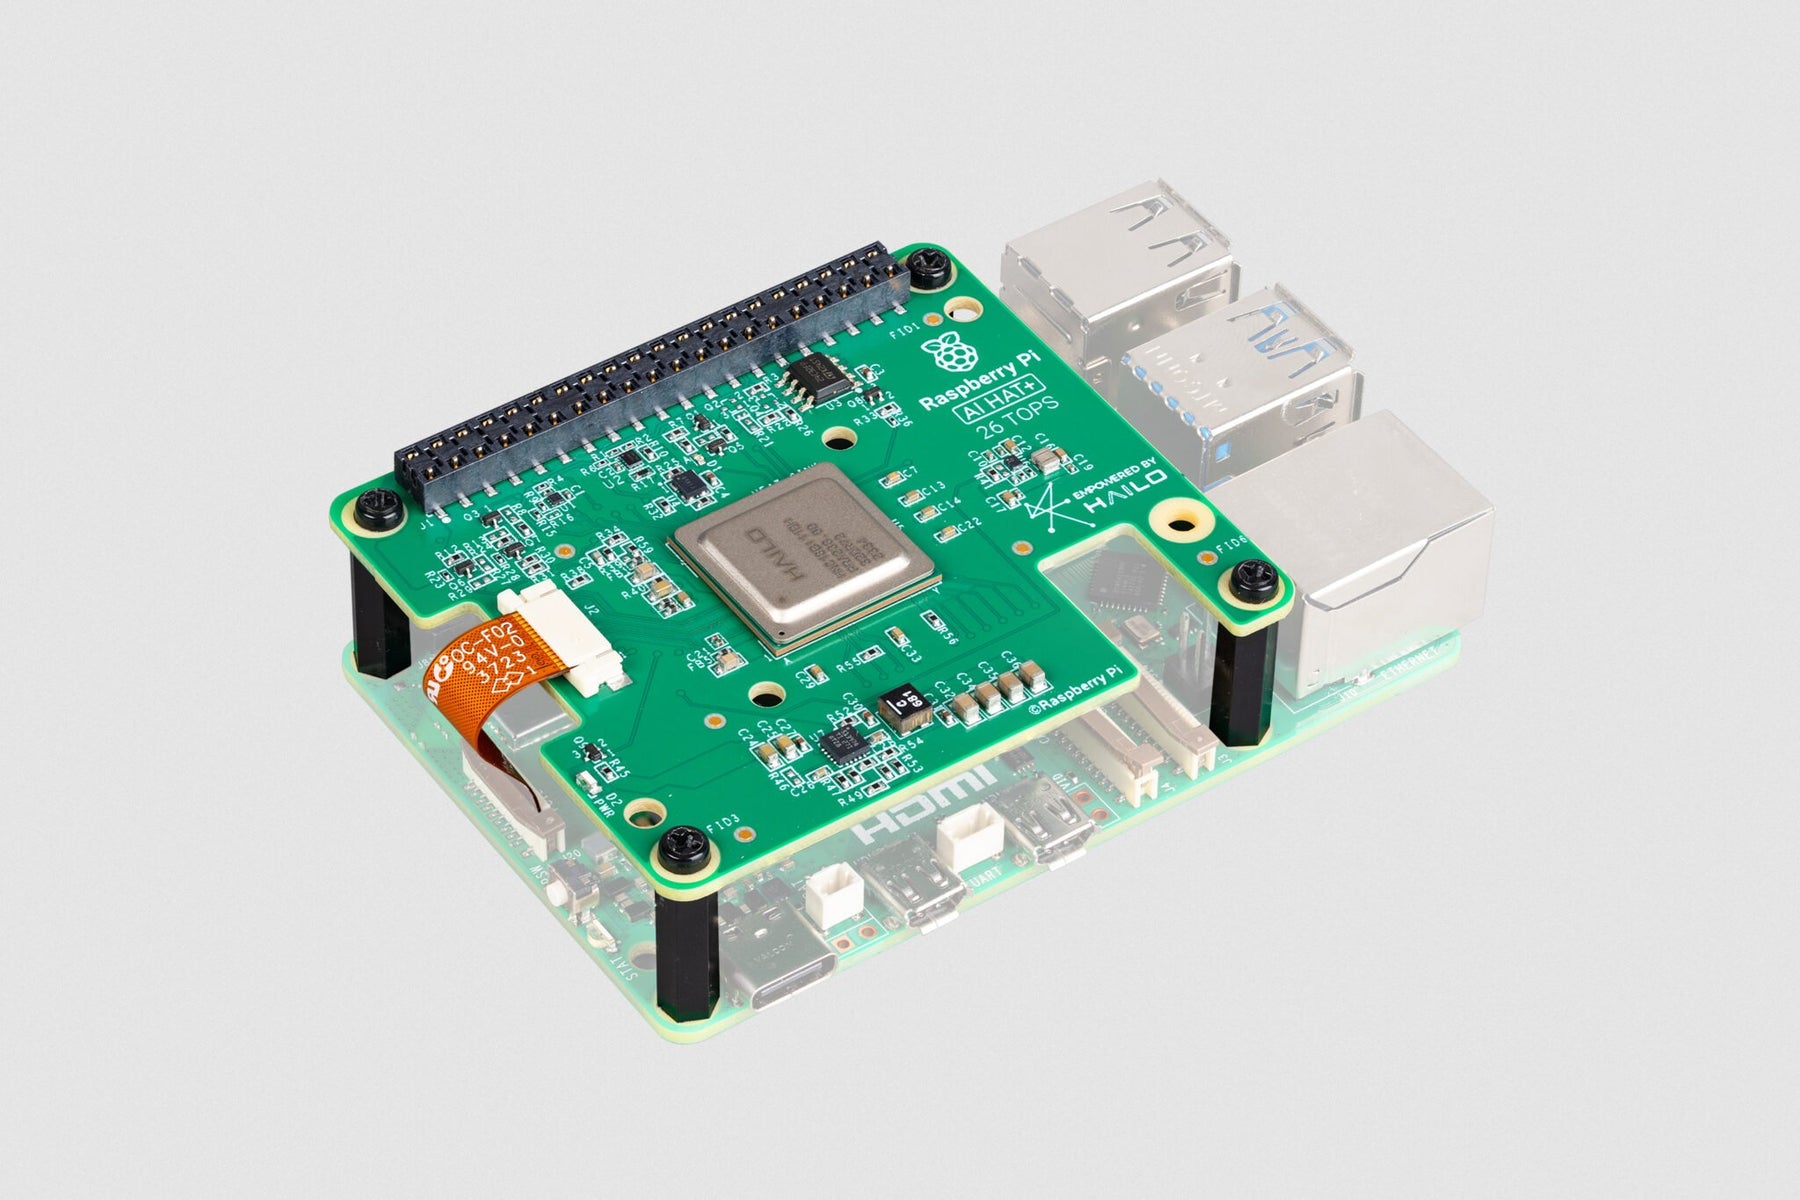
Introducing the Raspberry Pi AI HAT+
Following the successful launch of the Raspberry Pi AI Kit and AI Camera, we are thrilled to unveil the newest addition to our AI product line: the Raspberry Pi AI HAT+. Designed to enhance your AI projects, the AI HAT+ builds on our commitment to delivering cutting-edge technology at an accessib...

·
Madeleine Schappi
Main difference between an Active buzzer and a Passive buzzer
The main difference between an active buzzer and a passive buzzer lies in how they are controlled and generate sound:

·
Marcus Schappi
Why is a logic level converter necessary when connecting devices initially designed for an Arduino to a Raspberry Pi?
When connecting hardware that was initially designed for an Arduino to a Raspberry Pi, you might need a logic level converter due to differences in operating voltage levels between the two platforms. Here's why:
·
Cherie Tan
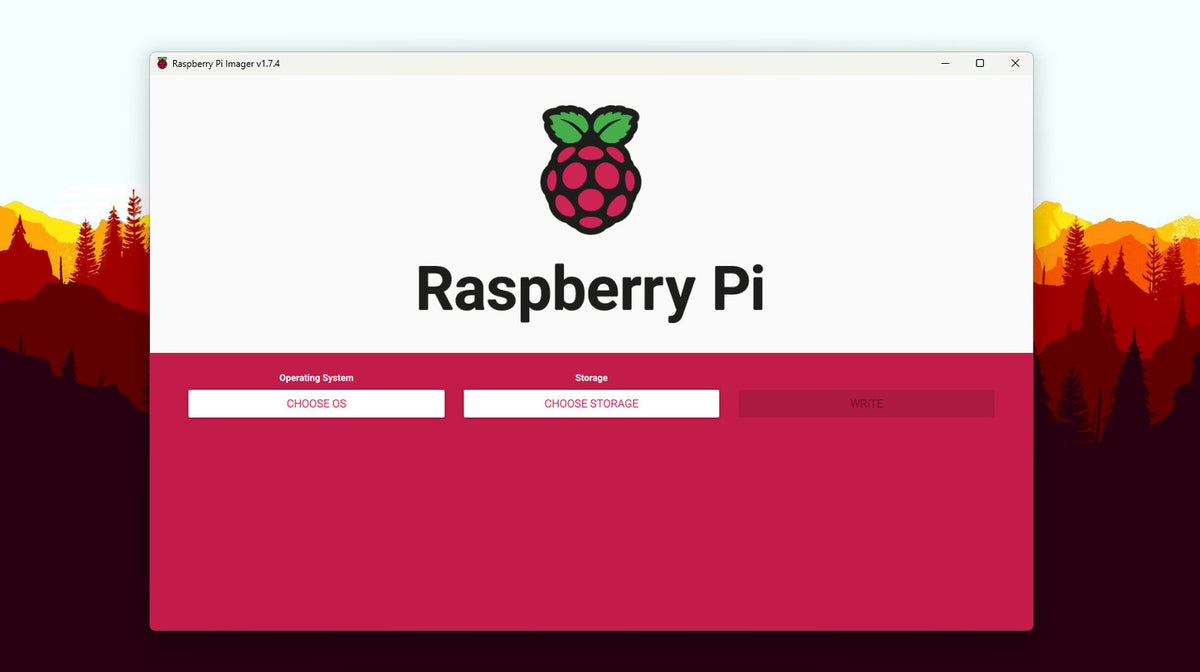
How to Install Raspberry Pi OS Using the Raspberry Pi Imager
The Raspberry Pi Imager is the official tool provided by Raspberry Pi for effortlessly installing an operating system on your Raspberry Pi single-board computer (SBC). Follow these simple steps to get Raspberry Pi OS up and running on your device:
·
Cherie Tan
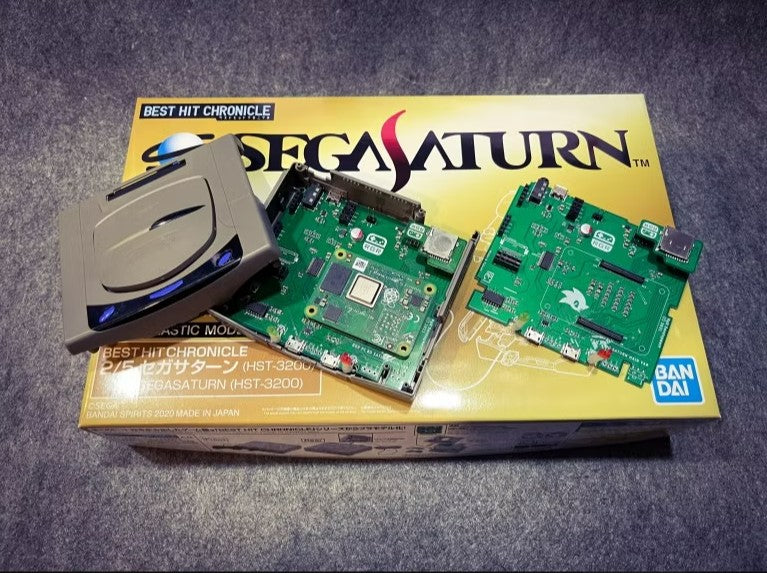
What’s the Raspberry Pi CM4 Sega Saturn?
Love classic games and nostalgic design? Retro Game Restore has created the perfect solution: the CM4 Sega Saturn. This custom-made circuit board fits snugly inside Bandai's Sega Saturn model kit, transforming it into a powerful retro gaming machine.
·
Cherie Tan
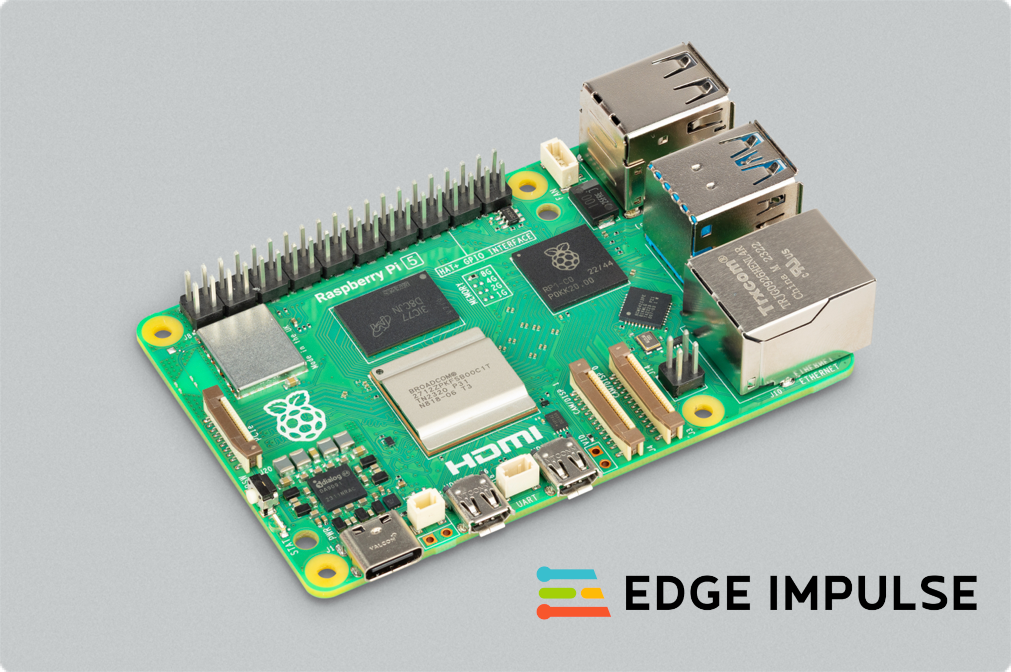
Unlocking Real-Time Object Recognition: Edge Impulse Image Tracker on Raspberry Pi 5
In today's technologically advancing world, the fusion of AI and embedded systems has birthed a remarkable concept known as TinyML. This amalgamation paves the way for sophisticated applications running on resource-constrained devices like the Raspberry Pi. Leveraging the power of Edge Impulse, a...

·
Marcus Schappi
How can I sleep a raspberry pi and wake it again with an interrupt?
To sleep and wake a Raspberry Pi using an interrupt, you would typically be looking into implementing a system where the Pi enters a low-power state and then is woken up by an external signal. However, it's important to note that Raspberry Pi models do not have a traditional "sleep" mode like lap...
·
Marcus Schappi
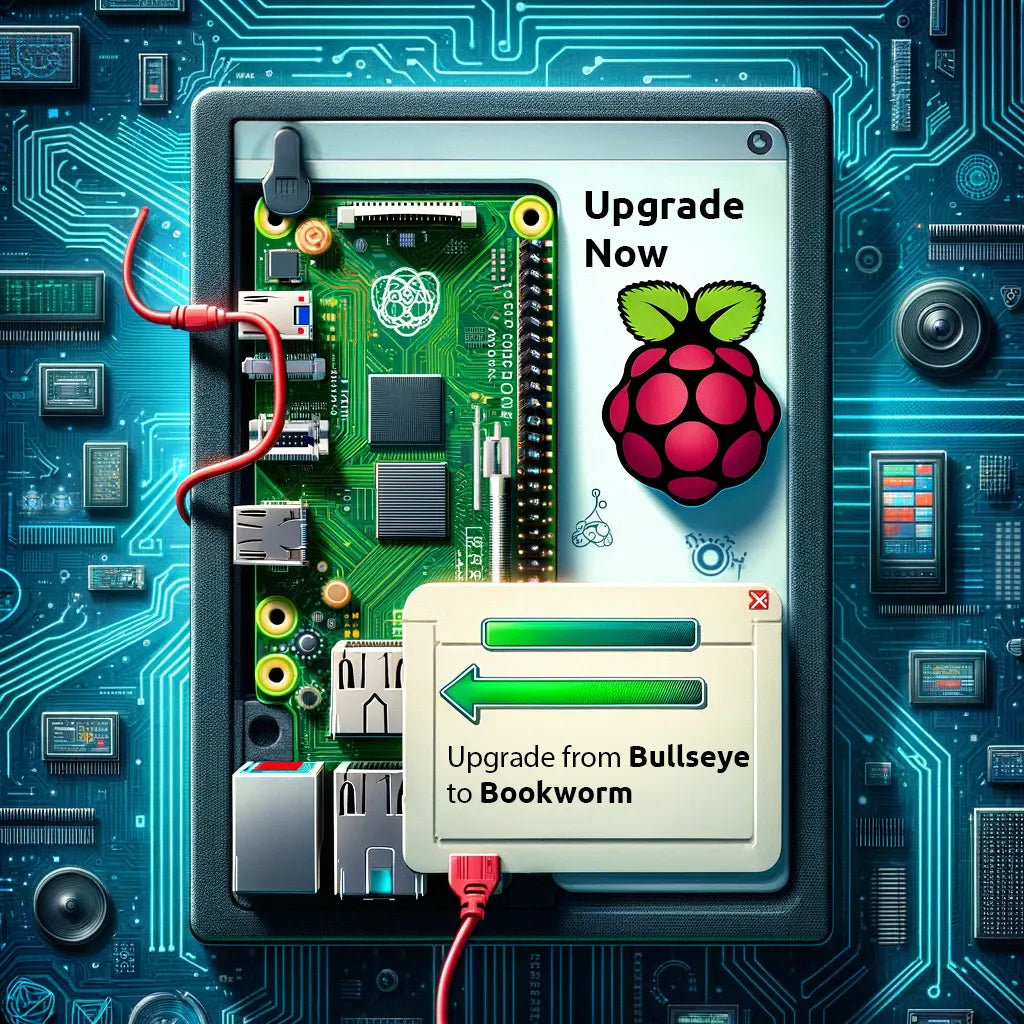
Upgrading from Bullseye to Bookworm on a Raspberry Pi
Upgrading from Bullseye to Bookworm on a Raspberry Pi involves a few steps. Here's a simplified outline based on the information provided:
