LED Video Wall Controller Set/Programmed for Adafruit LED Panels
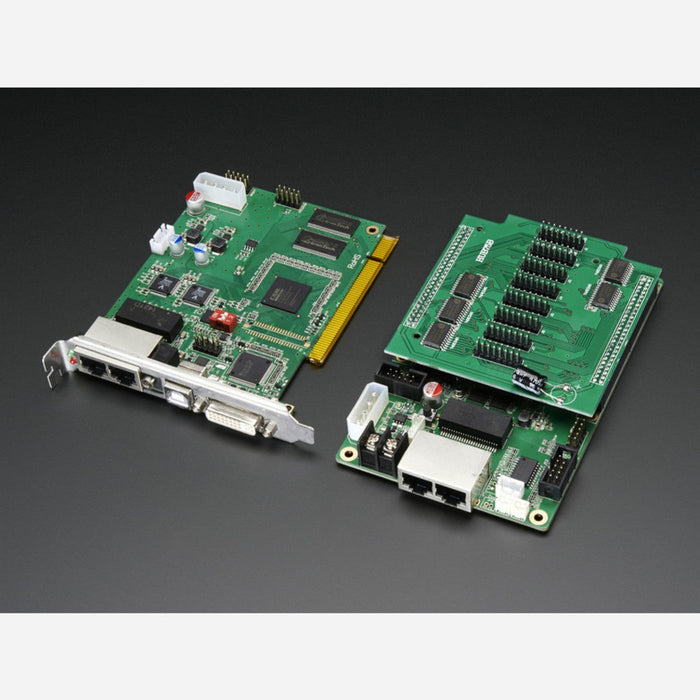
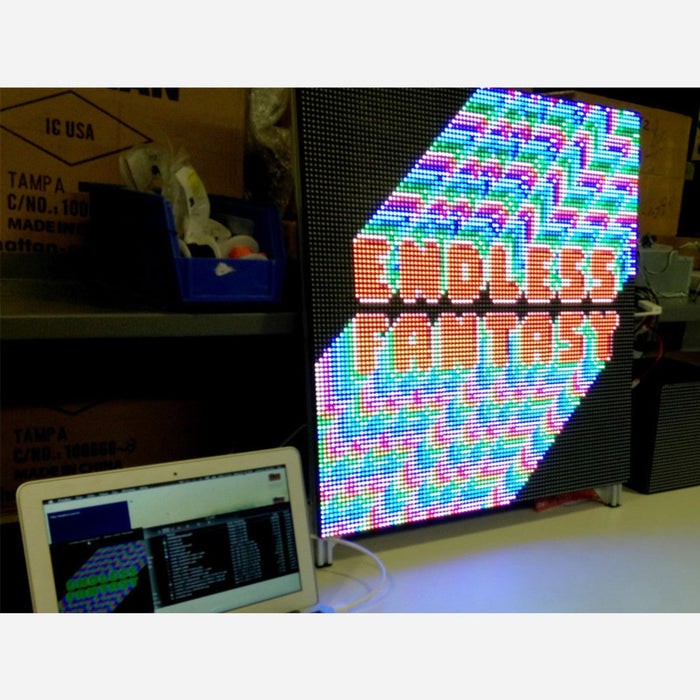
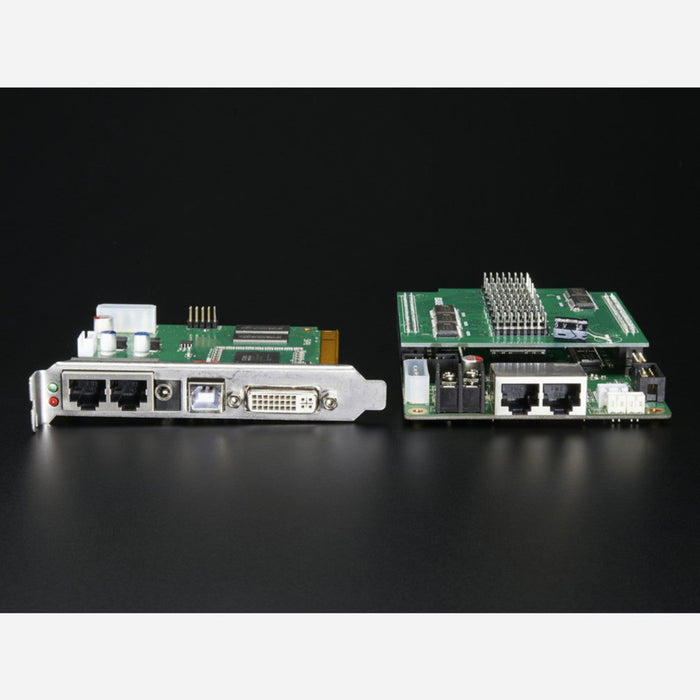
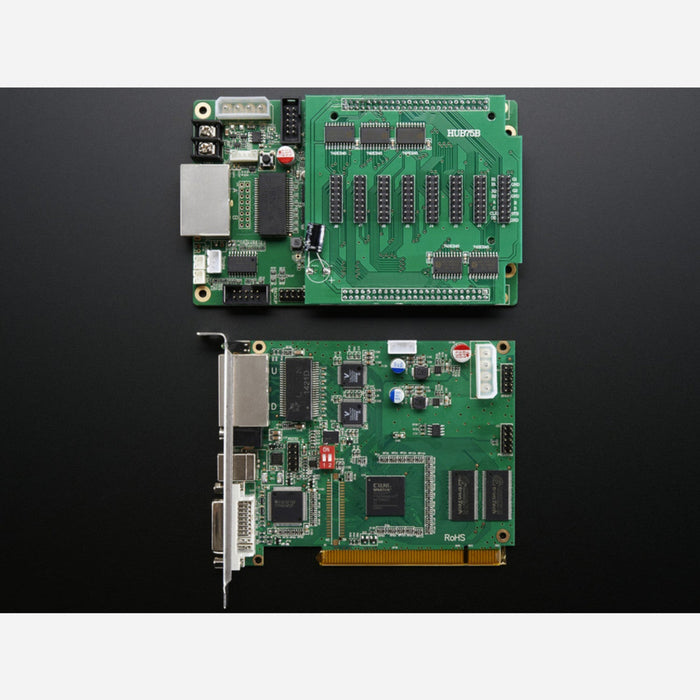
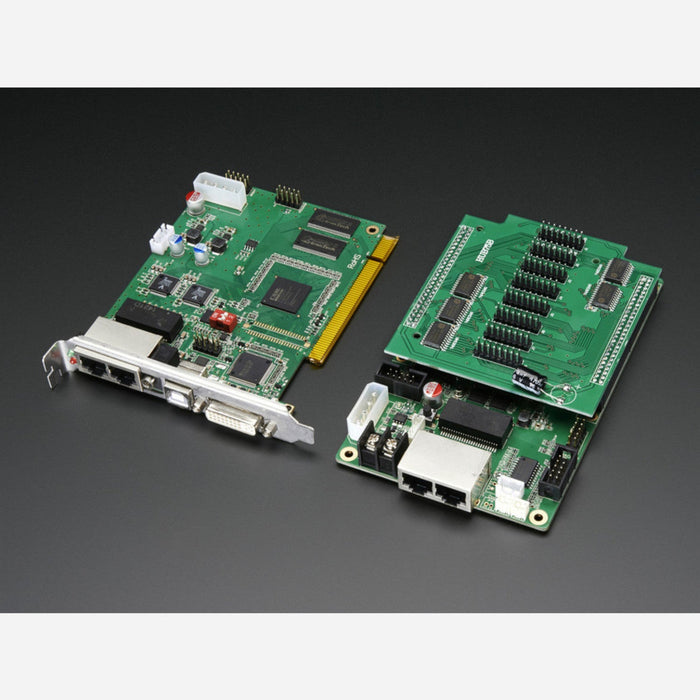
Ever looked at a wall in your apartment and thought "hey this could really use some art, or maybe an eye-blistering LED wall"? We do every single day! Then we finally did something about it, building our own full LED video wall using the 16x32 LED matrix panels in the shop. The magic sauce required is this driver set, which converts standard DVI video to an Ethernet datastream. The transmitter can decode/drive up to 1280*1024 pixels. The receiver can control 8 strings of 16 or 32 pixel tall panels, up to 32 x 32-pixel-widepanels long. If your panels are 64 pixels wide, the max is 16-per-strand. This set cannot drive 64x64 (5-address pin) matrices at all.
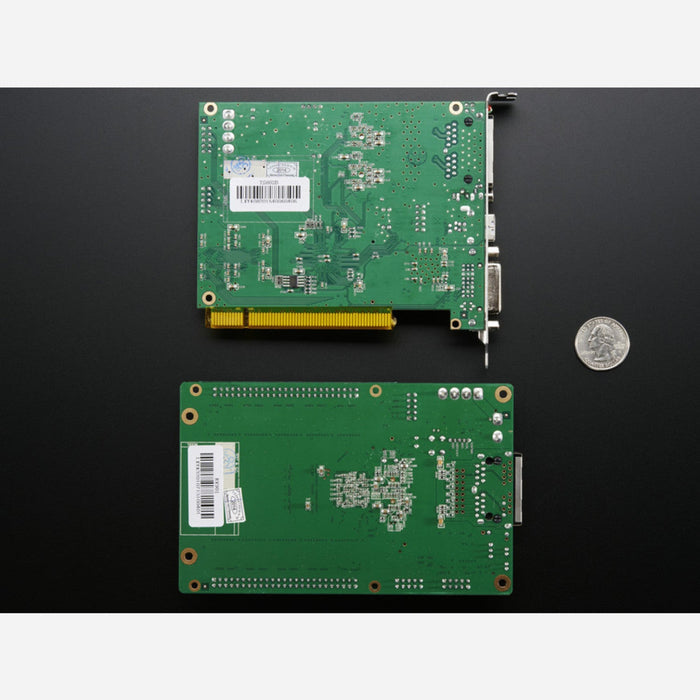
These cards are used in nearly all LED video walls and they're fairly easy to use. The transmitter and receiver must first be configured for the LED panel type and wall size, and there is free software to do this that runs on Windows 7/XP (we also used Parallels and that worked with XP). Then DVI video is streamed into the transmitter. Even though the transmitter is "PC card" shaped the contacts do not do anything, its just for mounting inside a tower case. You can put it in a cardboard box and connect to the DVI/power/ethernet connections. Decoded video signal is sent out to the receiver over a standard CAT5 Ethernet cable where it is split into multiple lanes of data. Connect the input side of our RGB panels to the IDC pins using 2x8 IDC cables and power with 5V. Video appears!
After configuration, any video source that can provide DVI will work. We also used a displayport -> DVI and HDMI -> DVI cable successfully with a Mac laptop, Windows PC, Beaglebone, etc. It should work with any video source that can output DVI/HDMI/Displayport as long as you have the proper converter cable. Each set we sell is pre-programmed and tested with our wall so you may not even need to configure it unless you have something custom you would like to build.
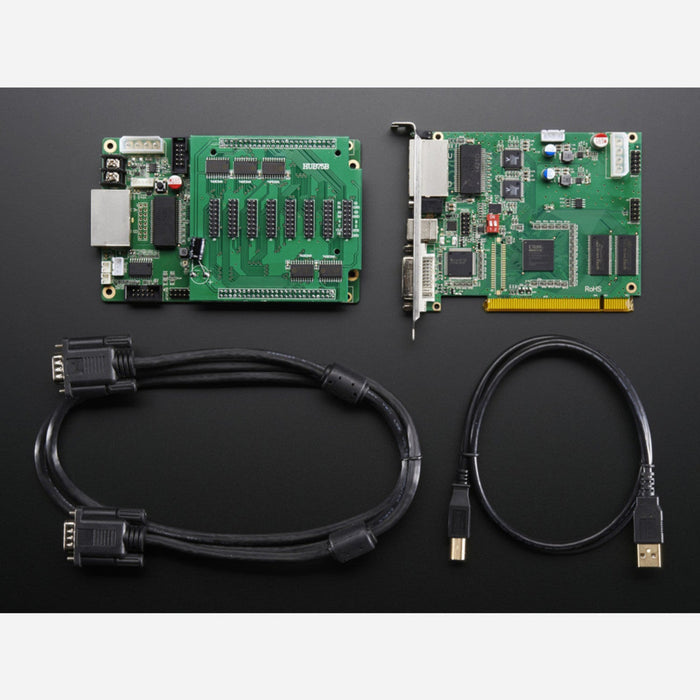
Each order comes only with a receiver card, transmitter card, and DVI cable. You'll need a few more things to make it all work such as an Ethernet cable (up to 100 ft), ATX power supply with 5V @ 10-30 Amp output, some 16x32 RGB panels from Adafruit, wires, etc. Please note we used to carry a version that could be powered from a 2.5mm jack, the version we have now can only be powered via the onboard MOLEX connector. If you're using an ATX supply, you'll have plenty of MOLEX outputs to use that can power the driver.
We have a lovely writeup of how we built the Adafruit 2ft x 2ft wall which covers a lot of what is involved in building an LED video display.
Please note! Building an LED video wall is not a a beginner project! There's a lot of wiring and power management. We don't sell all the components required so you may need to spend some time getting all the parts you need. Building a wall can take a few weekends and requires care and patience. Here at Adafruit we love this kind of thing, and we have documented the process as best as possible but there's not a lot of documention out there about these systems so even though we got our wall working nicely we do not offer any kind of consulting or assistance beyond our forum tech support. This is not a project for a mission-critical, outdoor, mobile or other LED display or for use beyond hobbyist hacking!

The LED Video Wall Controller Set/Programmed for Adafruit LED Panels appears in the following collections:

