


Euroshield 1 – Eurorack Audio Development Board
Euroshield enables synthesizer hobbyists and professionals to add a distinctive element to Eurorack. With euroshield, the highly approachable Teensy development tools, and the extensive sample code libraries you can create a unique sound while exploring the world of digital signal processing.
Why Euroshield?
- Euroshield turns a Teensy development board into a Eurorack synthesizer module.
- It uses standard patch cords for input and output of standard Eurorack level audio, CV and MIDI signals.
- It uses the standard Eurorack power system.
- It mounts easily into a rack while keeping the Teensy exposed.
- It enables you to use the available Teensy development tools and open source code libraries to get creating quickly.
What Can You Do with Euroshield?
Do you need a VCO? There’s existing code for that. Want a custom reverb algorithm? There’s sample code you can customize. Want to generate a specific sequence of CV signals to drive other modules? You can code it. And tomorrow you can make it do something different.
During a performance, interact with the Teensy via two knobs, one push button, and 4 LEDS. What the module does with the audio signals and hardware inputs is totally up to you and your code. Teensy’s fast processor together with Teensy Arduino’s flexible coding capabilities allow for true audio rate signal processing, while the euroshield enables interconnectivity with Eurorack equipment. Combine Teensy with euroshield, and you now have the ability to develop a eurorack module that evolves with your specific needs.
Easy Setup
Euroshield makes it easy to integrate the power of Teensy with your Eurorack.
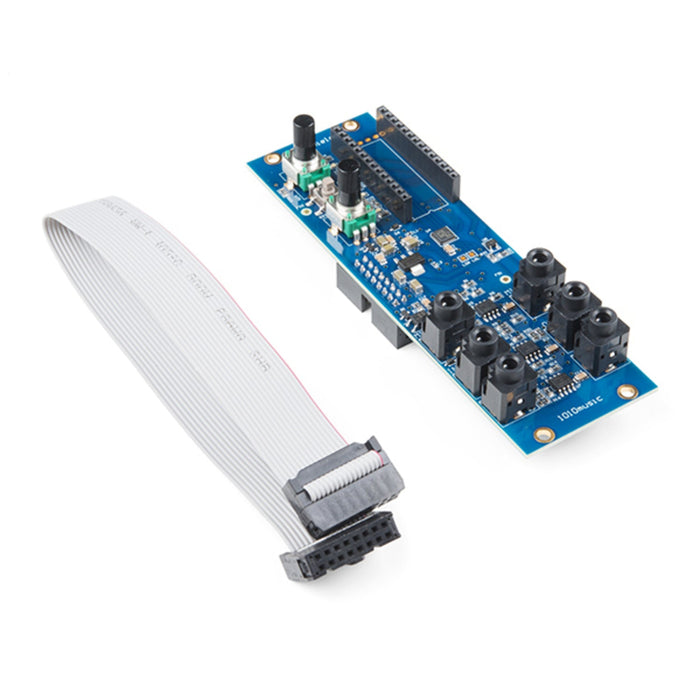
- Plug a Teensy Development board into the socket on the euroshield. No soldering is required!
- Use the ribbon power cable to connect the euroshield to a Eurorack power supply, and mount the module in the rack.
- Use standard Arduino and Teensyduino development tools on your computer to prepare and download code to the Teensy via a USB A to microB cable.
- Use standard patch cords to connect two audio or CV inputs, two audio or CV outputs, MIDI in, and MIDI out to your other eurorack modules. Customize your code to use the knobs and push button to control the output signals and to drive the LEDs.
System Requirements
In addition to the euroshield, here’s what you will need:
- Teensy Development Board version 3.0 up to 3.6. Version 3.2 is recommended. See related items below.
- Arduino IDE v1.8.5 or higher
- Teensyduino development tools – open source provided by PJRC adds teensy specific functionality and a highly capable audio library.
- Eurorack compatible case with power and an 8HP opening available.
- A USB A to microB USB cable (see below)
- MIDI Adapter to connect TRS Minijacks to 5 Pin DIN MIDI (optional)
The Euroshield 1 – Eurorack Audio Development Board appears in the following collections: