Adafruit
PiGRRL 2.0 Kit Pack - Build your own Pi Game Emulator! [CASE + RASPBERRY PI NOT INCLUDED]
·
For all those who feared their Game Boy days would be but a memory, worry no more! The Game Boy may be dead, but with this pack you'll have a ch...
Get notified when back in stock
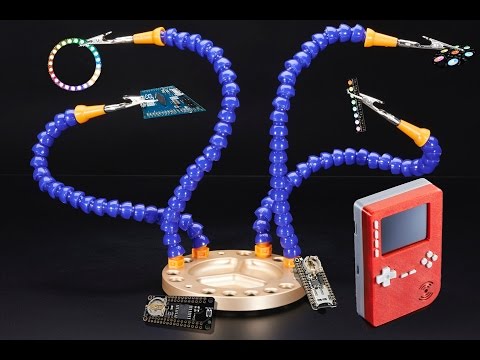
For all those who feared their Game Boy days would be but a memory, worry no more! The Game Boy may be dead, but with this pack you'll have a chance to revive it. We've collected all the right parts so you can assemble the guts of your very own DIY GameGRRL - a portable Raspberry Pi running MAME and NES emulators.
This is version 2.0! We've updated this project for the Raspberry Pi 2 or 3 with more buttons (D-Pad, A,B,X,Y,L,R, pause and start), and four extra buttons on the PiTFT.
This portable handheld game emulation station is called the PiGRRL and it's powered by a Raspberry Pi 2 Model B and a PiTFT display. You'll have to do all the 3D printing, assembly, and installation yourself to get gaming, but our learn guide will help you get through the process.
This PiGRRL pack has just about everything you need to make this project EXCEPT the Raspberry Pi, case, battery, wires and hardware, and hand tools for soldering, cutting, etc. You will need to 3D print your own case - but check out our 3D printing guide for the pack so you or your friend can 3D print an enclosure. You need a ~2500mAh lipoly battery and we only guarantee that it will work with our batteries. Using the wrong polarity or chemistry battery can destroy your PiGrrl project.
With this update, we really wanted to make it easier to build. We've dramatically cut the build time in half by making a custom gamepad PCB. Just solder in the buttons and an IDC box header to the gamepad PCB - No more tedious button wiring! We also sell just the PCB on it's own.
You will also need to solder together the parts so many hand tools and other small parts such as silicone wires, screws or blue tack are required. Please read through the tutorial so you can see what else is needed to complete this project!
Please note this is a medium-difficulty project that uses many Maker skills such as soldering, 3D printing and installing Linux! The PiGRRL2 is a fun build but it is a DIY project, it will not have perfect audio/video/emulation capabilities.
Jargon buster
Plain-language definitions for the technical terms used above.
- PCB
- A printed circuit board (PCB) is a board, usually rigid, with etched copper tracks that connect electronic components together without loose wiring. Components are mounted on the board and signals route between them through the copper layout.
Find this product in
Brands
Raspberry Pi
STEM & Education
pigrrl 2
Document · 3.8 MB · Click any page to view full size
Resources & Downloads
Guides, code examples, and more
Related Tutorials
Free step-by-step guides