ElecFreaks
Octopus ADKeypad
Octopus Electronic Bricks, you can use them to build electronics projects just as easy as piling bricks. By using Octopus electronic bricks, you may conne...
Get notified when back in stock
Octopus Electronic Bricks, you can use them to build electronics projects just as easy as piling bricks. By using Octopus electronic bricks, you may connect Arduino / Freaduino compatible boards easily with various digital, analog and I2C/Uart interfaces. These the breadboard-less firm connection are prepared to extensive modules like poteniometers, sensors, relays, servos ... even buttons, just plug and play.
This keyboard uses an analog input to read the five key state which saves IO resource for the Arduino. It can be used together with our I/O expansion boards to make amazing interactive project.
Parameter:
Supply voltage: voltage controller
Interface: Analog
Size: 55x29mm
Quick Start
Hardware Connection
Connect ADKeypad to P1 port on OCTOPUS:BIT.

Programming
Code
You can see the whole program from the link here.
Result
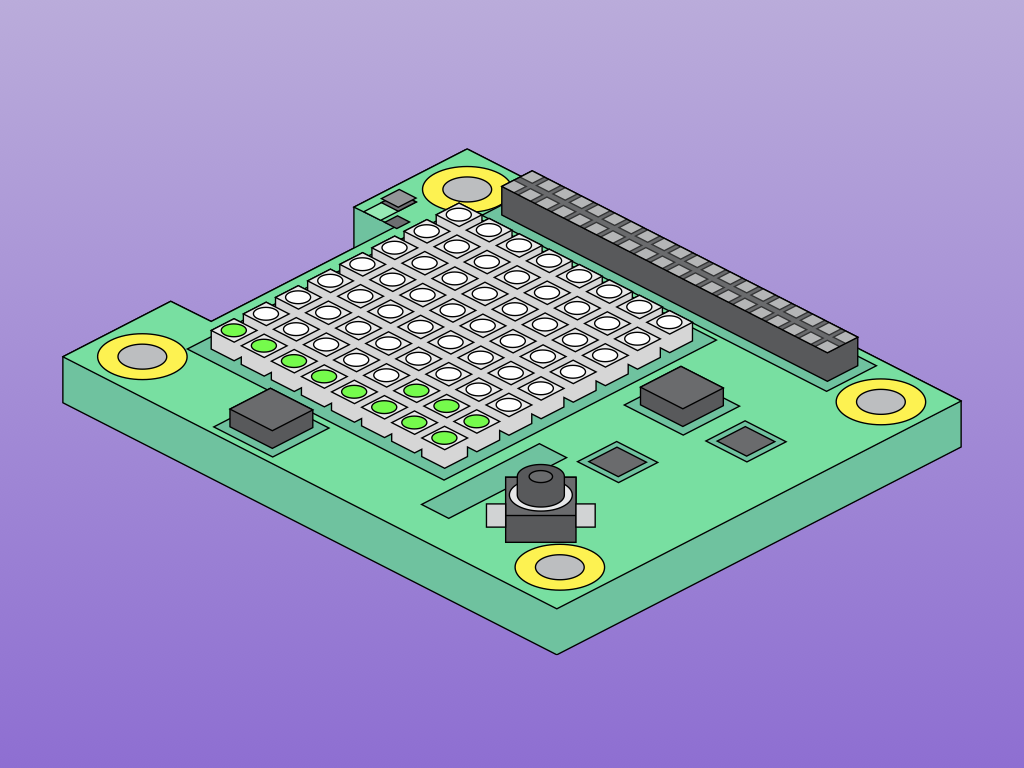
Press different keys on ADKeypad, micro:bit will display different images.
Resources:
Please visit our wiki page for more info about this product. It will be appreciated if you can help us improve the documents, add more demo code or tutorials.
Jargon buster
Plain-language definitions for the technical terms used above.
- I2C
- I2C is a two-wire communication bus used by many sensors and small modules. It matters because several I2C devices can share the same two wires, but each device needs a compatible address and your controller must support I2C.
- UART
- UART is a simple asynchronous serial interface that sends data over separate transmit and receive wires, usually labelled TX and RX, with both ends set to the same baud rate. It is a common way for microcontrollers and other serial devices to exchange data.
Find this product in
Components
Sensors & Input
Related Tutorials
Free guides on learn.littlebird.com.au