Adafruit
ADXL335 - 5V ready triple-axis accelerometer (+-3g analog out)
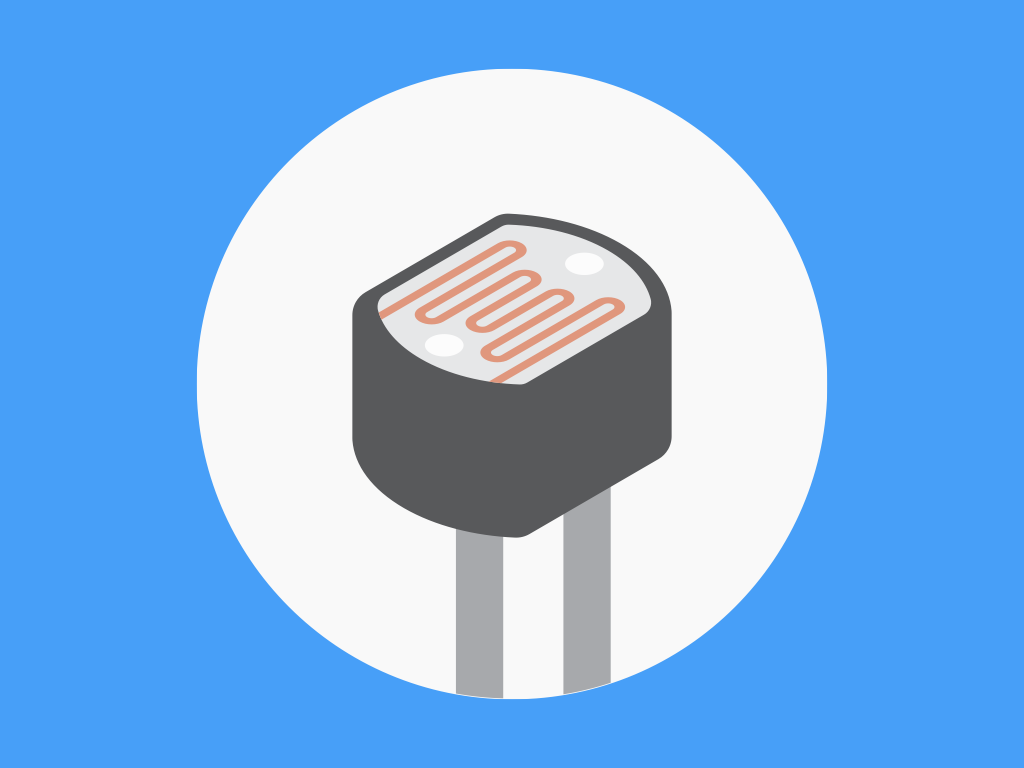
A precision triple-axis accelerometer breakout featuring the Analog Devices ADXL335. With a ±3 g measurement range and analog outputs for X, Y, and Z axes, t...
A precision triple-axis accelerometer breakout featuring the Analog Devices ADXL335. With a ±3 g measurement range and analog outputs for X, Y, and Z axes, this sensor is ideal for tilt sensing, motion detection, and orientation measurement in general-purpose applications.
The onboard 3.3V regulator accepts up to 5V input, making it easy to interface with Arduino and other 5V microcontrollers. Analog outputs are ratiometric: 0 g reads at 1.65V (half of 3.3V), with full linear scaling from 0V (-3 g) to 3.3V (+3 g).
Key Features
- ±3 g Range – Ideal for tilt, orientation, and general motion sensing
- 3 Analog Outputs – Independent X, Y, and Z axis readings
- 5V Ready – Onboard 3.3V regulator with VCC input up to 5V
- Ratiometric Output – Linear scaling from 0V to 3.3V across the full range
- 50 Hz Bandwidth – 0.1 µF filter capacitors on XYZ outputs
- Compact Breakout – 19 × 19 mm (0.75" × 0.75") with two 2 mm mounting holes
Ideal For
- Tilt and orientation sensing
- Motion detection and gesture recognition
- Robotics and balancing projects
- Vibration monitoring
Package Contents
- 1× ADXL335 Triple-Axis Accelerometer Breakout (assembled and tested)
- 1× 8-pin header strip
Jargon buster
Plain-language definitions for the technical terms used above.
- 3.3V regulator
- A 3.3V regulator is a power circuit that provides a steady 3.3 volts for parts that need that supply voltage. On a breakout board, it can let the sensor run safely even when the connected microcontroller or power source uses a higher voltage.
- breakout
- A breakout is a small circuit board that makes a tiny or hard-to-solder component easier to connect to with standard pins. It matters because this OLED module can be wired into a microcontroller project without needing to solder directly to the display’s fine contacts.
- Motion detection
- A camera feature that checks the image for changes that suggest something has moved. It matters because your project can use movement as a trigger instead of constantly saving or processing every frame.
Find this product in
Brands
Sensors & Input
Code Examples
Sample code to get started with this product
How to connect and code the ADXL335 with Arduino
/*
 * ADXL335 3-Axis Analog Accelerometer with Arduino
 * ------------------------------------------------------------
 * The ADXL335 gives a separate analog voltage for each axis (X, Y, Z).
 * 0 g sits near half the supply voltage; acceleration/tilt shifts each
 * output by ~330 mV per g (at a 3.3 V supply).
 *
 *   >>> The ADXL335 is a 3.3 V part (1.8-3.6 V). Do NOT power it from 5 V. <<<
 *
 * For accurate readings, power the sensor from 3.3 V and wire that SAME
 * 3.3 V rail to the Arduino's AREF pin, then use analogReference(EXTERNAL)
 * so the ADC and the sensor share one reference voltage.
 *
 * Wiring (Arduino Uno / Nano, 10-bit ADC):
 *   ADXL335 VCC  -> 3.3 V
 *   ADXL335 GND  -> GND
 *   ADXL335 X    -> A0
 *   ADXL335 Y    -> A1
 *   ADXL335 Z    -> A2
 *   Arduino 3.3V -> AREF        (the same rail that feeds VCC)
 *   ADXL335 ST   -> leave unconnected (self-test pin)
 *
 * Calibration:
 *   1. Set CALIBRATE_MODE = true, upload, open Serial Monitor (9600 baud).
 *   2. Lay the board flat: Z reads ~1 g, X and Y read ~0 g. Note the
 *      0 g raw count for each axis -> ZERO_X / ZERO_Y / ZERO_Z.
 *   3. Point one axis straight up, then straight down; the two raw counts
 *      are 2 g apart, so (up - down) / 2 = COUNTS_PER_G.
 *   4. Set CALIBRATE_MODE = false and re-upload.
 */

const bool CALIBRATE_MODE = false;  // true = print raw ADC counts for calibration

// ----- Pins -----
const uint8_t PIN_X = A0;
const uint8_t PIN_Y = A1;
const uint8_t PIN_Z = A2;

// ----- Calibration constants (update from CALIBRATE_MODE output) -----
const int   ZERO_X       = 512;     // raw count at 0 g
const int   ZERO_Y       = 512;     // raw count at 0 g
const int   ZERO_Z       = 512;     // raw count at 0 g
const float COUNTS_PER_G = 102.0f;  // ~330 mV/g / (3.3 V / 1023) with 3.3 V AREF

const uint8_t SAMPLES = 16;         // averaged reads per axis (noise reduction)

int readAxis(uint8_t pin) {
  long sum = 0;
  for (uint8_t i = 0; i < SAMPLES; i++) sum += analogRead(pin);
  return (int)(sum / SAMPLES);
}

float toG(int raw, int zero) {
  return (raw - zero) / COUNTS_PER_G;
}

void setup() {
  Serial.begin(9600);
  // MUST set EXTERNAL before any analogRead() when AREF is driven externally,
  // otherwise the internal reference is shorted to AREF (can damage the MCU).
  analogReference(EXTERNAL);
  for (uint8_t i = 0; i < 8; i++) { analogRead(PIN_X); delay(2); } // let ADC settle
}

void loop() {
  int rawX = readAxis(PIN_X);
  int rawY = readAxis(PIN_Y);
  int rawZ = readAxis(PIN_Z);

  if (CALIBRATE_MODE) {
    Serial.print("RAW  X="); Serial.print(rawX);
    Serial.print("  Y=");    Serial.print(rawY);
    Serial.print("  Z=");    Serial.println(rawZ);
  } else {
    Serial.print("X="); Serial.print(toG(rawX, ZERO_X), 2); Serial.print(" g  ");
    Serial.print("Y="); Serial.print(toG(rawY, ZERO_Y), 2); Serial.print(" g  ");
    Serial.print("Z="); Serial.print(toG(rawZ, ZERO_Z), 2); Serial.println(" g");
  }

  delay(200);
}
How to connect and code the ADXL335 with Python on Raspberry Pi
#!/usr/bin/env python3
# ADXL335 3-Axis Analog Accelerometer on Raspberry Pi (regular Python)
# -------------------------------------------------------------------
# A Linux Raspberry Pi has NO analog inputs, so the ADXL335 is read through
# an external SPI ADC - the MCP3008 (8 channels, 10-bit). gpiozero ships with
# Raspberry Pi OS and has a built-in MCP3008 class, so no extra hardware
# library is required.
#
#   >>> Power BOTH the ADXL335 and the MCP3008's VREF from the SAME 3.3 V <<<
#   >>> rail so the ADC reference matches the sensor's supply (ratiometric). <<<
#
# Enable SPI first:  sudo raspi-config -> Interface Options -> SPI -> Enable
#
# Wiring:
#   ADXL335 VCC  -> 3.3 V (pin 1)         MCP3008 CH0 -> ADXL335 X
#   ADXL335 GND  -> GND                   MCP3008 CH1 -> ADXL335 Y
#                                         MCP3008 CH2 -> ADXL335 Z
#   MCP3008 VDD  -> 3.3 V (pin 1)         MCP3008 CLK  -> SCLK (GPIO11, pin 23)
#   MCP3008 VREF -> 3.3 V (pin 1)         MCP3008 DOUT -> MISO (GPIO9,  pin 21)
#   MCP3008 AGND -> GND                   MCP3008 DIN  -> MOSI (GPIO10, pin 19)
#   MCP3008 DGND -> GND                   MCP3008 CS   -> CE0  (GPIO8,  pin 24)
#
# Calibration:
#   1. Set CALIBRATE_MODE = True, run it, watch the printed counts.
#   2. Lay the board flat: Z reads ~1 g, X and Y read ~0 g. Note each axis'
#      0 g count -> ZERO_X / ZERO_Y / ZERO_Z.
#   3. Point an axis straight up then straight down; the two counts are 2 g
#      apart, so (up - down) / 2 = COUNTS_PER_G.
#   4. Set CALIBRATE_MODE = False and re-run.

from gpiozero import MCP3008
from time import sleep

CALIBRATE_MODE = False           # True = print raw counts for calibration

# MCP3008 channels wired to the ADXL335 outputs
adc_x = MCP3008(channel=0)
adc_y = MCP3008(channel=1)
adc_z = MCP3008(channel=2)

# Calibration (update from CALIBRATE_MODE output). The MCP3008 is 10-bit
# (0-1023), so these match the Arduino values: ~330 mV/g / (3.3 V / 1023)
# is roughly 102 counts/g.
ZERO_X = 512
ZERO_Y = 512
ZERO_Z = 512
COUNTS_PER_G = 102.0

SAMPLES = 16                     # averaged reads per axis (noise reduction)


def read_axis(adc):
    total = 0
    for _ in range(SAMPLES):
        total += adc.raw_value   # 0-1023 raw count from the MCP3008
    return total / SAMPLES


def to_g(raw, zero):
    return (raw - zero) / COUNTS_PER_G


while True:
    rx = read_axis(adc_x)
    ry = read_axis(adc_y)
    rz = read_axis(adc_z)

    if CALIBRATE_MODE:
        print(f"RAW  X={rx:.0f}  Y={ry:.0f}  Z={rz:.0f}")
    else:
        print(f"X={to_g(rx, ZERO_X):+.2f} g  "
              f"Y={to_g(ry, ZERO_Y):+.2f} g  "
              f"Z={to_g(rz, ZERO_Z):+.2f} g")

    sleep(0.2)
Related Tutorials
Free guides on learn.littlebird.com.au