
Beginner
Temperature and Humidity Sensor with Raspberry Pi
Get started with the DHT22 sensor and Raspberry Pi
By Cherie Tan
The DHT22 sensor is ideal for reading the temperature or humidity of your surroundings. Before you can use the DHT22 and its chip inside that does analogue to digital conversion, it is important to make the right connections.
In this guide, learn to connect a DHT22 to a Raspberry Pi on a breadboard, and obtain temperature and humidity readings from it.
Complete this guide to start prototyping with the DHT22 sensor.
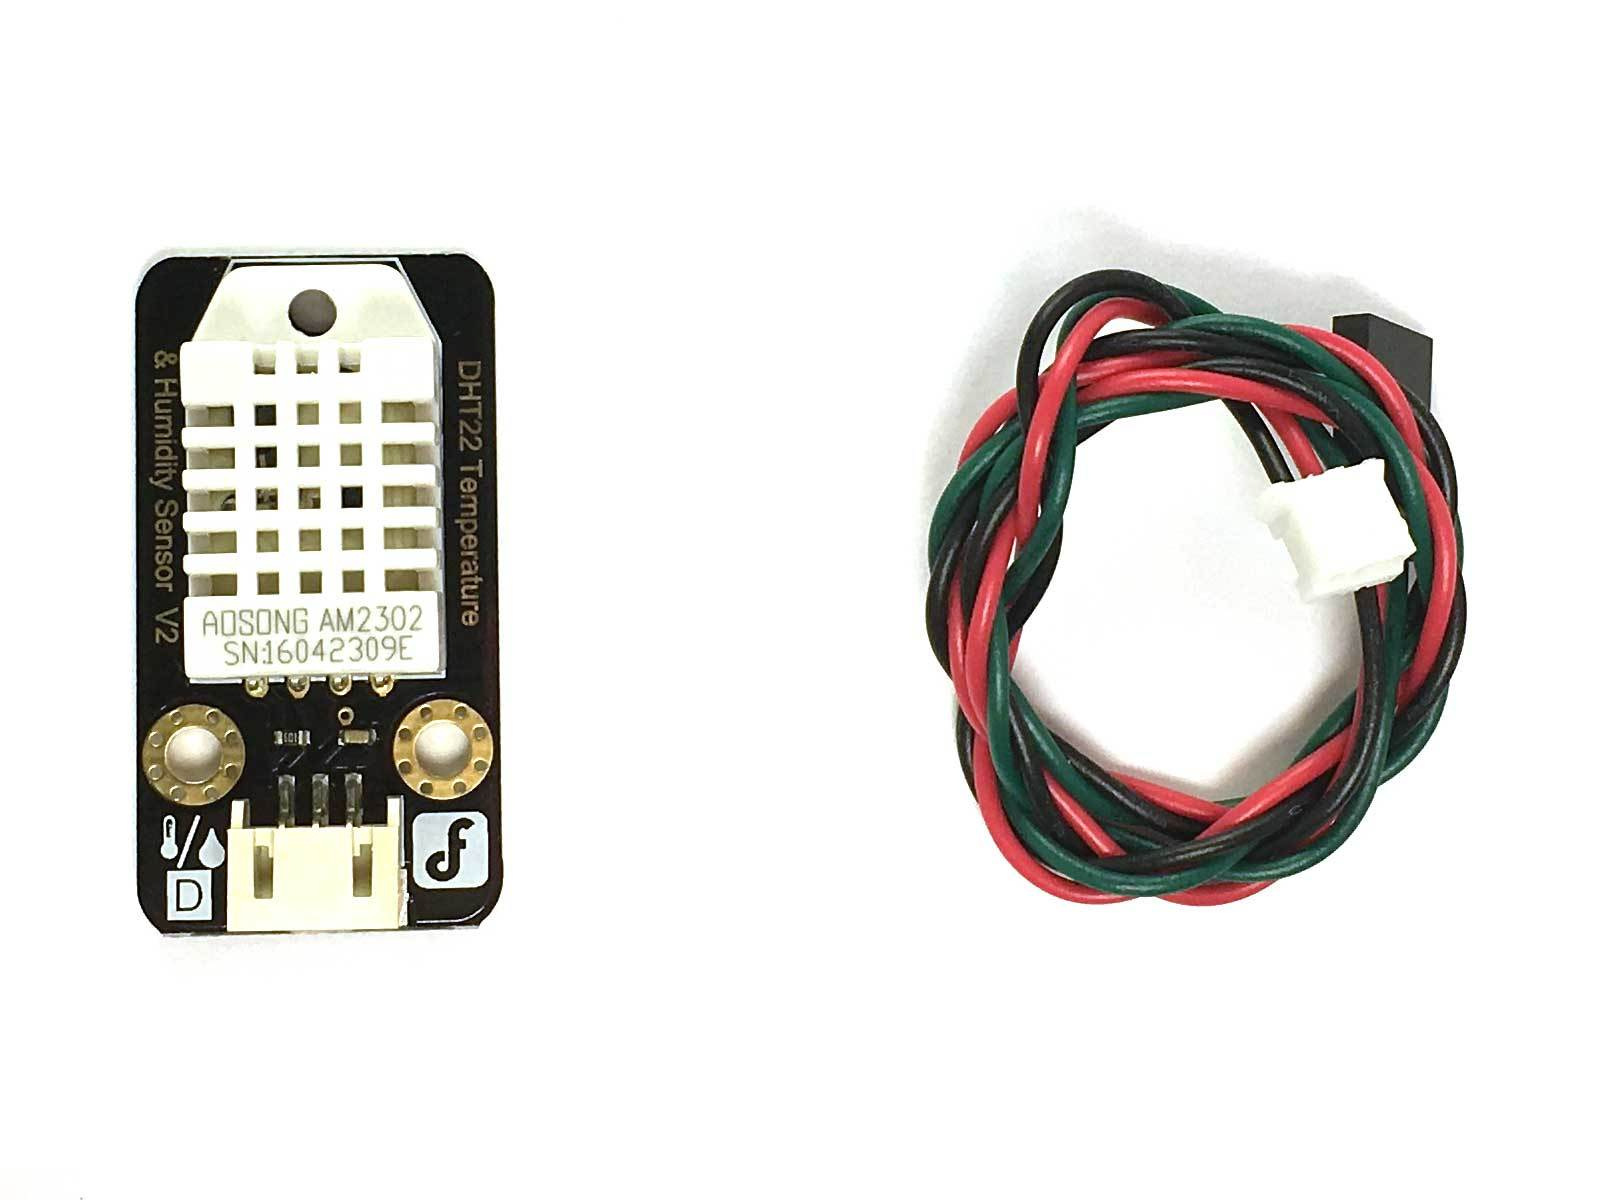
The DHT22 is a Temperature and Humidity Sensor. The DHT22 is a basic, low-cost digital temperature and humidity sensor. It uses a capacitive humidity sensor and a thermistor to measure the surrounding air, and spits out a digital signal on the data pin (no analog input pins needed).
In this guide we'll use a DHT22 breakout board (DF-SEN0137) from DFRobot. This breakout board is handy because it has all the passive components built onto it (hear we don't need any other resistors in our circuit).
Step 1 — Meet the DHT22
The DHT22 is a Temperature and Humidity Sensor. The DHT22 is a basic, low-cost digital temperature and humidity sensor. It uses a capacitive humidity sensor and a thermistor to measure the surrounding air, and spits out a digital signal on the data pin (no analog input pins needed).
In this guide we'll use a DHT22 breakout board (DF-SEN0137) from DFRobot. This breakout board is handy because it has all the passive components built onto it (hear we don't need any other resistors in our circuit).
Step 2 — Connect the Wire to the DHT22
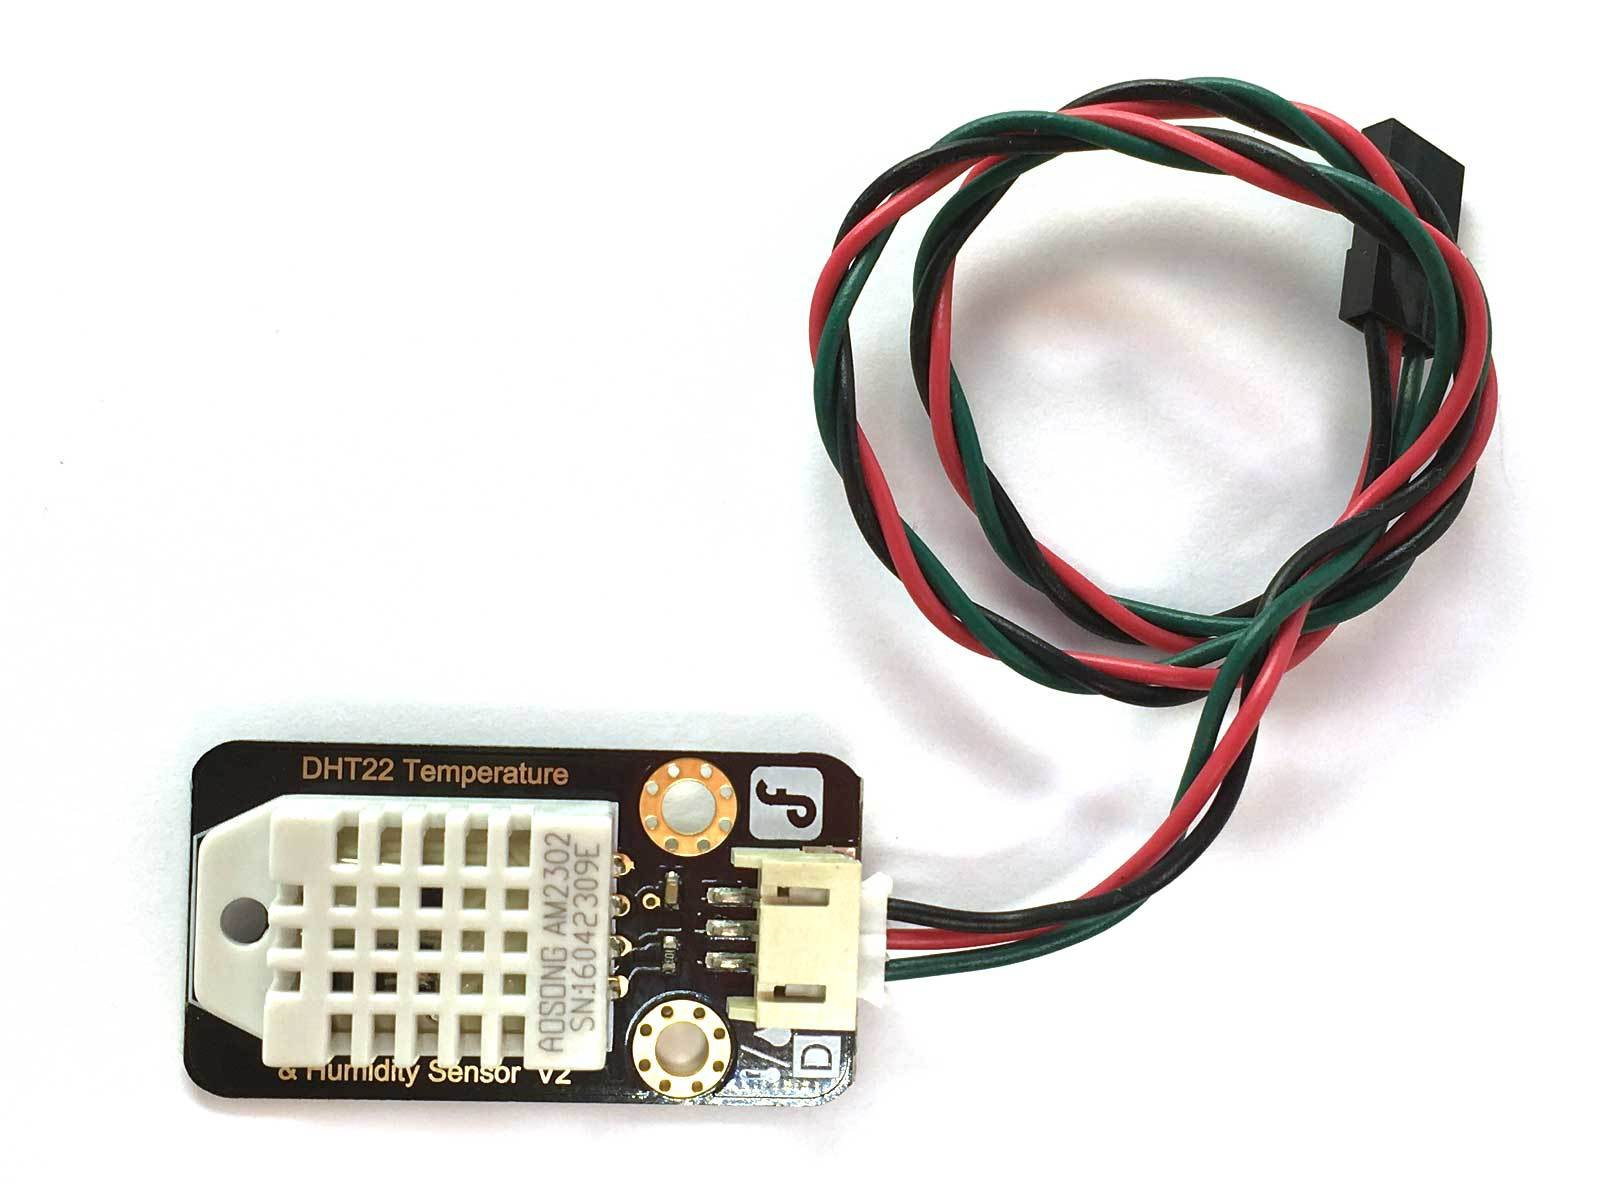
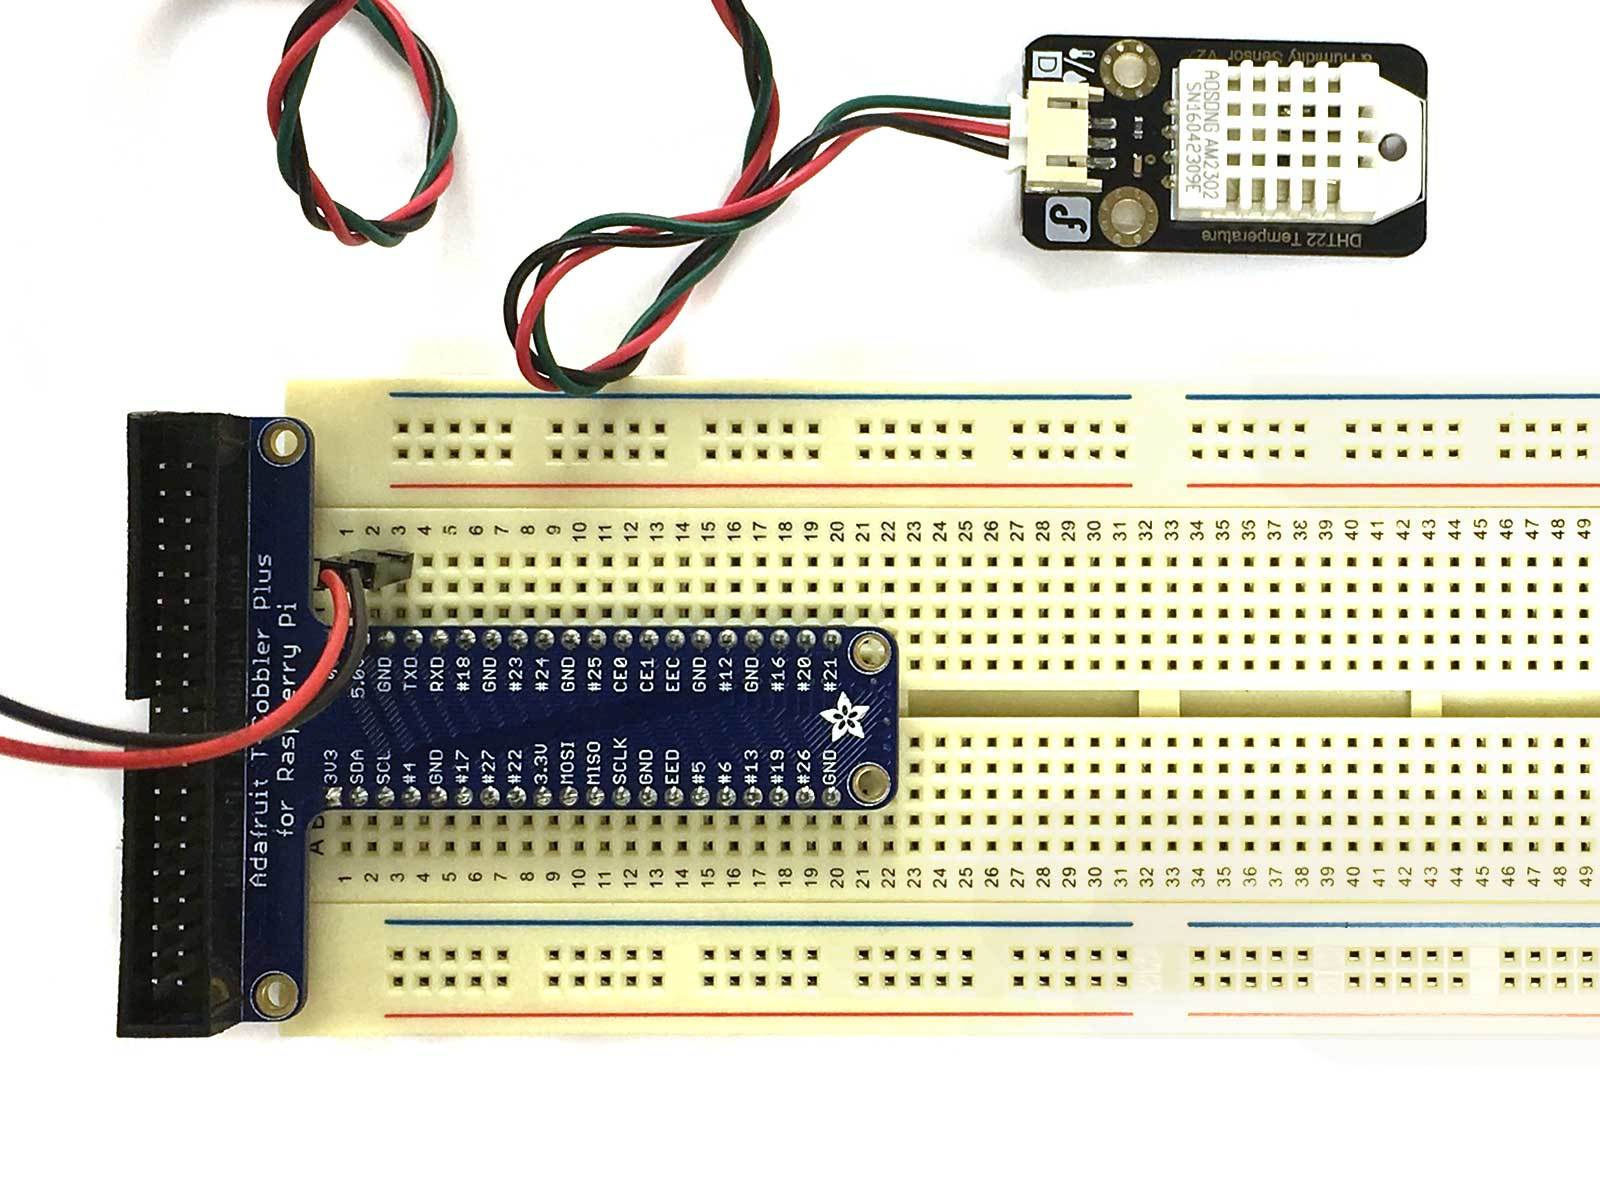
Connect the Wire to the DHT22 (it can only go in one way).
Step 3 — Connect male to male jumper wires to the cable
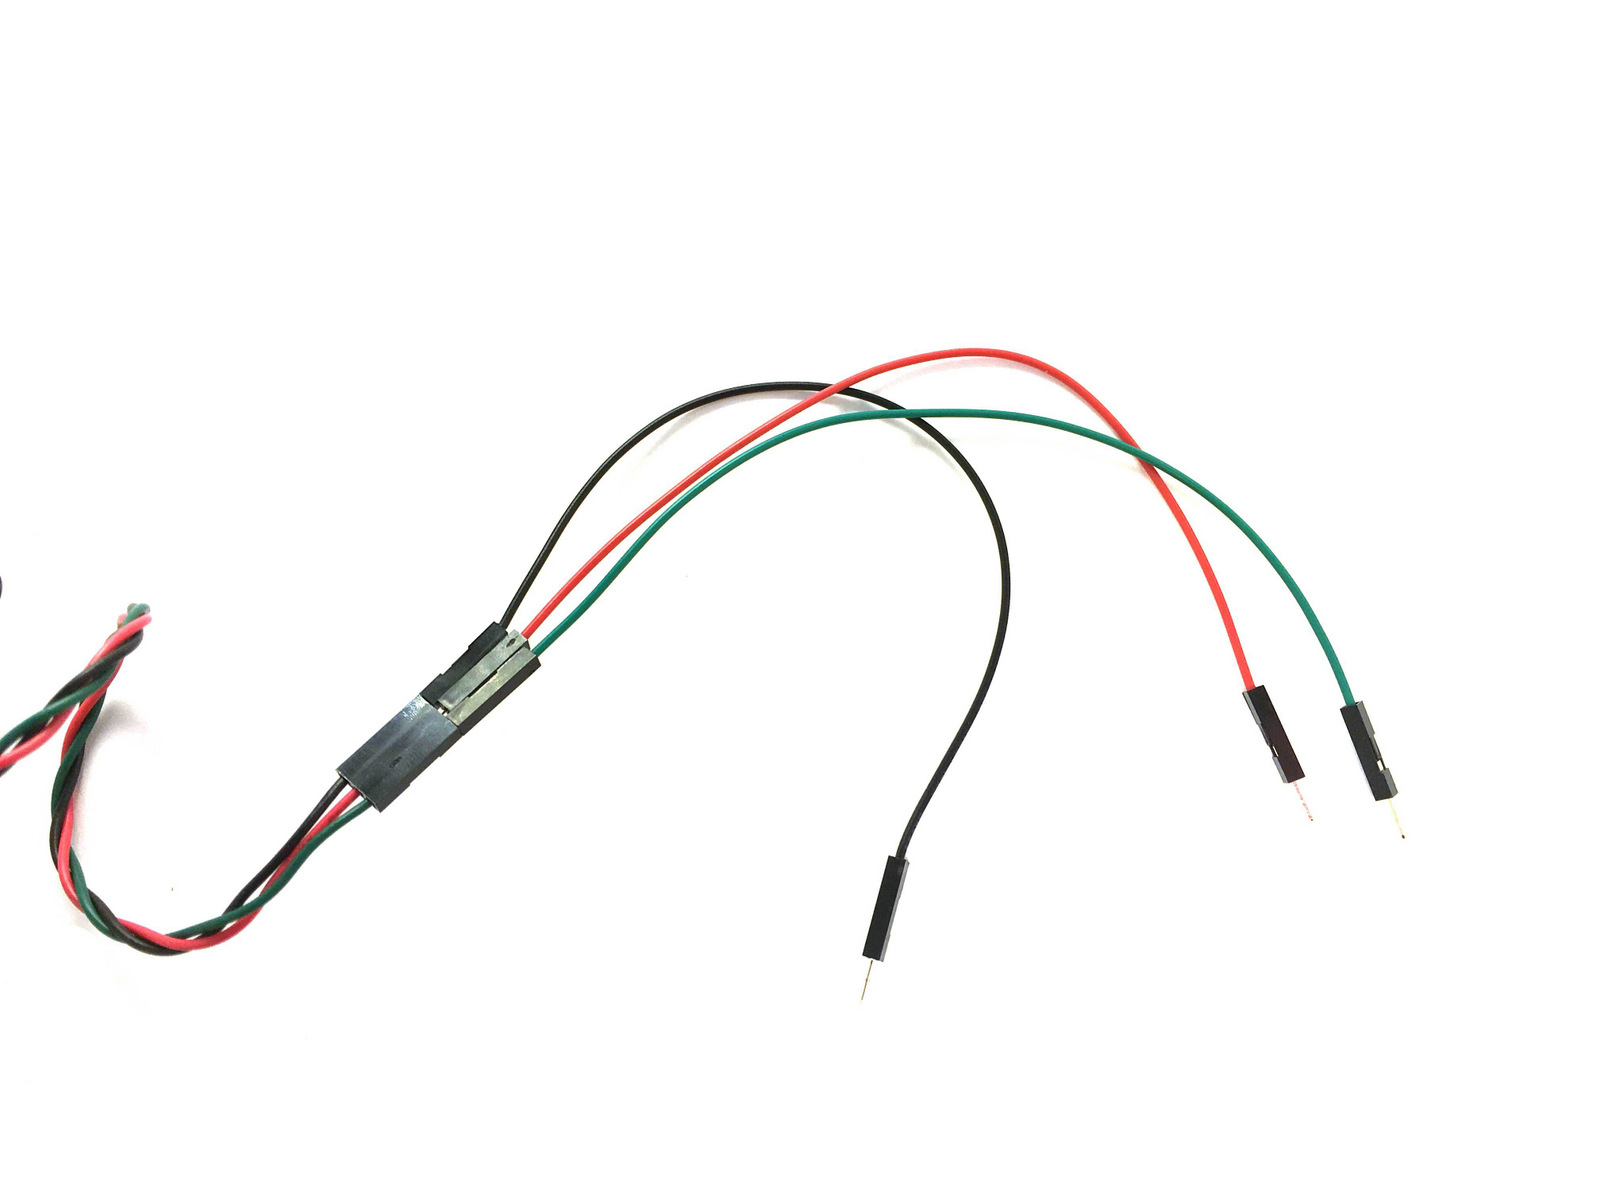
Connect a Black, Red and Green Jumper Wire to the Cable (matching the colour of the Cable's wires)
Step 4 — Connect the Red Jumper to 5V
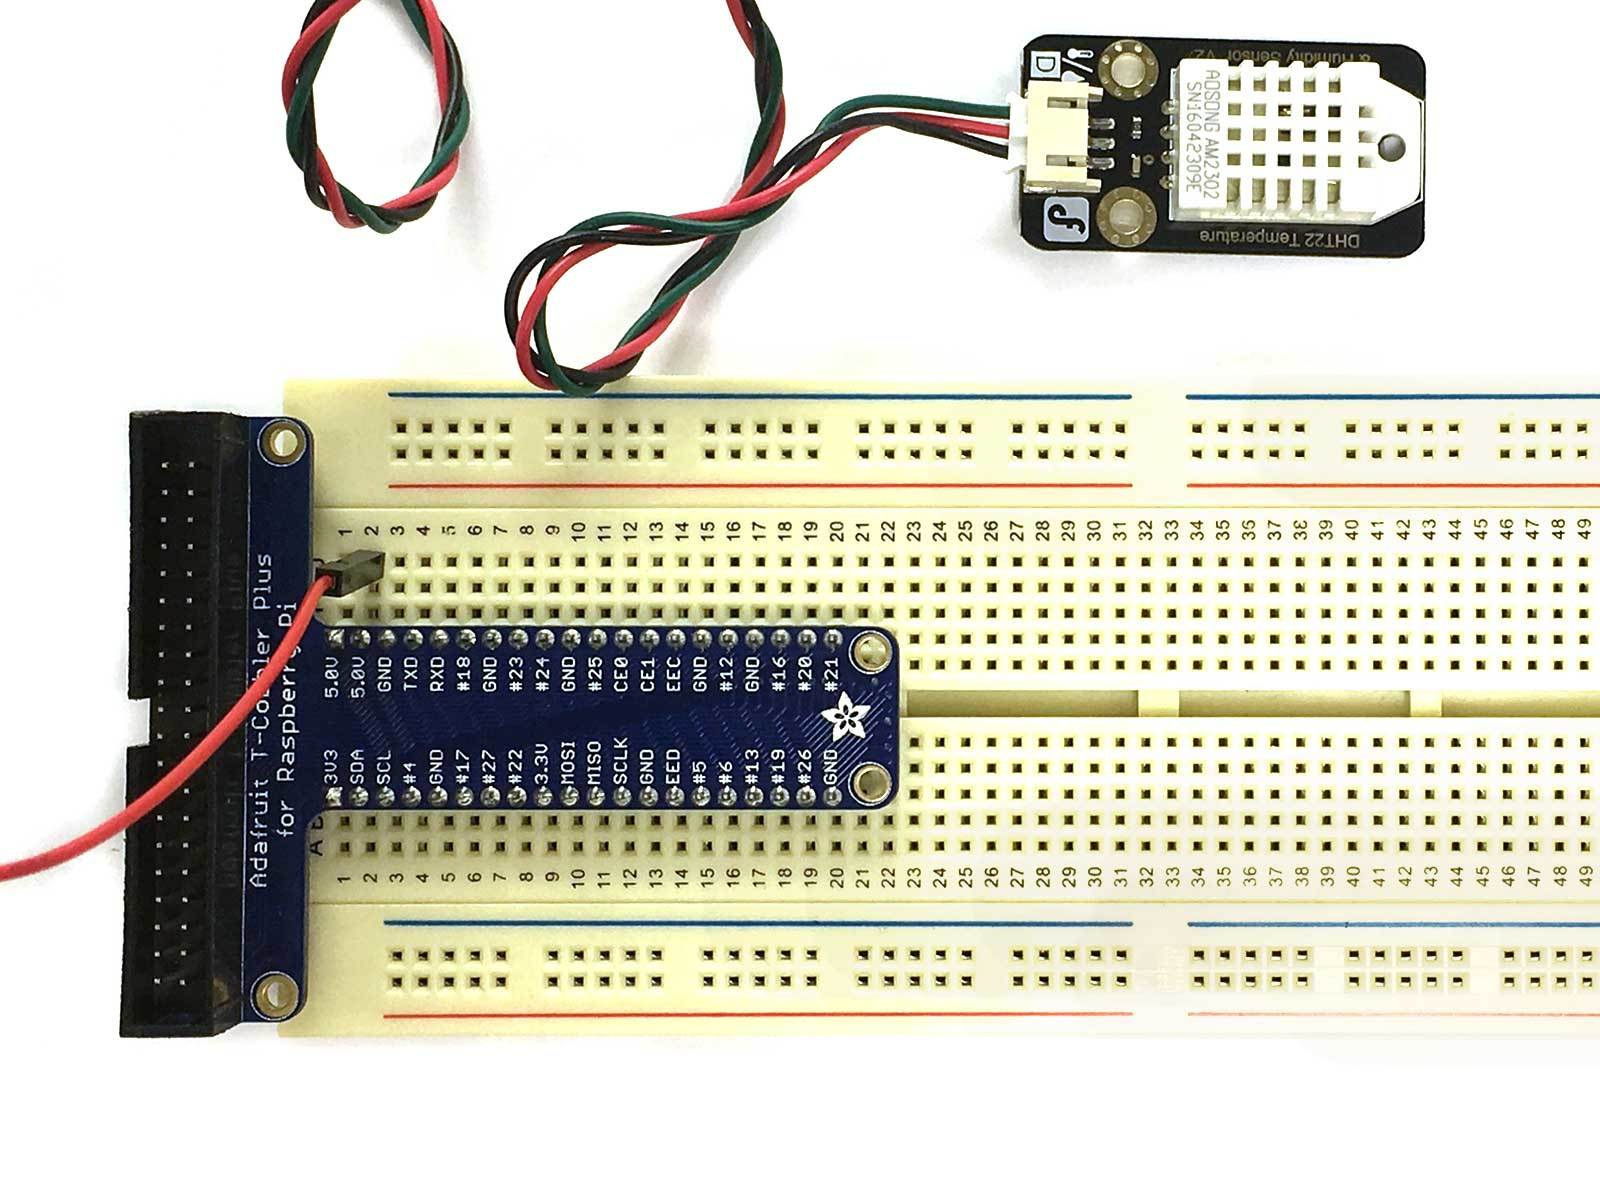
Connect the Red Jumper to J2 to access the Raspberry Pi's 5V Pin.
Step 5 — Connect the Black Jumper to Ground
Connect the Black Jumper to J3 to Ground
Step 6 — Connect the Green Jumper to GPIO21
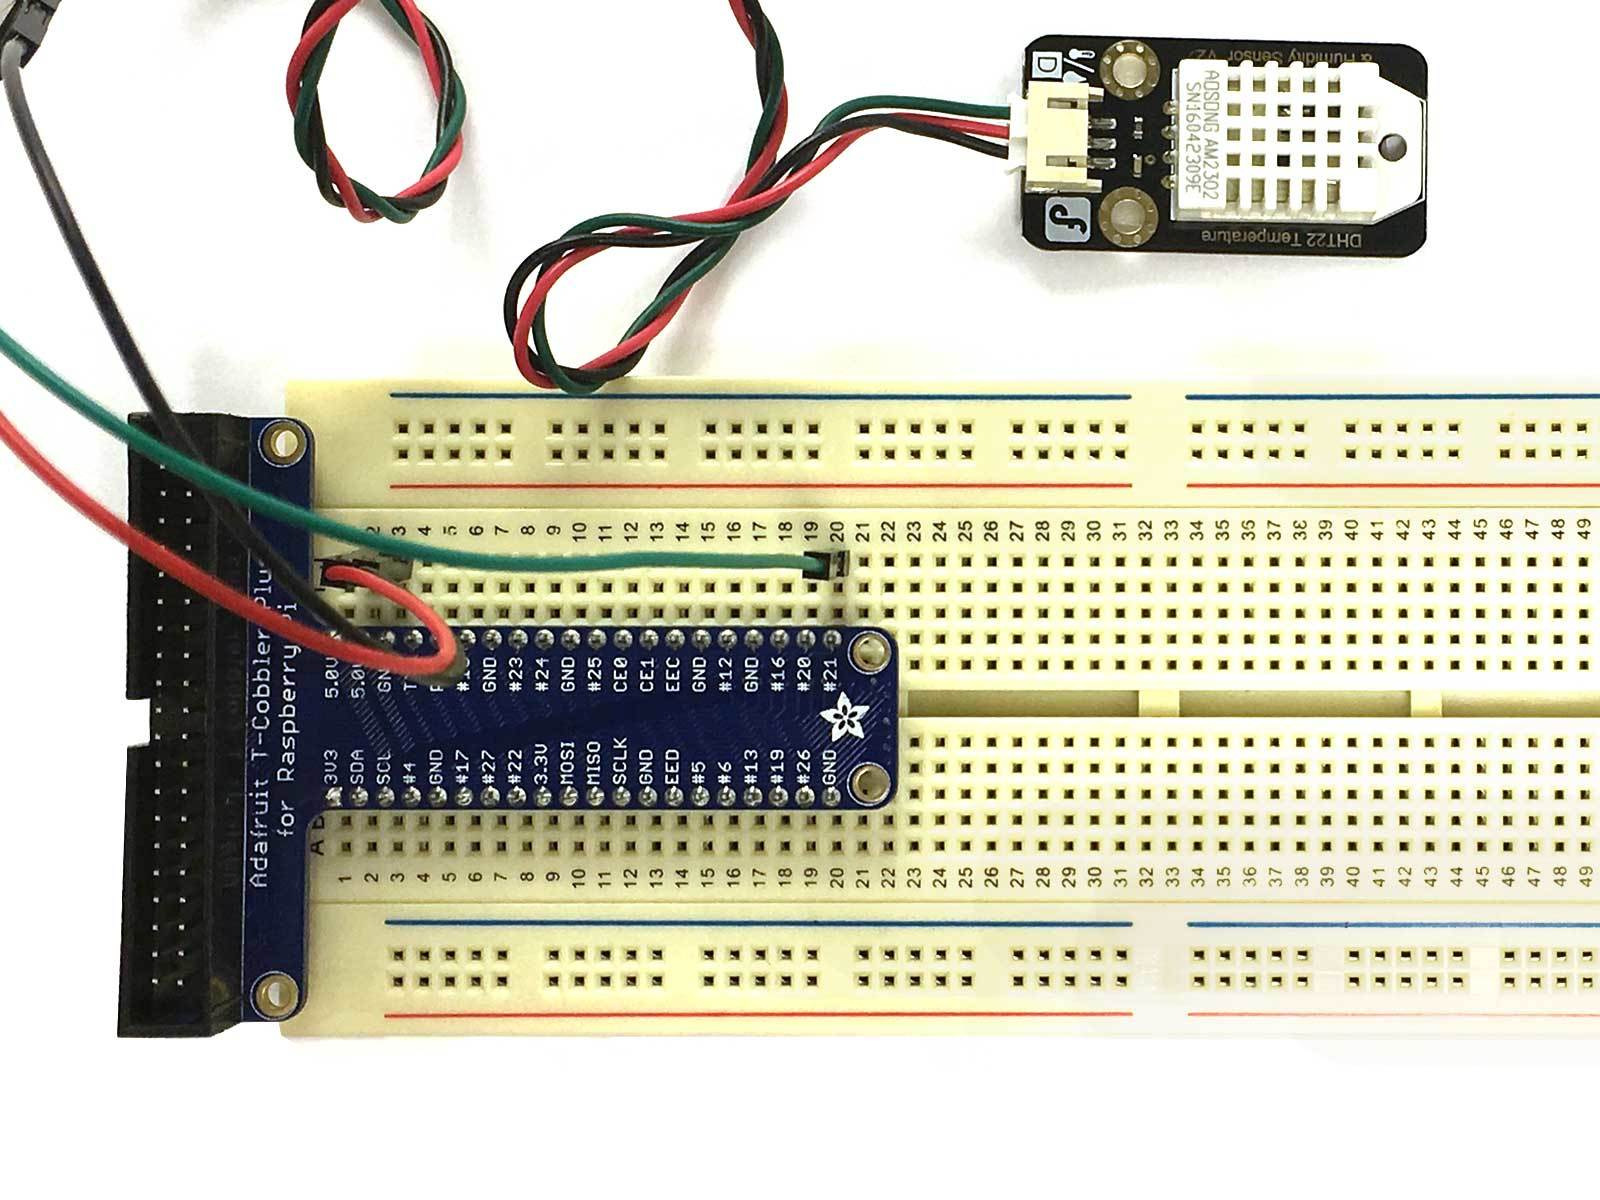
Connect the Green Jumper to tie point J20 to access the GPIO21.
Step 7 — Install packages
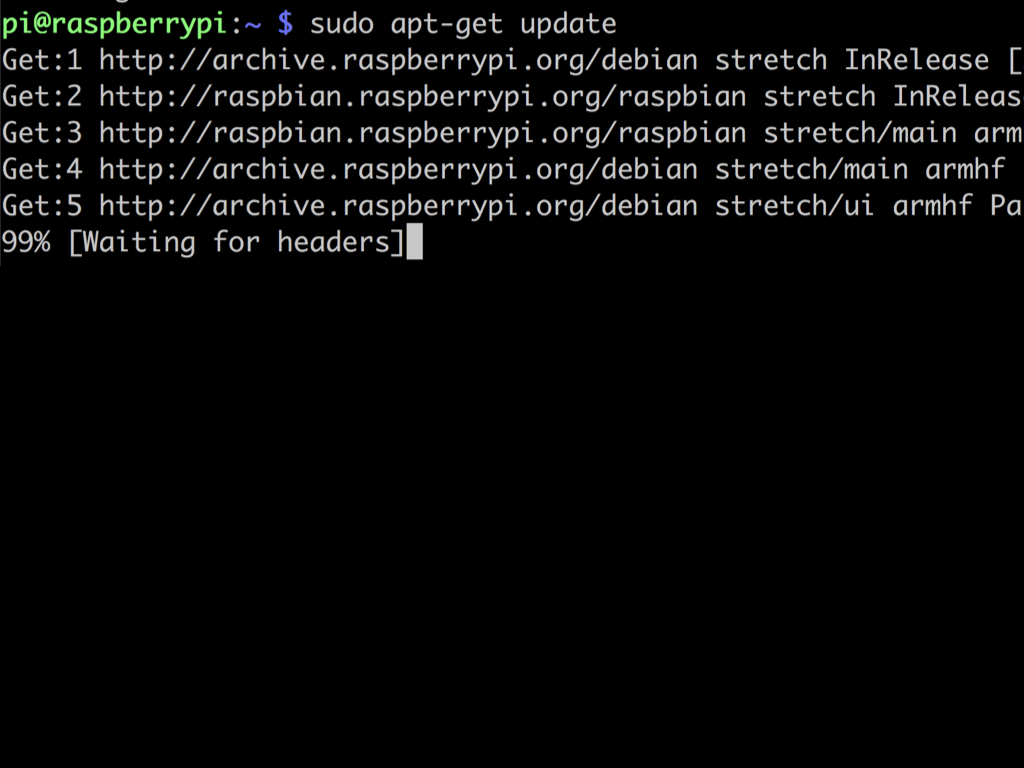
First, run: sudo apt-get update
Then run : sudo apt-get install build-essential python-dev python-openssl git
Step 8 — DHT Library
Next, use a pre-built library that supports a variety of sensors including the DHT22:
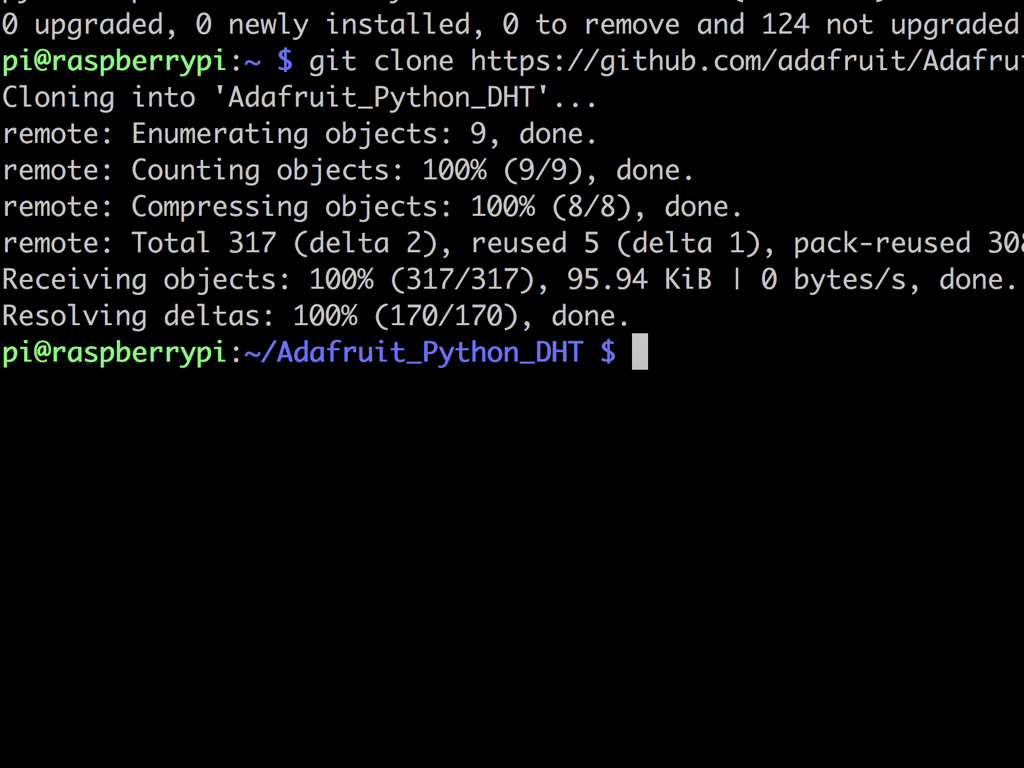
git clone https://github.com/adafruit/Adafruit_Python_DHT.git && cd Adafruit_Python_DHT
git clone https://github.com/adafruit/Adafruit_Python_DHT.git && cd Adafruit_Python_DHT
Step 9 — Run the example file
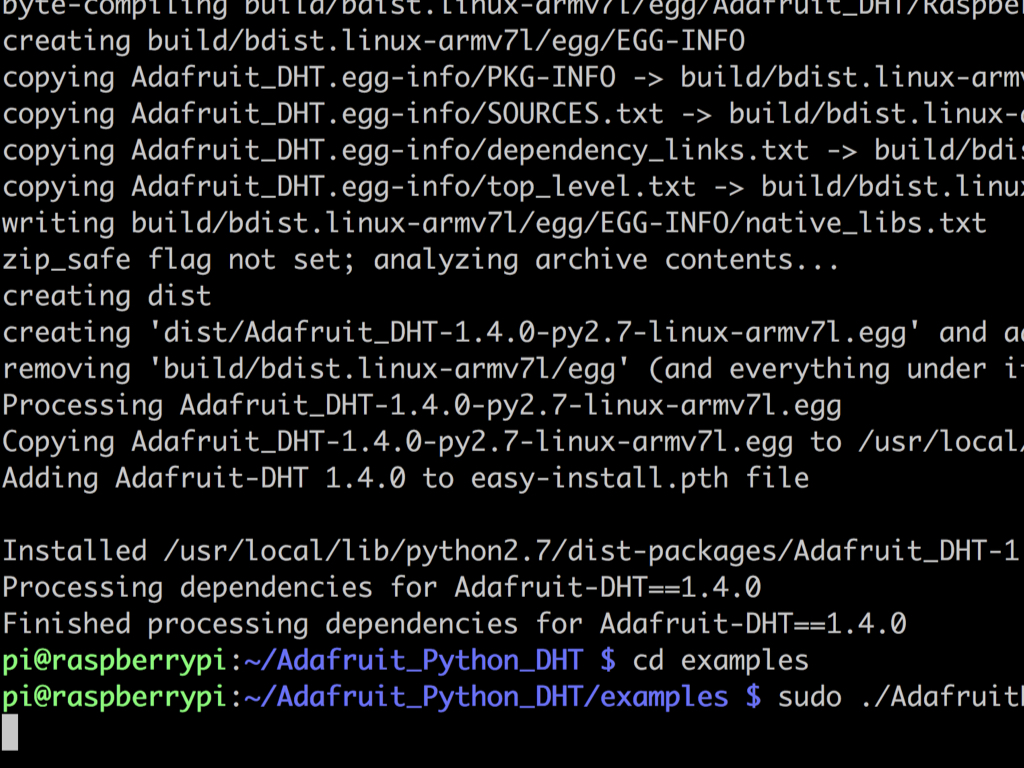
Change the directory to the examples folder with: cd examples
Next, run the example with: sudo ./AdafruitDHT.py 22 21
The first parameter indicates which sensor was used (22 for the DHT22) and the second indicates which GPIO it is connected to. In this example, we've connected the DHT22 to GPIO 21.
This second parameter indicates the GPIO number, not the pin number!
This second parameter indicates the GPIO number, not the pin number!
Step 10 — Python library
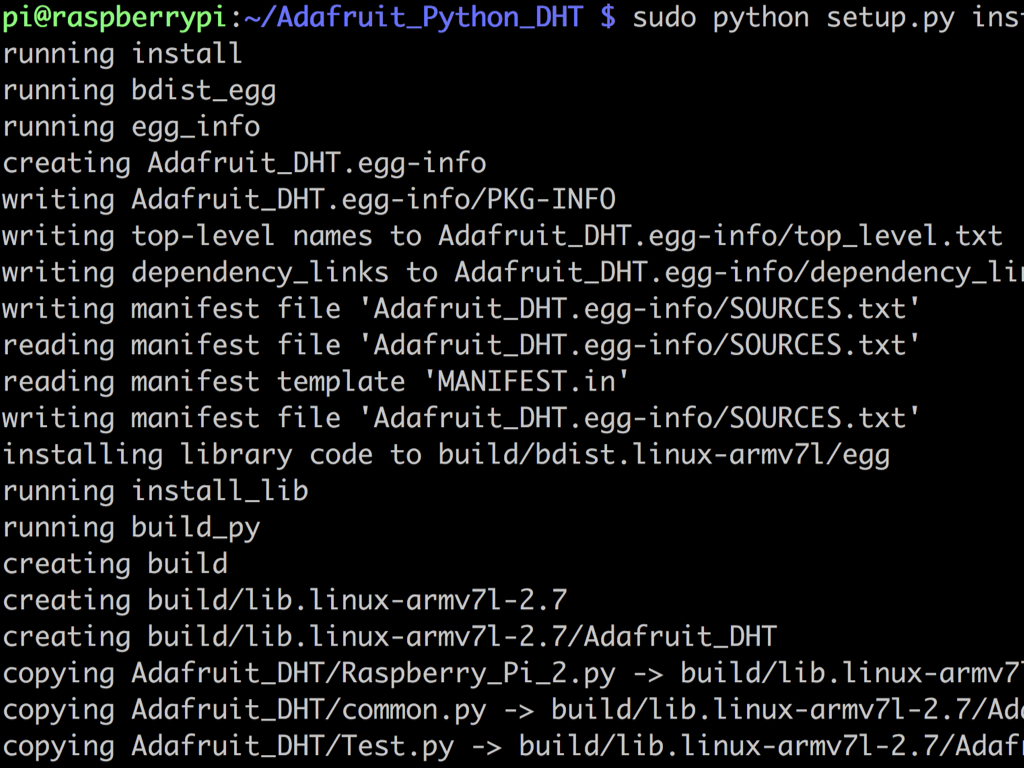
Now create a Python library with: sudo python setup.py install
