
Beginner
How to Set Up the ReSpeaker HAT for Raspberry Pi
Opening up a world of voice-activated projects
By Cherie Tan
Setting up the ReSpeaker HAT for Raspberry Pi opens up a world of possibilities for voice-activated projects. Whether you're building a smart home assistant, an interactive robot, or any other voice-controlled device, the ReSpeaker HAT offers advanced audio processing capabilities to capture and respond to voice commands accurately. This guide will walk you through the entire setup process, from hardware assembly to software configuration, ensuring you can quickly and easily get your ReSpeaker HAT up and running
Follow these instructions to download the Seeed voice card source code, install it, and reboot your Raspberry Pi
git clone https://github.com/HinTak/seeed-voicecard.git
cd seeed-voicecard
sudo ./install.sh
sudo reboot now
Step 1 — Setup the driver on Raspberry Pi
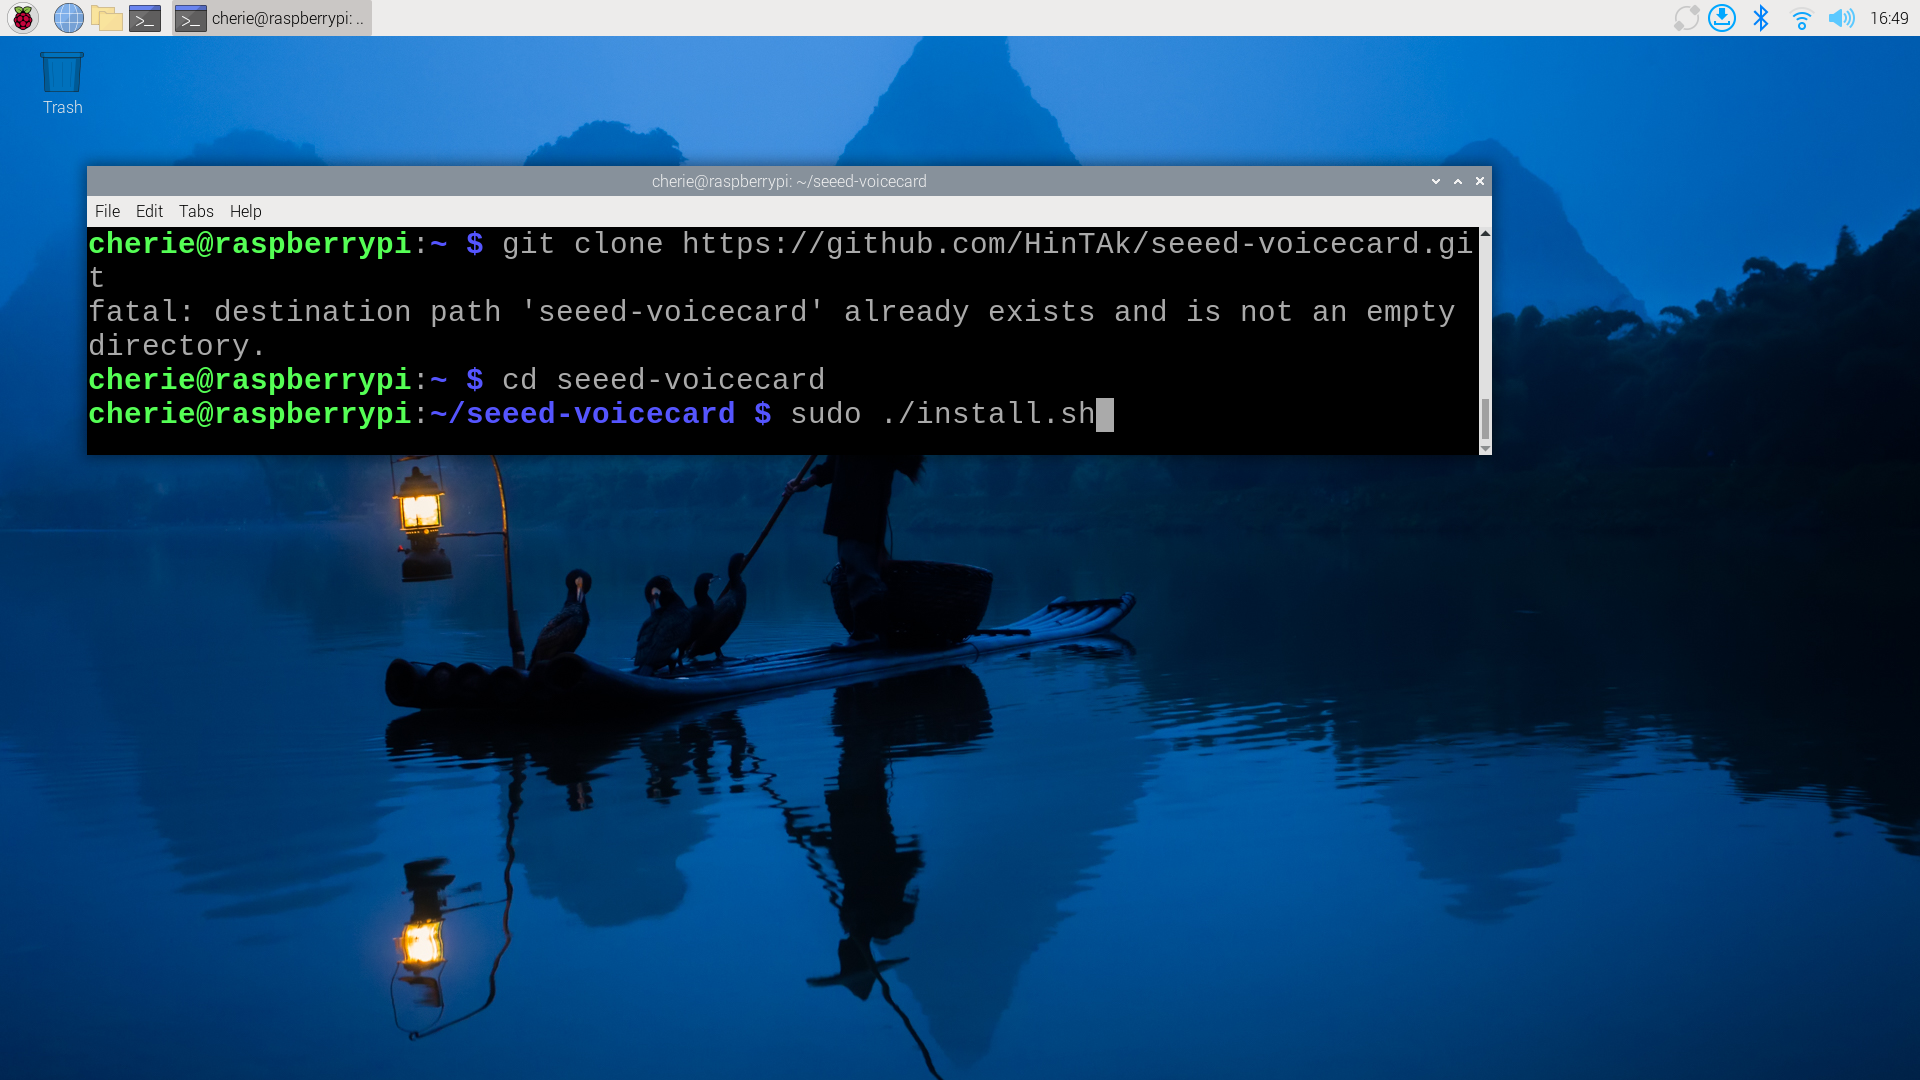
Follow these instructions to download the Seeed voice card source code, install it, and reboot your Raspberry Pi
git clone https://github.com/HinTak/seeed-voicecard.git
cd seeed-voicecard
sudo ./install.sh
sudo reboot now
Step 2 — Check that the sound card name matches the source code
aplay -l
arecord -l
Verify that the sound card name matches the Seeed voice card by running the following commands.
Step 3 — Clone the Repository
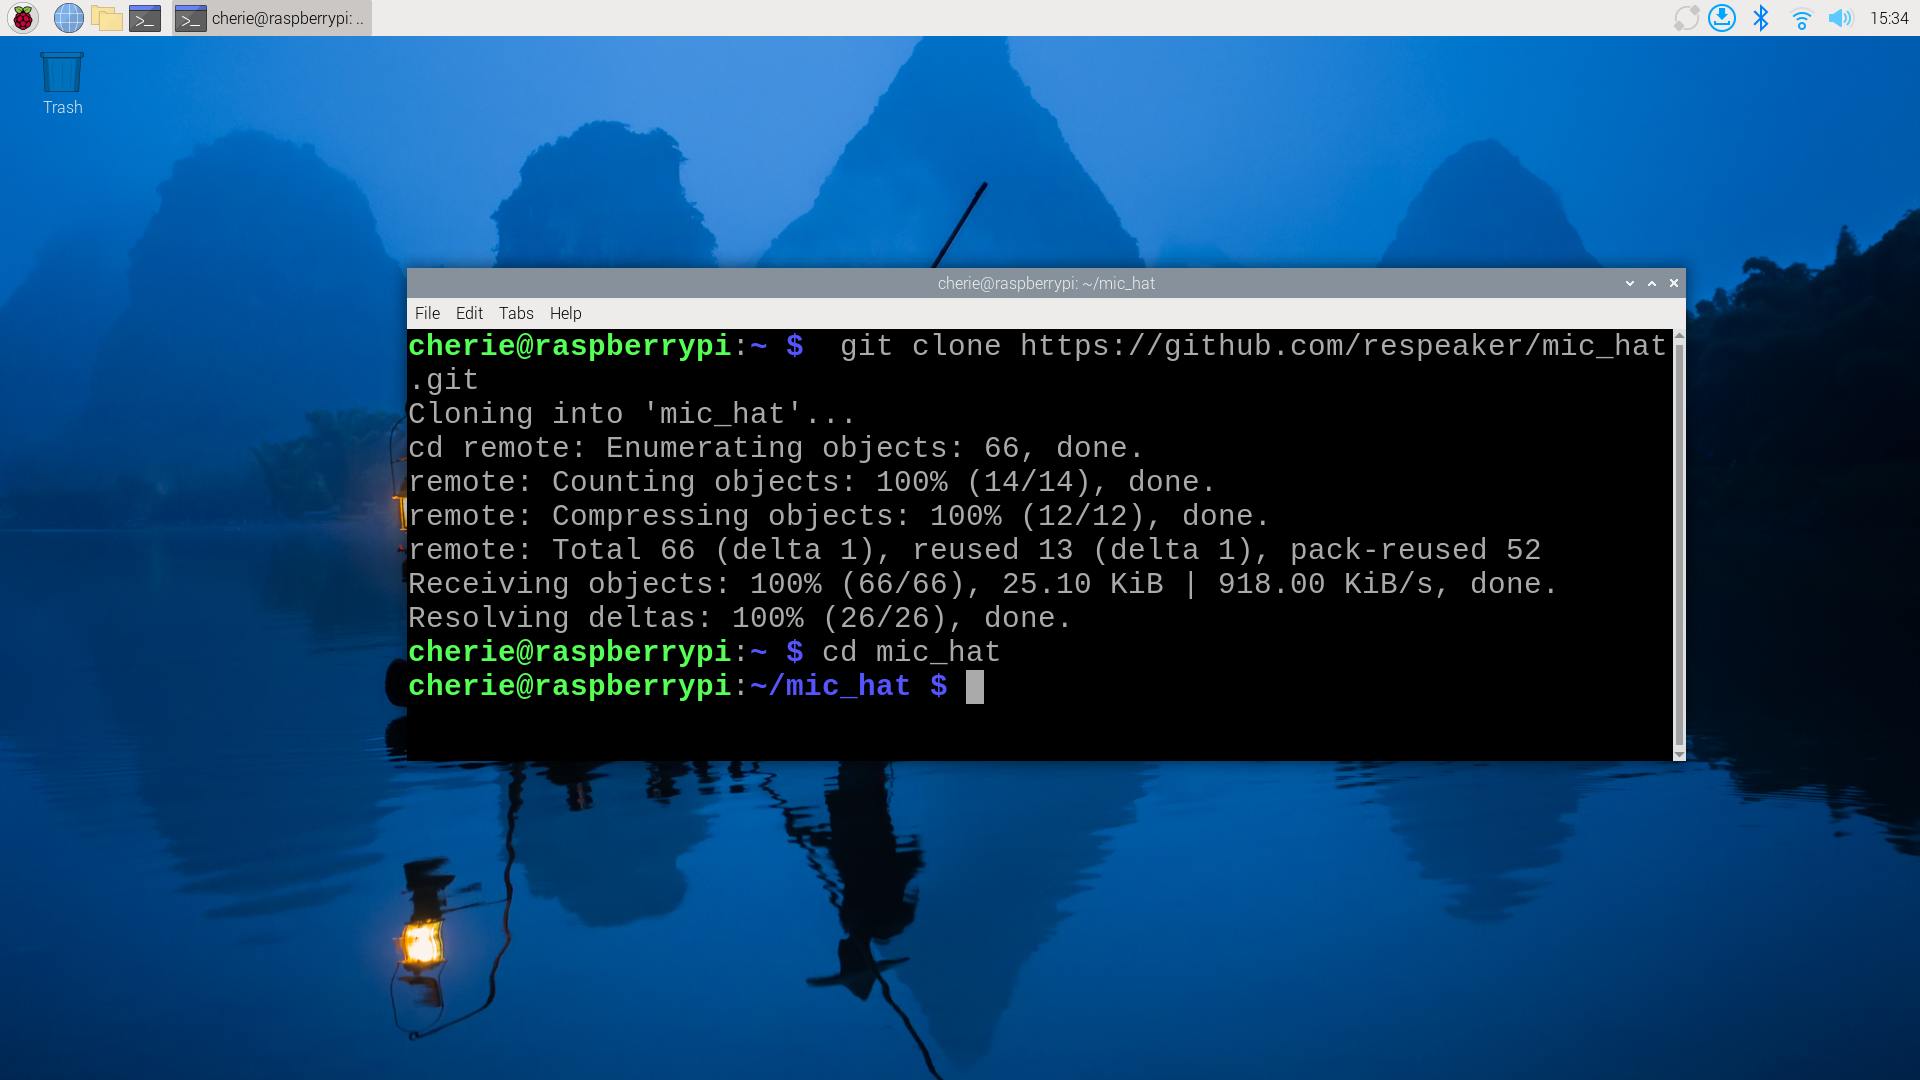
Clone the
mic_hat repository to your Raspberry Pi and navigate into the directory.git clone https://github.com/respeaker/mic_hat.git cd mic_hat
Step 4 — Install dependencies
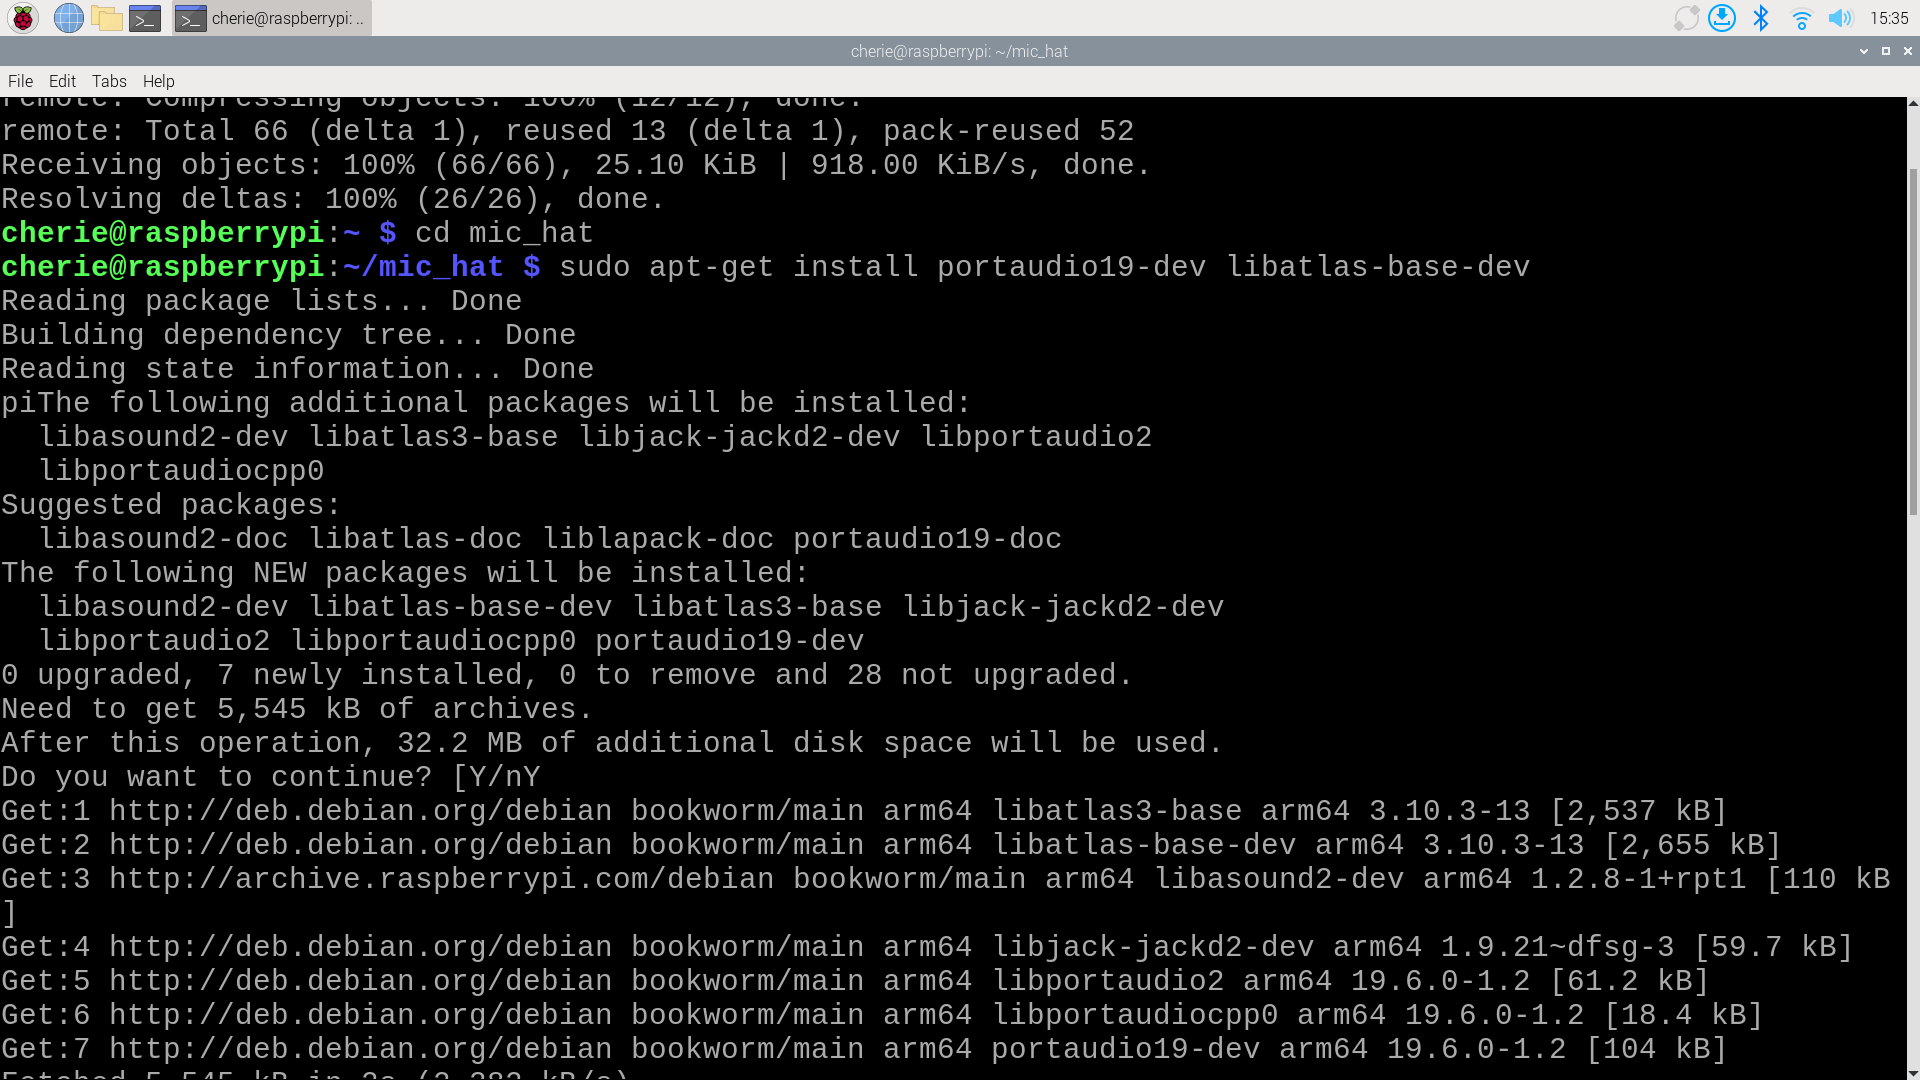
Install the necessary dependencies by running the following commands from the
mic_hat repository folder: sudo apt-get install portaudio19-dev libatlas-base-dev pip3 install -r requirements.txt
Step 5 — Control APA102 LEDs
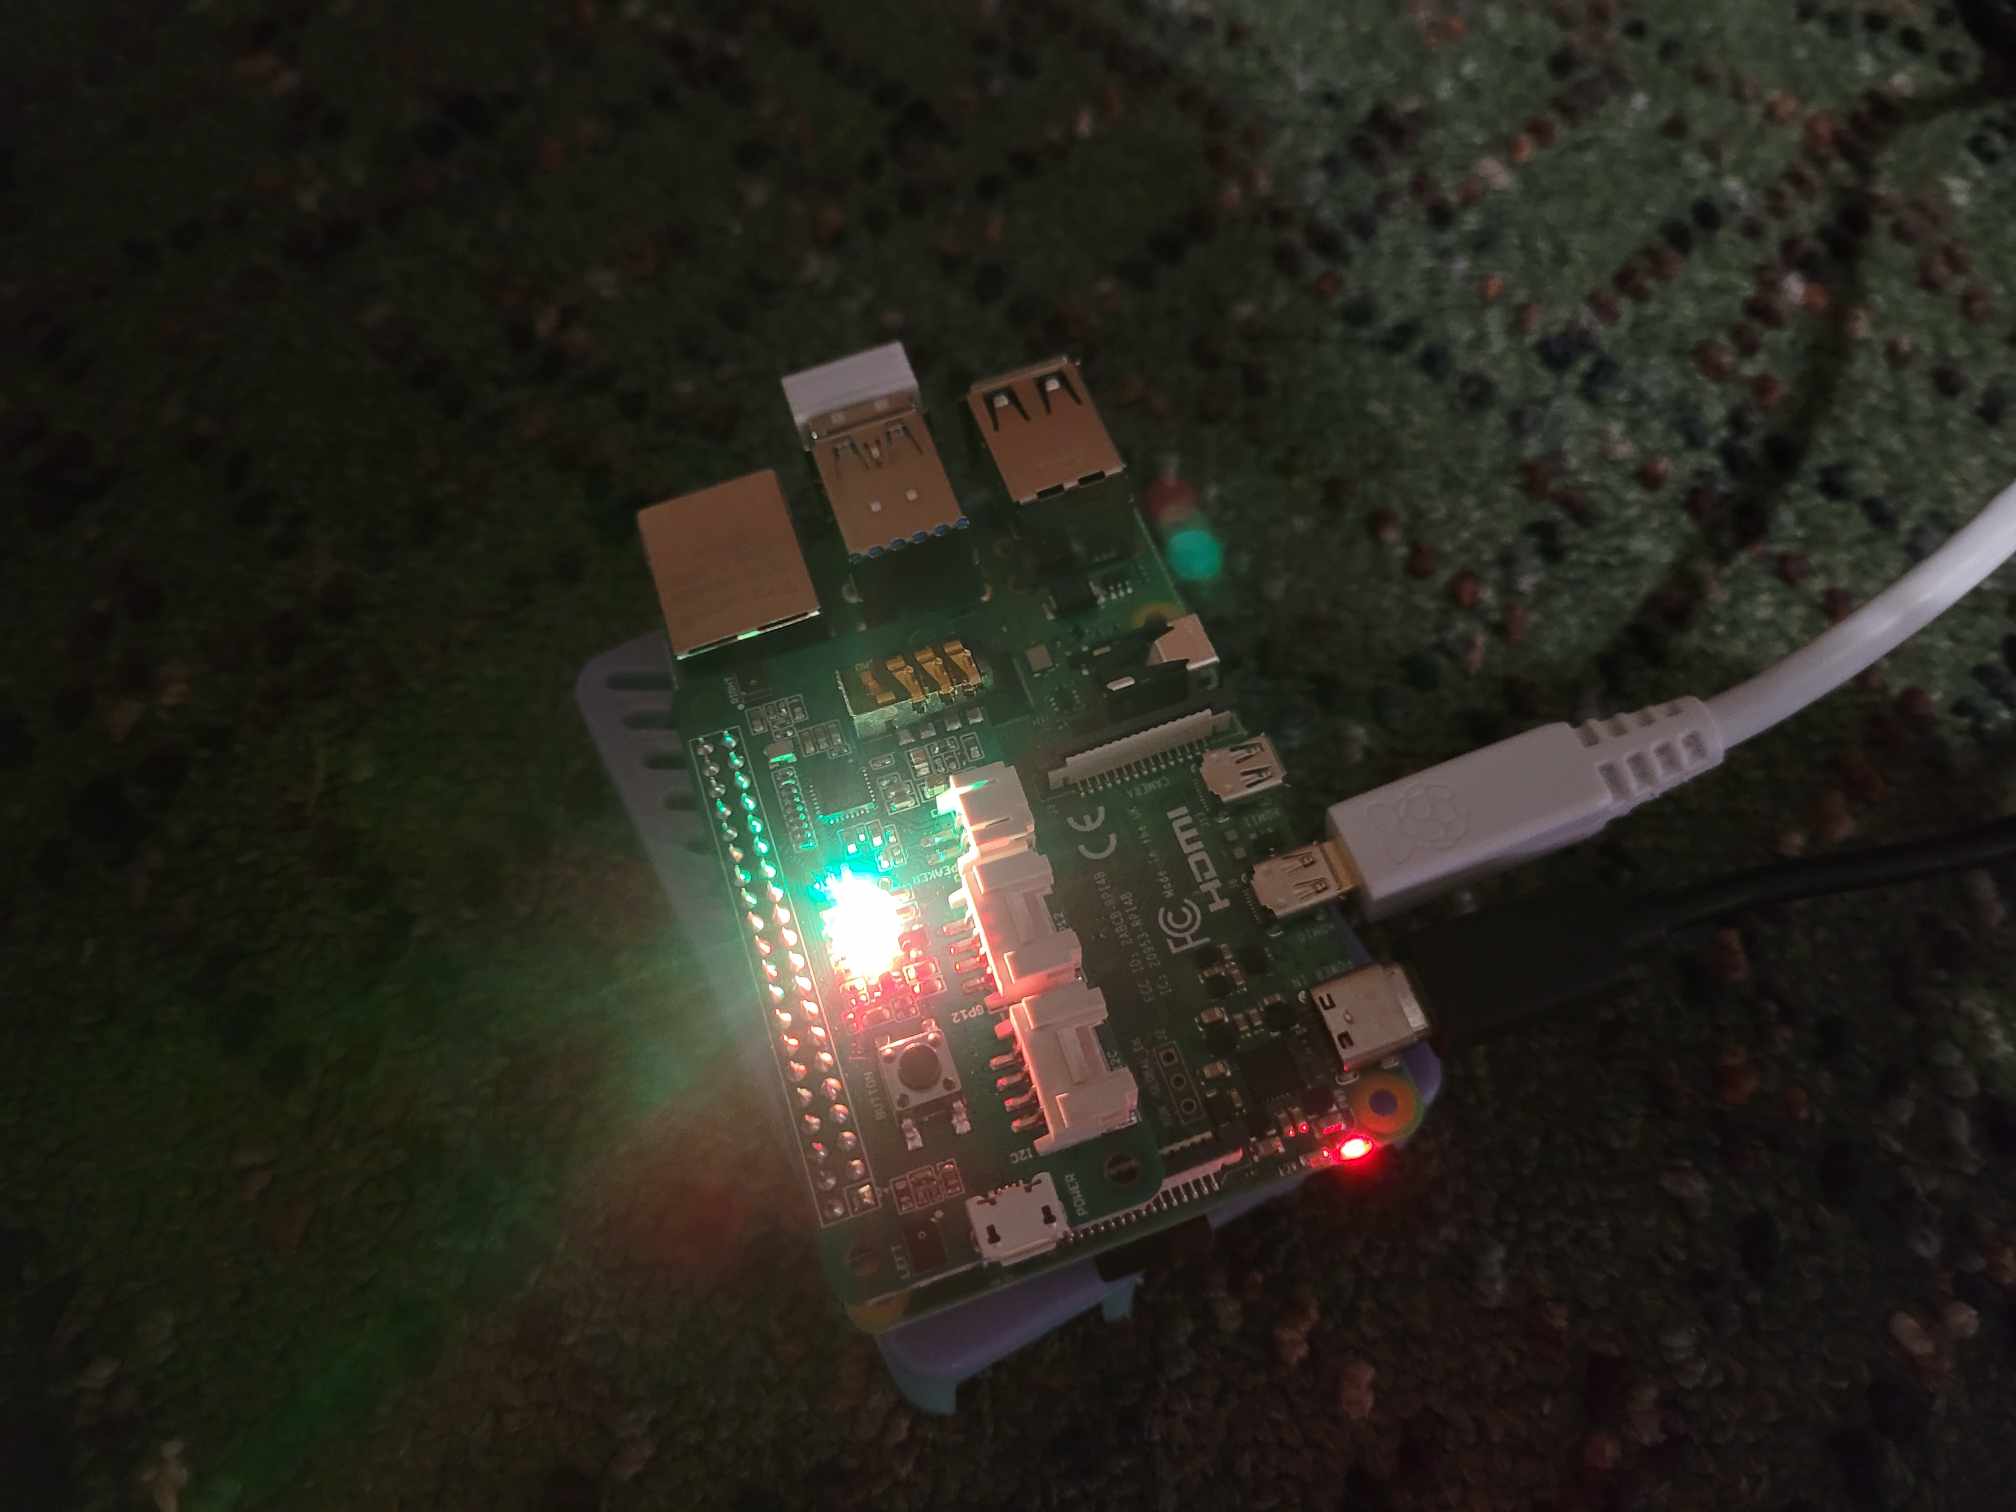
The APA102 LEDs on the board have a driver chip that holds the desired color until a new command is received. To control the LEDs, run:
python3 interfaces/pixels.py
