
Beginner
7-Inch LCD Touch Screen with Raspberry Pi
How to set up the 7-inch touch screen
By Cherie Tan
The 7 inch LCD HDMI Display for Raspberry Pi 3 supports 800x480 resolution and has touch screen control capabilities. But it requires a few modifications before it can be used.
In this guide, we will show you how to set it up with the Rasperry Pi to get it up and running quickly.
You could build a Raspberry Pi tablet or a digital photo frame with it, just to name a few examples.
Right out of the box, there are three parts to the kit. The first being the 7-inch LCD touch screen.
A micro-usb cable
A short HDMI cable
Step 1 — The parts
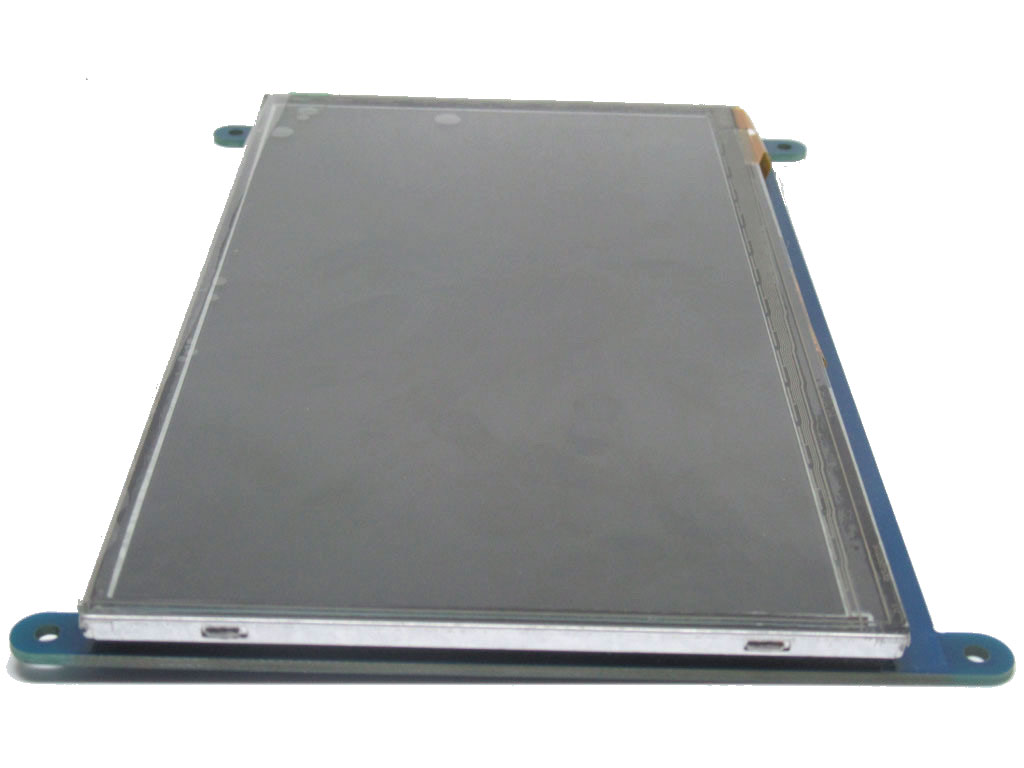
Right out of the box, there are three parts to the kit. The first being the 7-inch LCD touch screen.
A micro-usb cable
A short HDMI cable
Step 2 — Turn on the 'backlight' switch
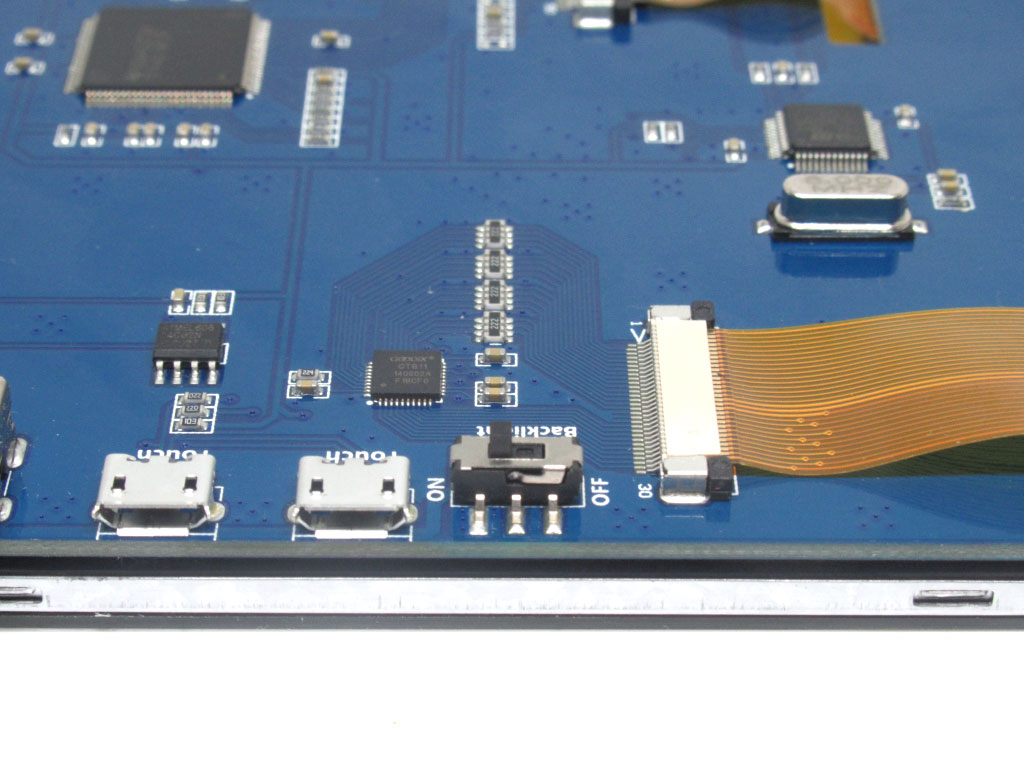
First, we will turn the backlight on by flicking the switch. This is located on the back side of the LCD screen.
Step 3 — Connect the LCD to the Pi
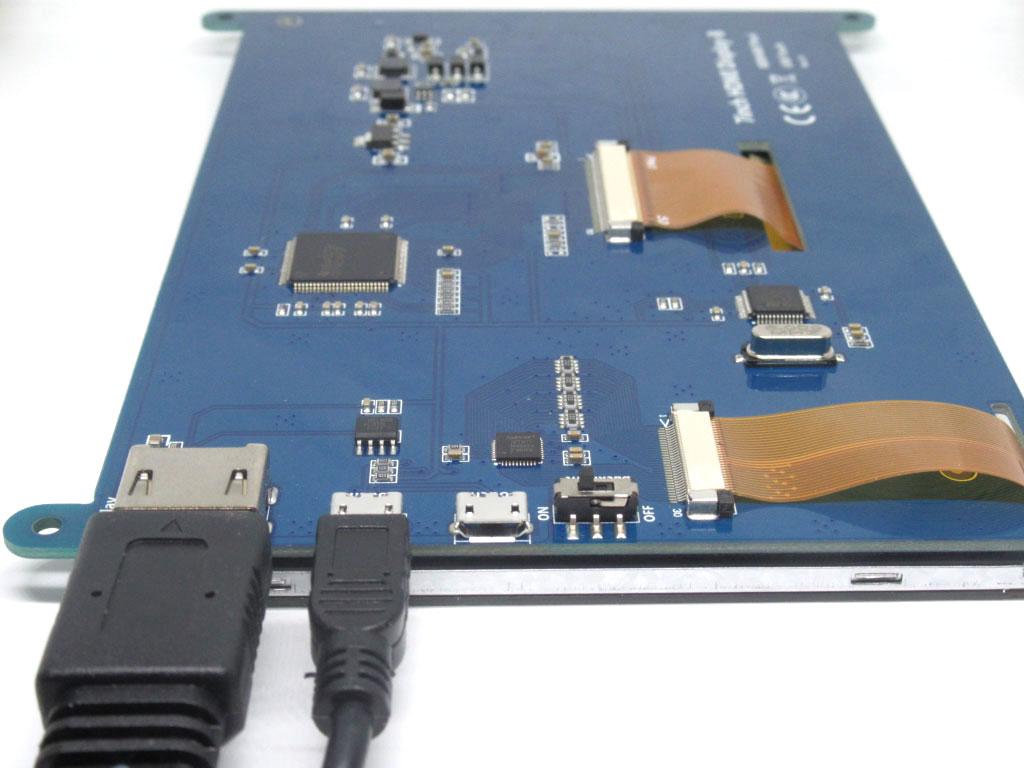
Connect the following:
- HDMI Port of LCD to HDMI Port of Pi
- microUSB Port of LCD to USB Port of Pi
The microUSB cable must be connected to the first microUSB port as shown. If connected to the second port, it will power the screen but the touch-screen functionality will not work.
Step 4 — Insert microSD card into Pi
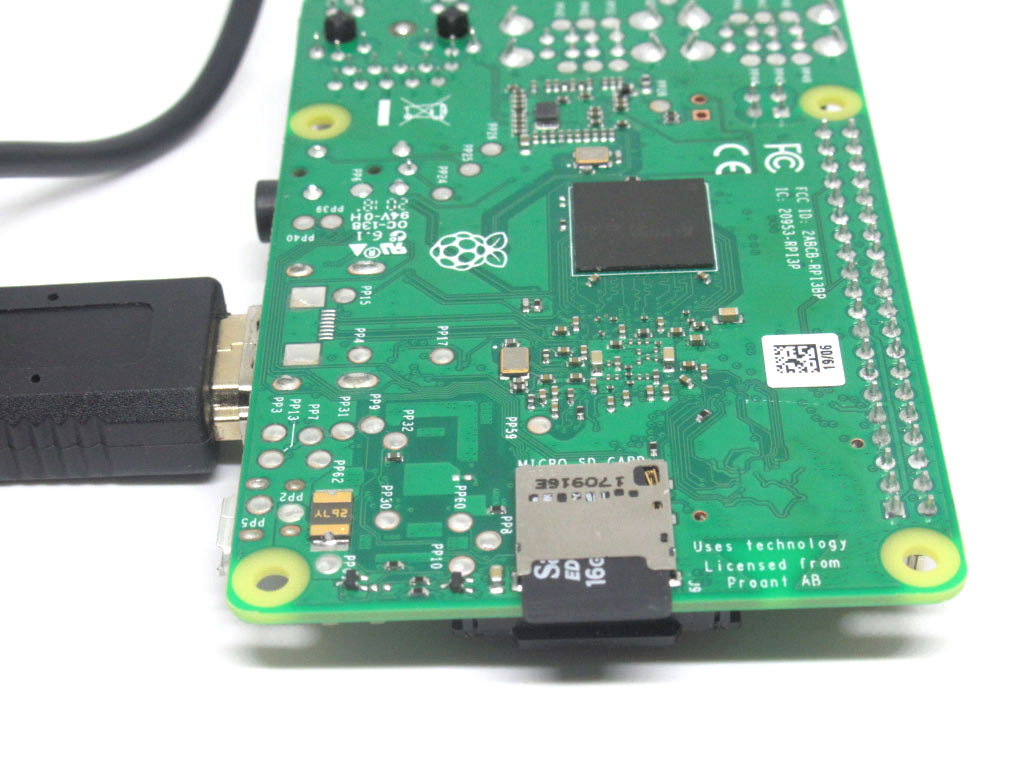
If you have a NOOBS microSD card with Raspbian, please insert it into the Raspberry Pi and then connect the power supply to start it up.
Don't have a NOOBS microSD card? Please follow our guide on how to create a NOOBS MicroSD card.
Step 5 — Open a terminal window
Connect a keyboard as well as mouse to the Raspberry Pi and then power it on.
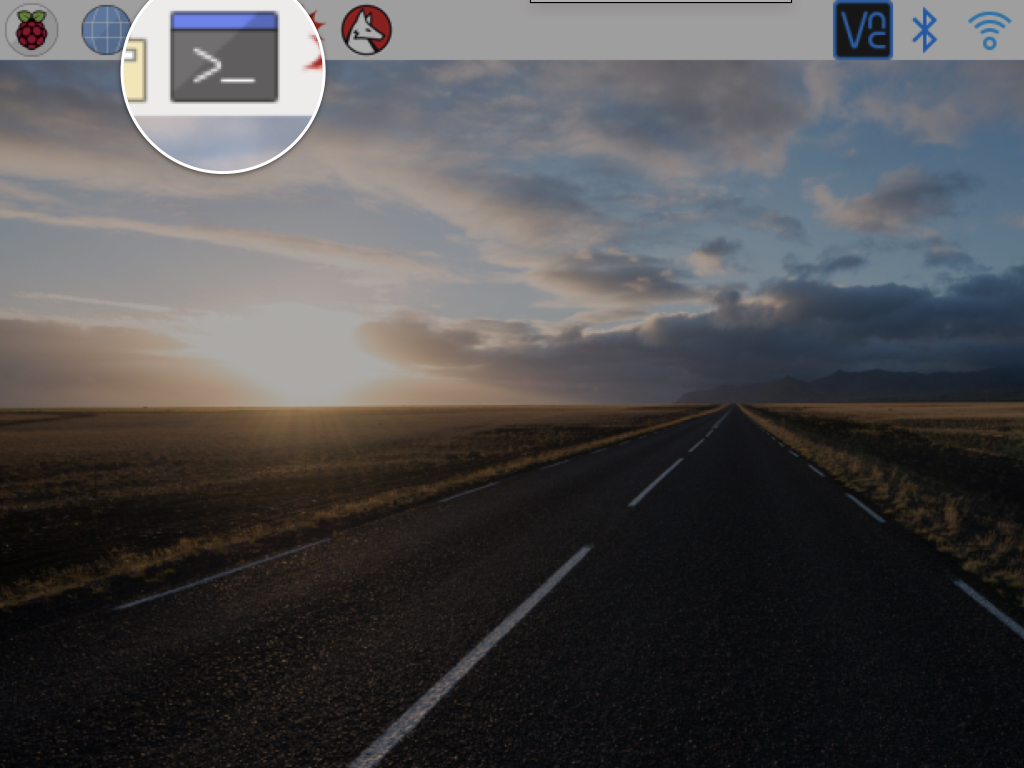
After the Pi has booted up, from the desktop, click on the terminal window icon on the top left-hand corner.
With a terminal window open, run the following command: sudo nano /boot/config.txt
Step 6 — Edit the config.txt file
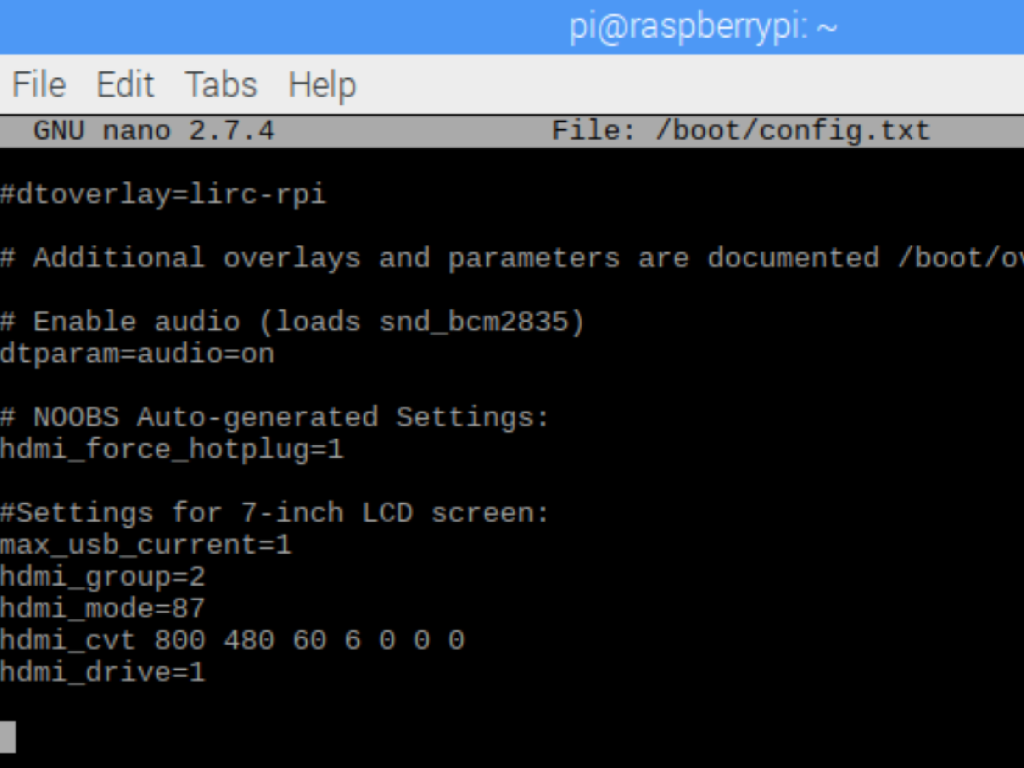
For the screen to display in landscape mode, add the following lines to the end of the config.txt file:
max_usb_current=1
hdmi_group=2
hdmi_mode=87
hdmi_cvt 800 480 60 6 0 0 0
hdmi_drive=1
Step 7 — Display Rotating
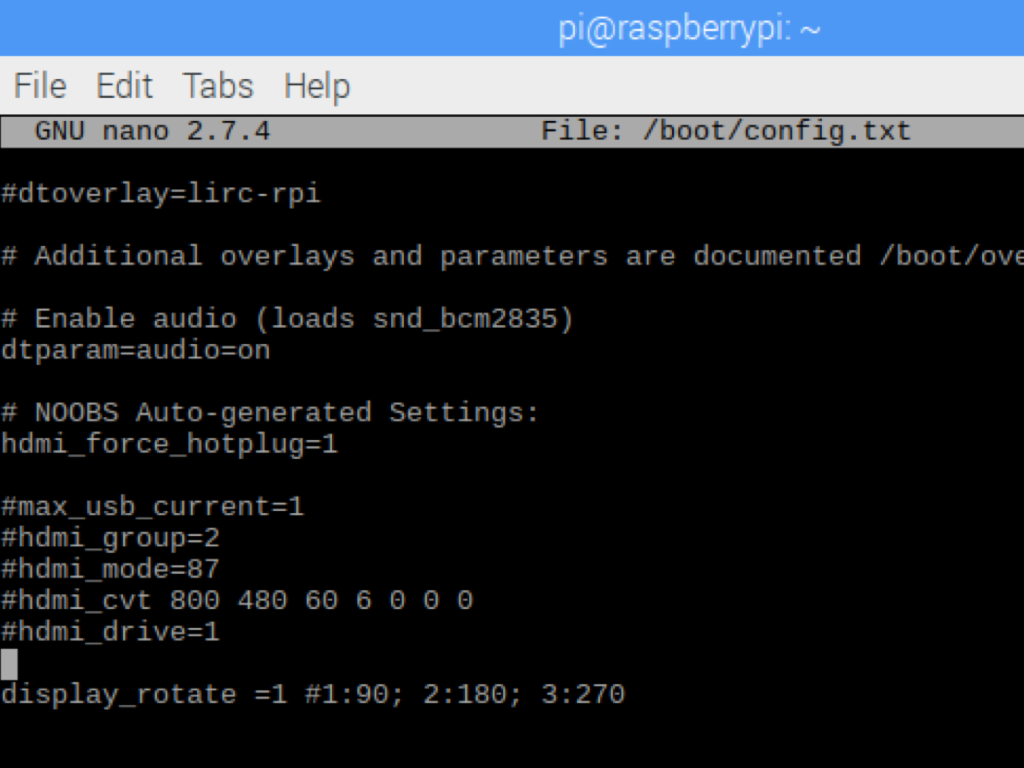
If you would like the screen to be in portrait mode, add the following line to the end of the config.txt file:
display_rotate=1 #1: 90; 2: 180; 3: 270
Press CTRL + X and Y, then hit Enter to save.
Step 8 — Touch Screen Rotation

To enable the touch screen for the rotated screen, first, we will need to install libinput with the following code: sudo apt-get install xserver-xorg-input-libinput
Now create an xorg.conf.d folder with the following command: sudo mkdir /etc/X11/xorg.conf.d
The next step is to copy the file 40-libinput-conf to the folder which we just created. So use the following command: sudo cp /usr/share/X11/xorg.conf.d/40-libinput.conf /etc/X11/xorg.conf.d/
Step 9 — Modifications to the file
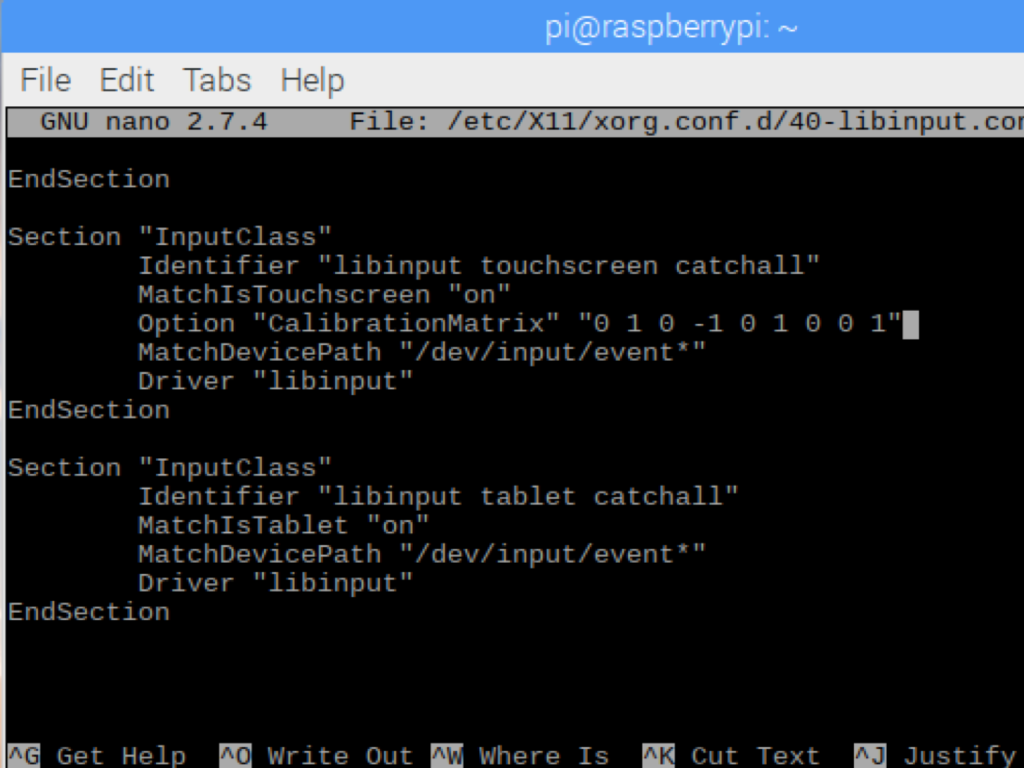
We will make several modifications to the file '40-libinput.conf'. So run the following command: sudo nano /etc/X11/xorg.conf.d/40-libinput.conf
Once the file has been opened, scroll all the way down
Make sure there is a line that states 'Identifier 'libinput touchscreen catchall' '
Add the line 'Option "CalibrationMatrix" "0 1 0 -1 0 1 0 0 1"
Save changes by hitting 'CTRL+X', then 'Y' and then 'Enter'.
Finally, restart the Pi with the command: sudo reboot
Step 10 — Add Virtual Keyboard
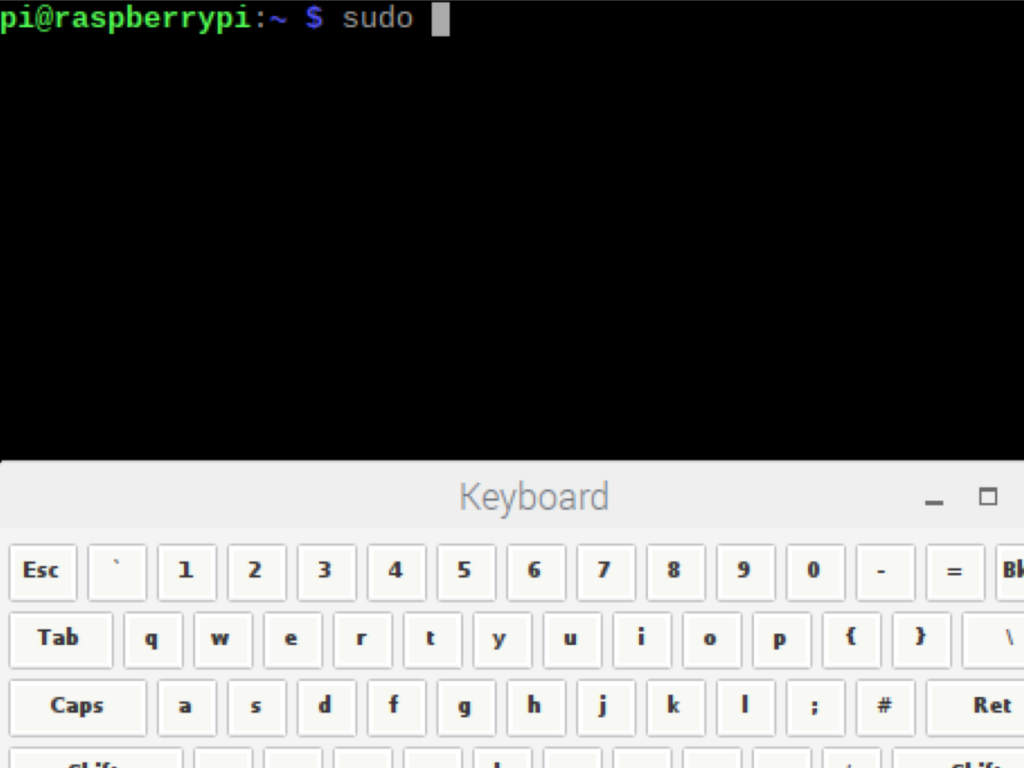
Additionally, if you would like to add the virtual keyboard that is part of the Raspbian system, use the following command: sudo apt-get install matchbox-keyboard
