
Beginner
Create a NOOBS MicroSD Card
Learn to format your microSD card and get NOOBS on it
By Cherie Tan
While there are many Raspberry Pi images to use, NOOBS is a great option for beginners. It is an easy operating system install manager. If you don't already have a NOOBS SD Card, you can create your own.
In this guide, you will learn how to format your microSD card, load NOOBS on it and install Raspbian.
It's the easiest way to get started with the Raspberry Pi!
There are two ways to get started with NOOBS. The first way is to use a MicroSD Card with NOOBS already loaded onto it.
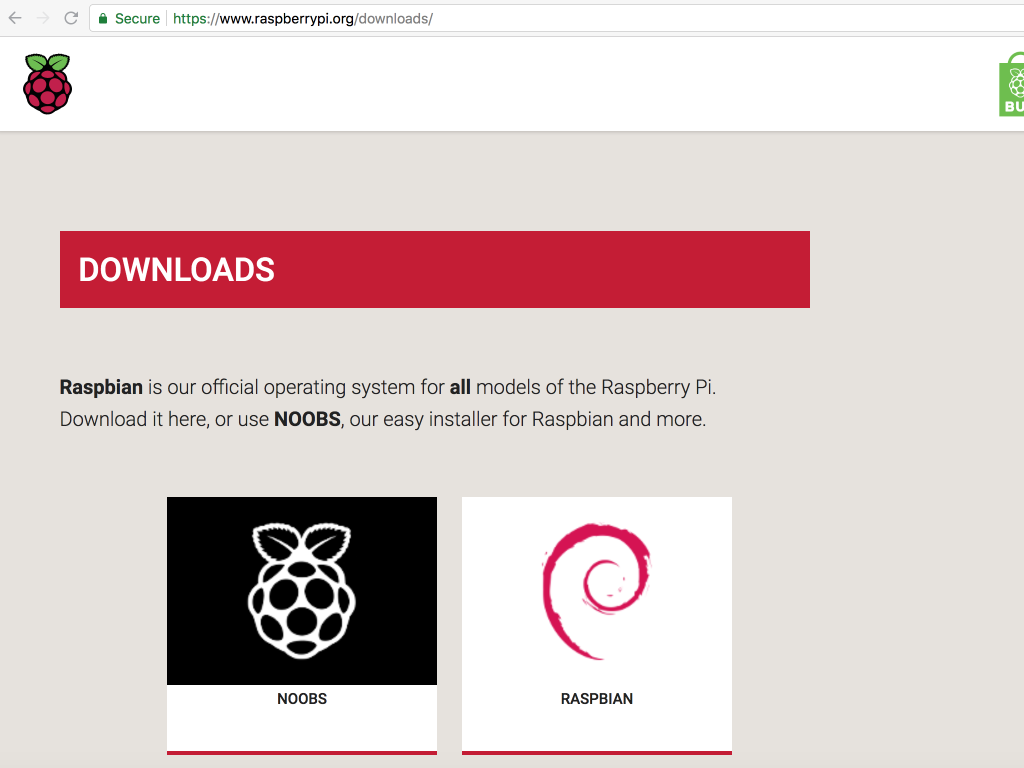
The other way is to create a NOOBS SD Card. To do so, first, visit the Raspberry Pi downloads page.
Click on NOOBS.
Select âDownload as Zipâ
At this time of writing, if you are using the Raspberry Pi 4, please note that it requires the latest version of NOOBs (version 3.2)!
Step 1 — Download NOOBS
There are two ways to get started with NOOBS. The first way is to use a MicroSD Card with NOOBS already loaded onto it.
The other way is to create a NOOBS SD Card. To do so, first, visit the Raspberry Pi downloads page.
Click on NOOBS.
Select âDownload as Zipâ
At this time of writing, if you are using the Raspberry Pi 4, please note that it requires the latest version of NOOBs (version 3.2)!
Step 2 — Format the microSD card
Everything on your current SD card will be overwritten during the formatting process. So if there is anything you want to save, you may want to back those files up before continuing!
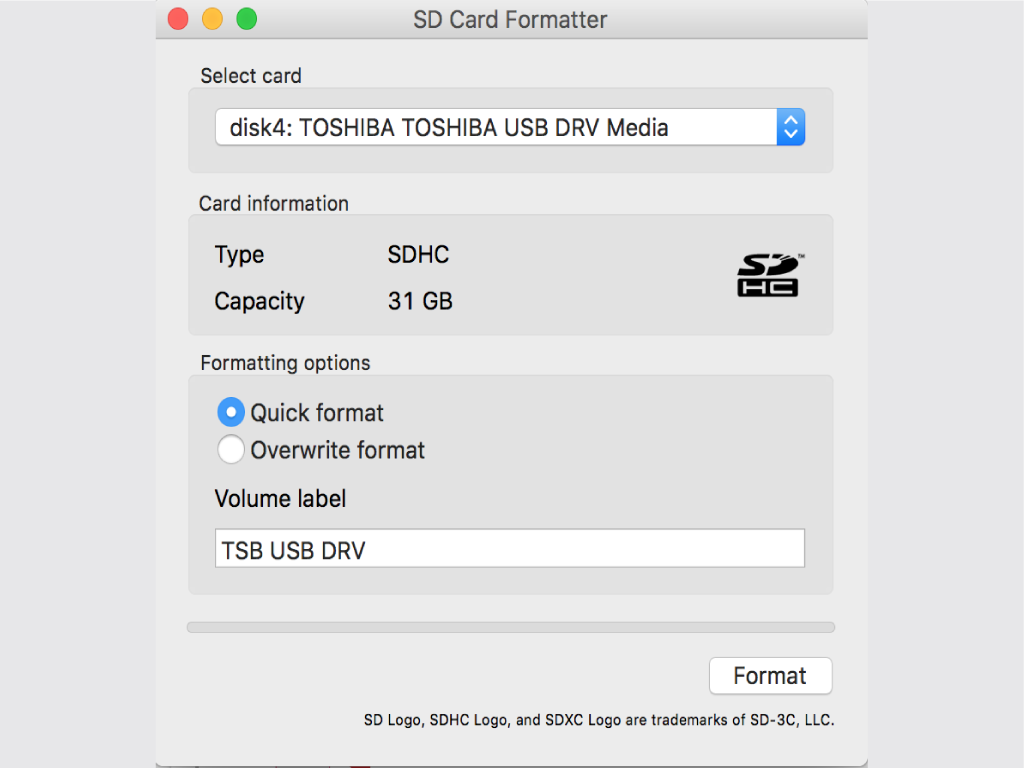
Download SD Formatter 4.0 for Windows or Mac. Run it and install the software.
Insert the SD card into your SD card reader, then see the drive letter that shows up in the left hand column of Windows Explorer, or Finder on the Mac.
In SD Formatter, select the correct drive letter for the SD card, then click on 'Format'.
Step 3 — Extract and Add NOOBS to MicroSD card
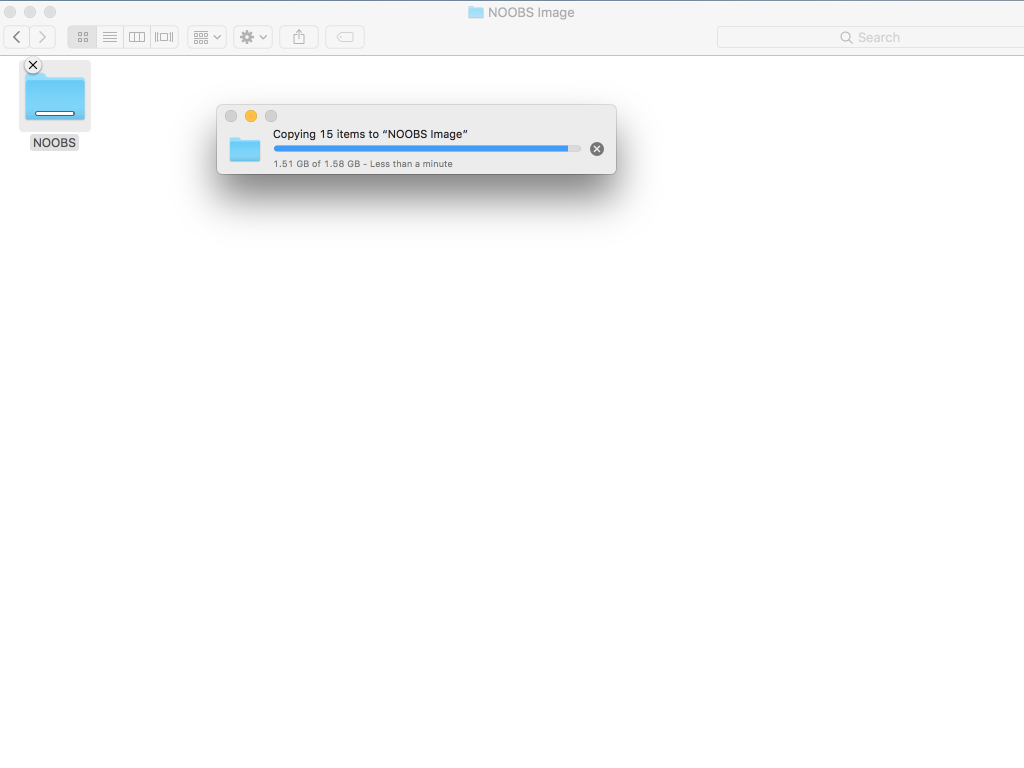
The next step is to extract all the files from the NOOBS zip archive that you downloaded in Step 1.
Head over to your Downloads folder to find the zip archive that you downloaded. Extract the files.
With your SD card still connected, select all the files from the NOOBS folder, drag them into the SD card folder, and you're done!
