Rotary Encoder with micro:bit
Learn to use the rotary encoder with micro:bit
Written By: Cherie Tan
Difficulty
Easy
Steps
10
The rotary encoder is an electro-mechanical switch. Its output signal can be used to determine the direction that its knob is being rotated. Not only that, but it is also capable of continuous rotation, unlike a regular potentiometer.
In this guide, learn to connect it to a micro:bit and program it using the MakeCode editor.
After completing this guide, you will understand the basics in using a rotary encoder. It has wide applications from robotics to computer input.
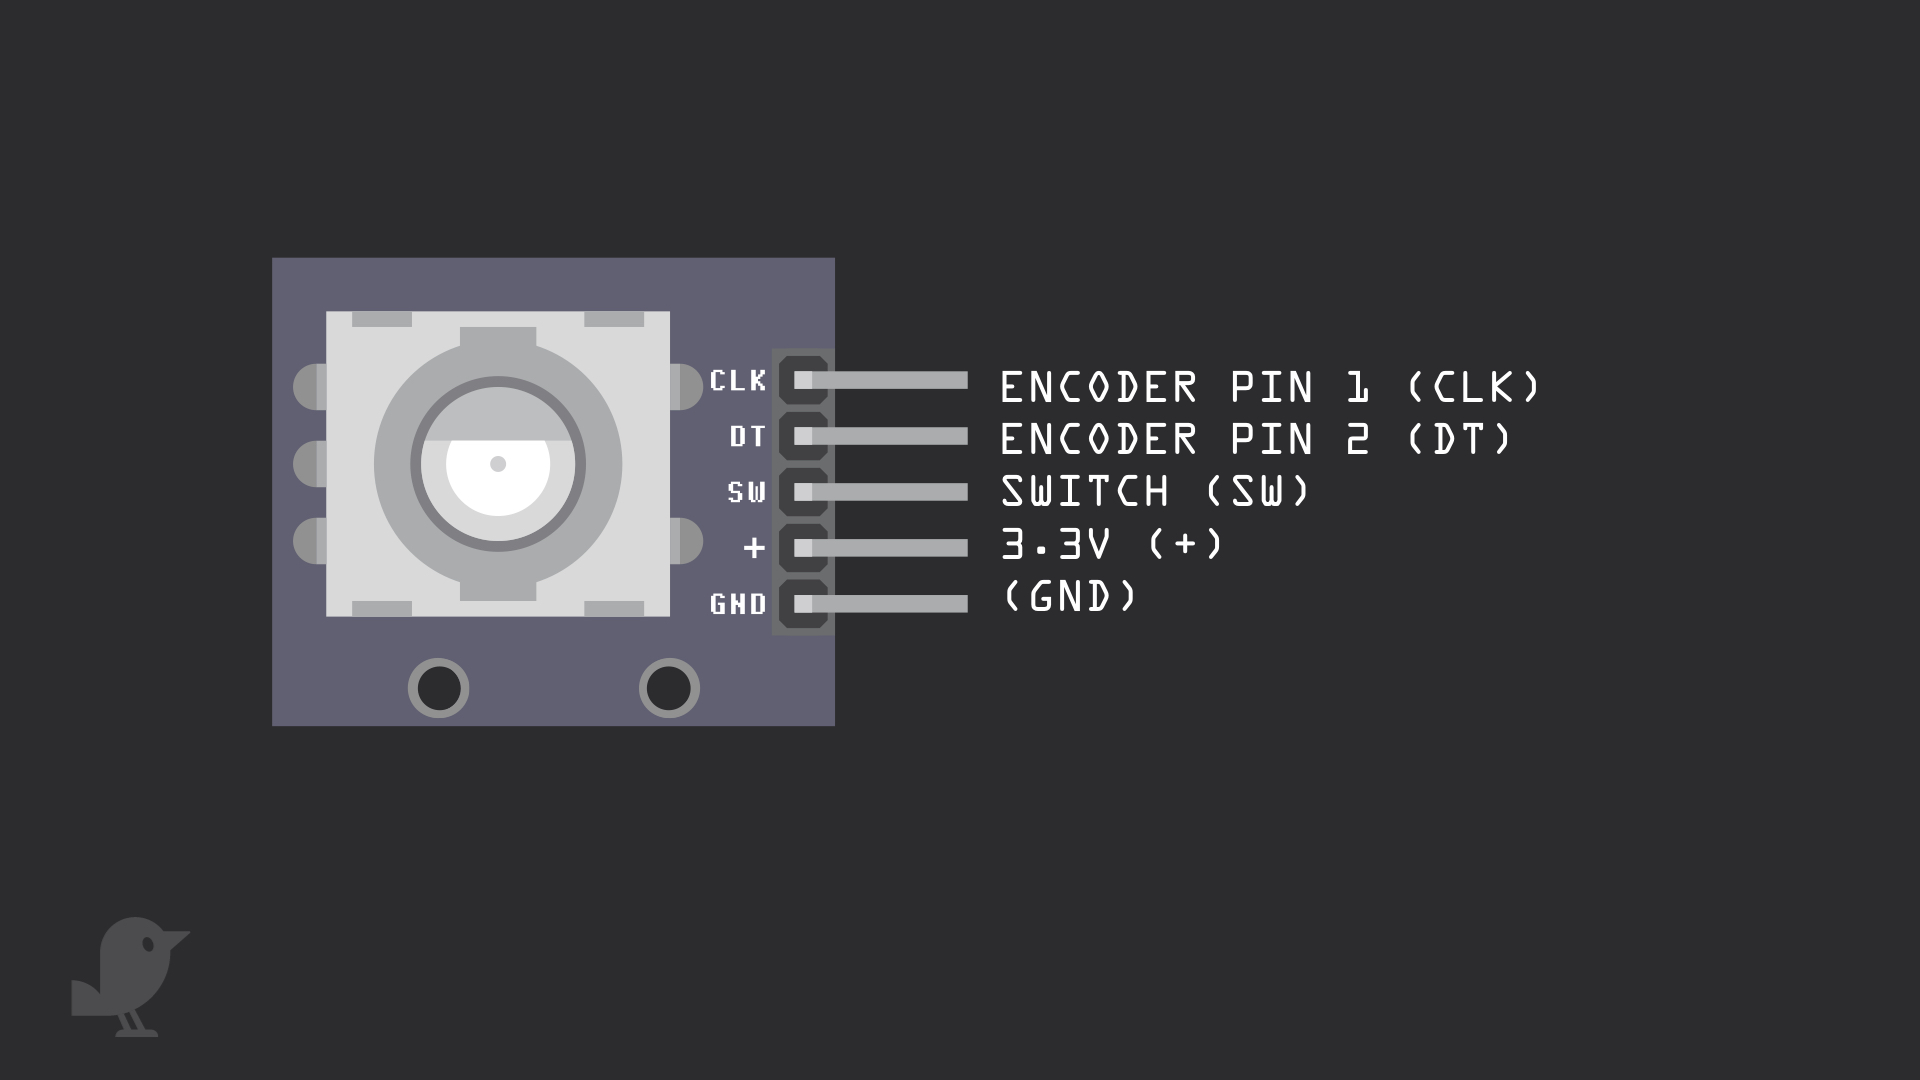
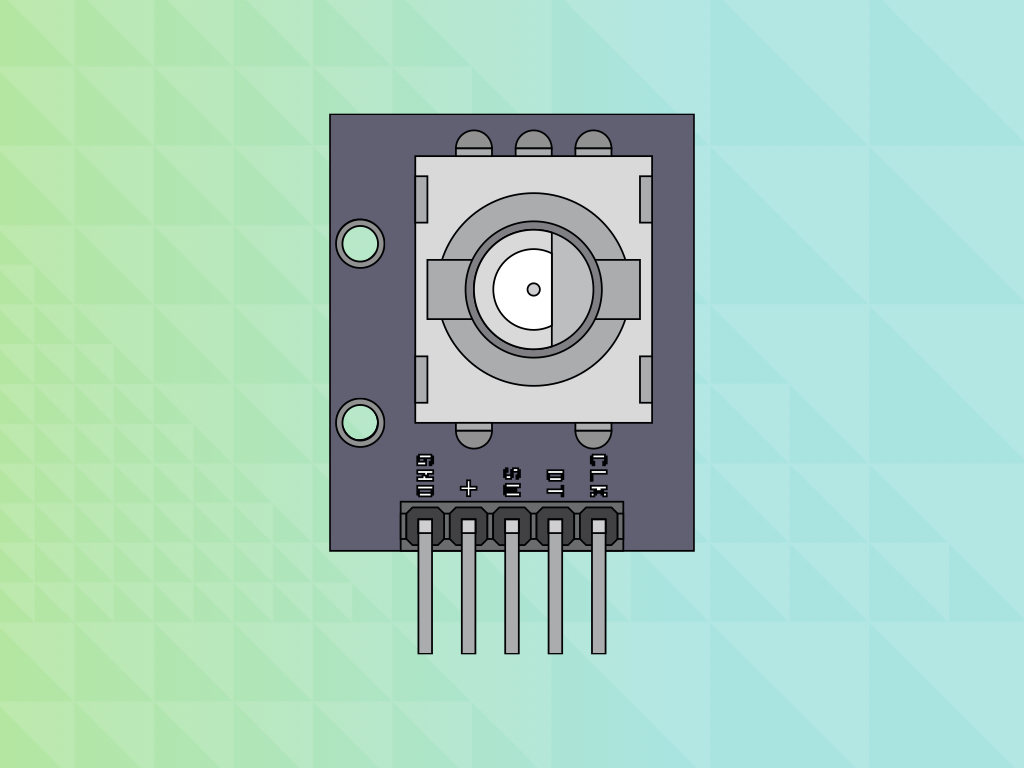
Let's take a closer look at the rotary encoder module. It has five pins:
Encoder Pin 1 (CLK)
Encoder Pin 2(DT)
Switch (SW)
3.3V : This pin on the module is labelled '+'. We'll connect the VCC pin to 3.3V on the micro:bit
GND: In electronics, we define a point in a circuit to be a kind of zero volts or 0V reference point, on which to base all other voltage measurements. This point is called ground or GND.
Voltage is the difference in potential between two points. As it is difficult to talk about voltage without a reference point, we need another point to compare it to.
Please use the M-F jumper wires included in the kit to connect this module to the breadboard.
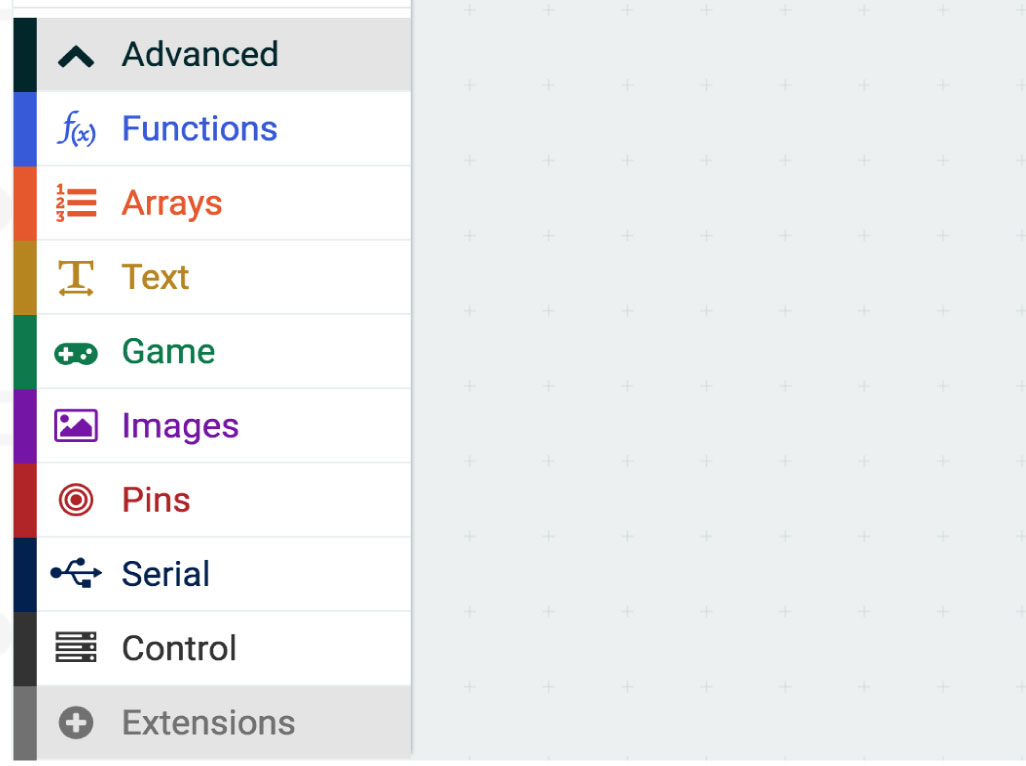
First, open up MakeCode editor and start a new project. We will need to download the KY-040 package for the rotary encoder module to work. So click on the 'Advanced' tab
Click on 'Extensions' tab
Type 'KY-040' in the search bar
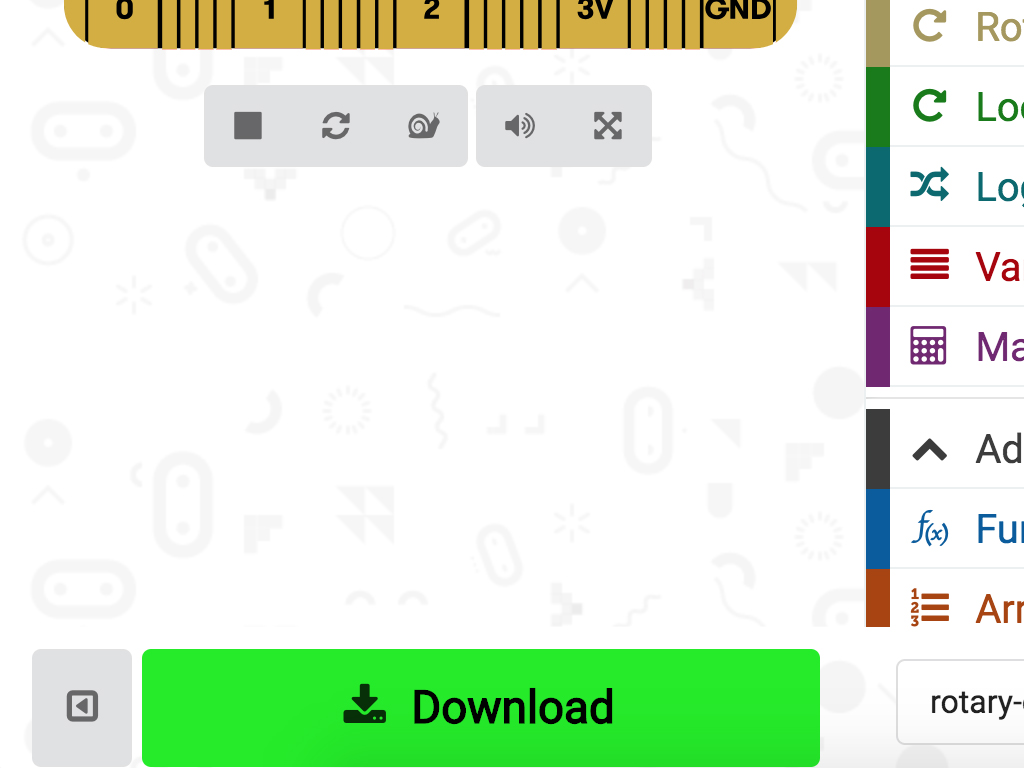
Click on 'rotary-encoder-KY-040' library and it will be added to the MakeCode editor
RotaryEncoder.onRotateEvent(RotationDirection.Left, function () {
    basic.showString("<")
})
RotaryEncoder.onRotateEvent(RotationDirection.Right, function () {
    basic.showString(">")
})
RotaryEncoder.init(Pins.P2, Pins.P1, Pins.P0)
Copy and paste this code into the Javascript interface.
Connect the micro:bit to your computer using a microUSB cable
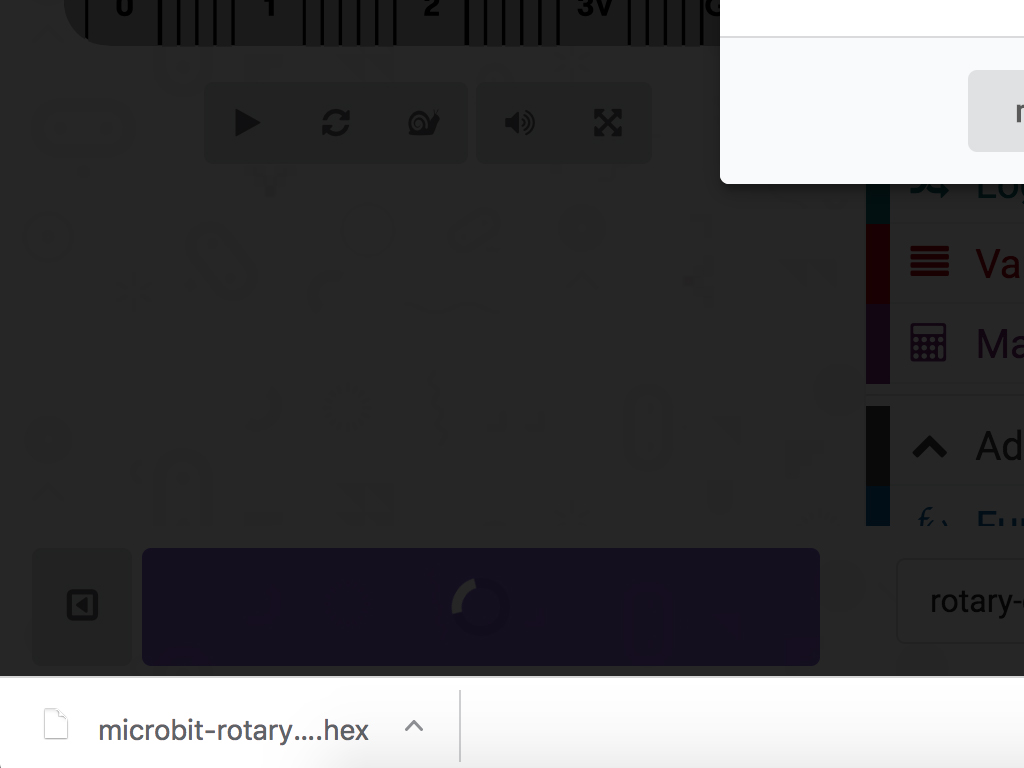
Click on the 'Download' button in MakeCode editor
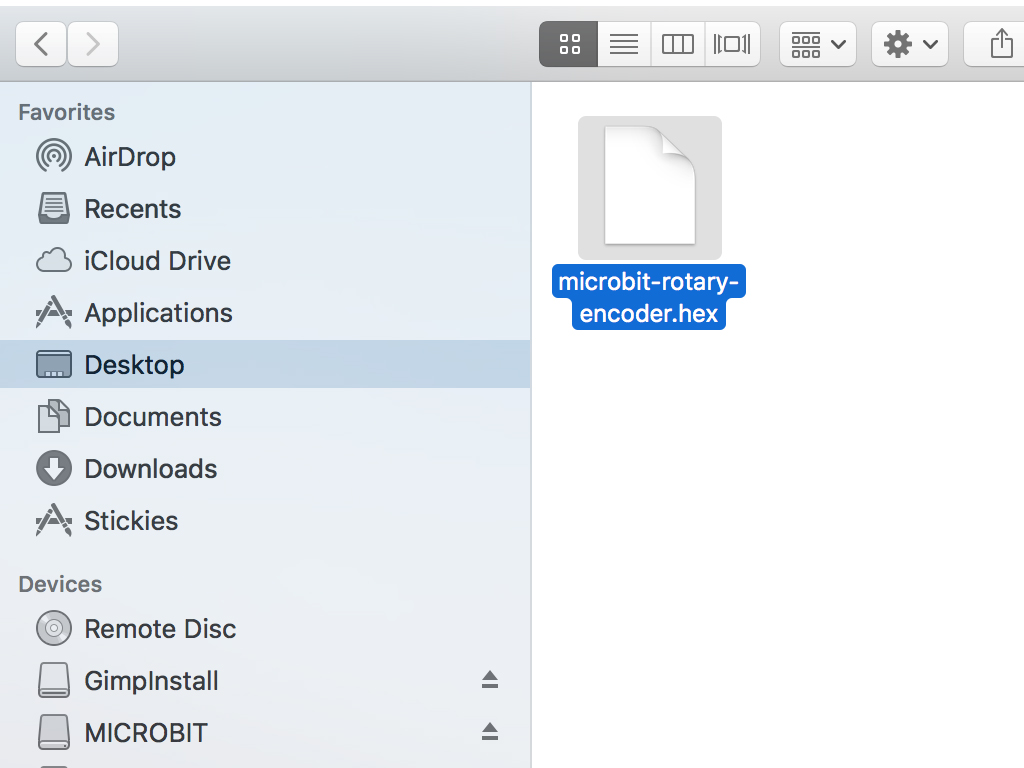
Open up Finder on the Mac OSX or if you are using Windows, open up Windows explorer. Find the downloaded hex file in your Downloads folder
Drag and drop this hex file to the MICRO:BIT drive
The micro:bit will flash as the code is being uploaded.
Now, if you turn the rotary encoder knob, the number will change and display on the micro:bit's LED matrix!
let Num = 0
RotaryEncoder.onRotateEvent(RotationDirection.Right, function () {
    Num += 0 + 5
})
RotaryEncoder.onRotateEvent(RotationDirection.Left, function () {
    Num += 0 - 5
})
RotaryEncoder.init(Pins.P2, Pins.P1, Pins.P0)
basic.showNumber(Num)
basic.forever(function () {
    basic.showNumber(Num)
})
Replace the code with this in the Javascript interface
What happens:
- Minus 5 from the variable, 'Num,' each time the rotary encoder is rotated left
- Add 5 to the variable, 'Num' each time the rotary encoder is rotated right