Control a Servo with Arduino
Apply mechanical force with a servo and Arduino
Written By: Cherie Tan
Difficulty
Easy
Steps
17
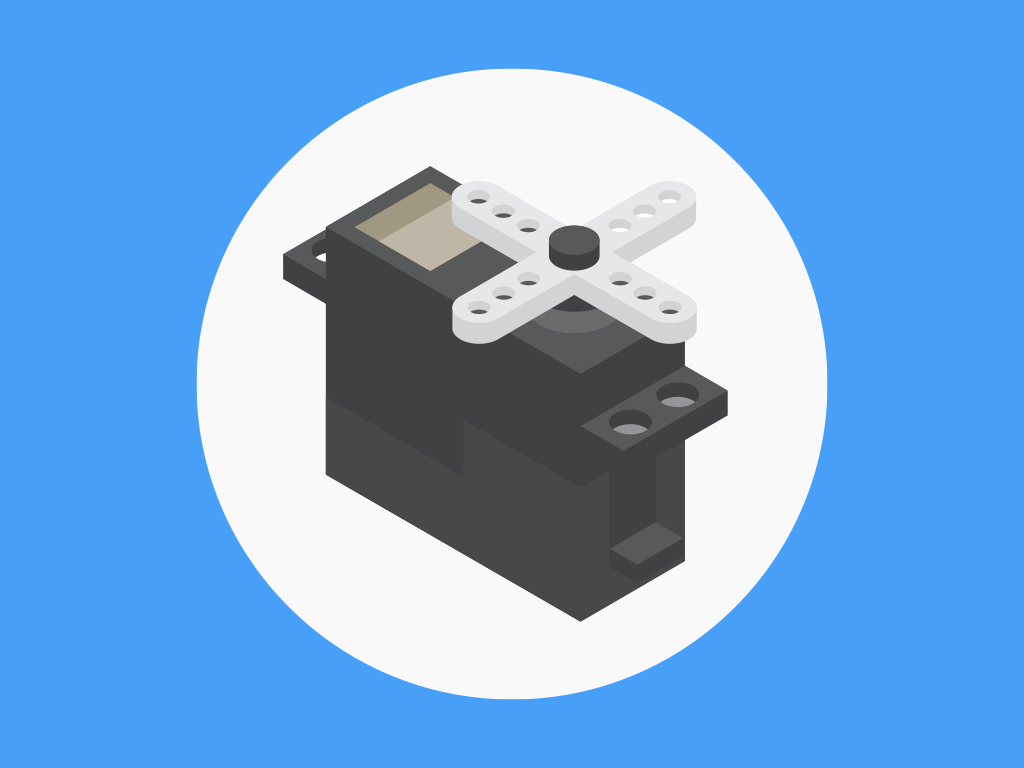
Servos are a basic component in many Arduino projects.
In this guide, we will learn how to switch on a servo, make it press a button, and take a photo with the micro servo and a 100% Arduino compatible development board, the Little Bird Uno R3.
Learning to control a servo motor will enable you to create all sort of projects, from robotic arms to DIY catapults and cocktail machines.
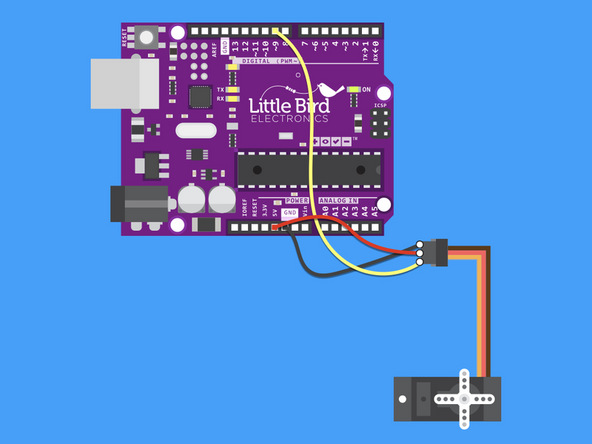
To start off we're going to hook our Servo up to our Arduino.
Once we've done this we'll create another circuit with our LDR/Photocell to catch Elves!


#include <Servo.h>

Servo myservo;  // create servo object to control a servo
// twelve servo objects can be created on most boards

int pos = 0;    // variable to store the servo position

void setup() {
  myservo.attach(9);  // attaches the servo on pin 9 to the servo object
}

void loop() {
  for (pos = 0; pos <= 180; pos += 1) { // goes from 0 degrees to 180 degrees
    // in steps of 1 degree
    myservo.write(pos);              // tell servo to go to position in variable 'pos'
    delay(5);                       // waits 5ms for the servo to reach the position
  }
  for (pos = 180; pos >= 0; pos -= 1) { // goes from 180 degrees to 0 degrees
    myservo.write(pos);              // tell servo to go to position in variable 'pos'
    delay(5);                       // waits 5ms for the servo to reach the position
  }
}
Load this code into your Arduino IDE
The servo should start swinging back and forth 180 degrees.
Now lets see if we can catch a Christmas Elf in action!
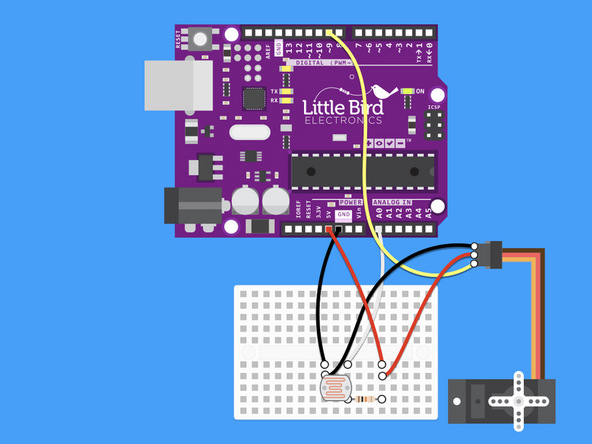
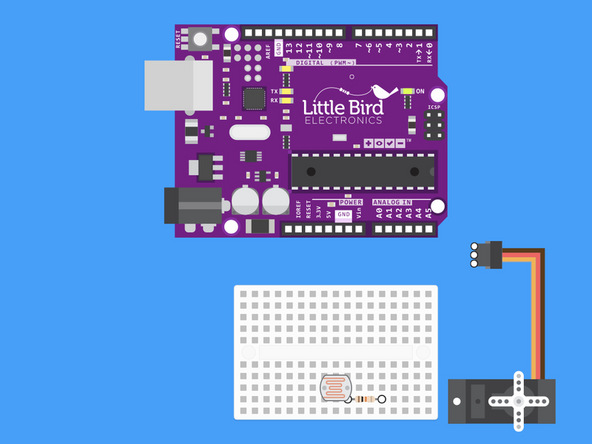
Now we're going to create a circuit and write some code that actuates the Servo when a change in light is detected.

Insert the LDR into Breadboard so that one leg is inline with our resistor.


Connect 5V to the 10k Ohm Resistor.
Can you see the voltage divider we just made?


#include <Servo.h>

Servo myservo;  // create servo object to control a servo
int ldr = 0;  //analog pin to which LDR is connected
int ldr_value = 0; //variable to store LDR values
int take_photo = 100; // value when we want to take a photo when a light comes on
int pos = 0;    // variable to store the servo position


void setup() {
Serial.begin(9600); //start serial Monitor
myservo.attach(9);  // attaches the servo on pin 9 to the servo object
}

void loop() {

ldr_value = analogRead(ldr);
Serial.println(ldr_value); //prints photoresistor value
delay(100); // value updated every 0.1 second.

if (ldr_value < take_photo) // if sensor value is less than 100 it will turn the servo on.
   {
    //take photo

    for (pos = 0; pos <= 180; pos += 1) { // goes from 0 degrees to 180 degrees
        // in steps of 1 degree
        myservo.write(pos);              // tell servo to go to position in variable 'pos'
        delay(5);                       // waits 5ms for the servo to reach the position
      }
      for (pos = 180; pos >= 0; pos -= 1) { // goes from 180 degrees to 0 degrees
        myservo.write(pos);              // tell servo to go to position in variable 'pos'
        delay(5);                       // waits 5ms for the servo to reach the position
      }
      delay (10000);  //wait 10 seconds before checking again

    }
   else
   {
    Serial.println(ldr_value);
   }
}
Upload this code for turning the servo on when the light is bright.
Now let's look at the light switching on and the servo pushing a button and taking a photo on my computer.
