Set Up the Two Player Arcade Joystick Kit
Set up the two player arcade joystick kit
Written By: Cherie Tan
Difficulty
Easy
Steps
13
There are arcade emulators available in Retropie, including MAME (Multiple Arcade Machine Emulator) and it can emulate thousands of classic arcade games. But what about a controller that's true to form? This 2 Player DIY Arcade Joystick Kit enables you to quickly get started with creating your own arcade controller or cabinet.
In this guide, learn how to set up the arcade joystick kit in a few simple steps.
Complete this guide to play all your favourite classic arcade games as you remembered them.
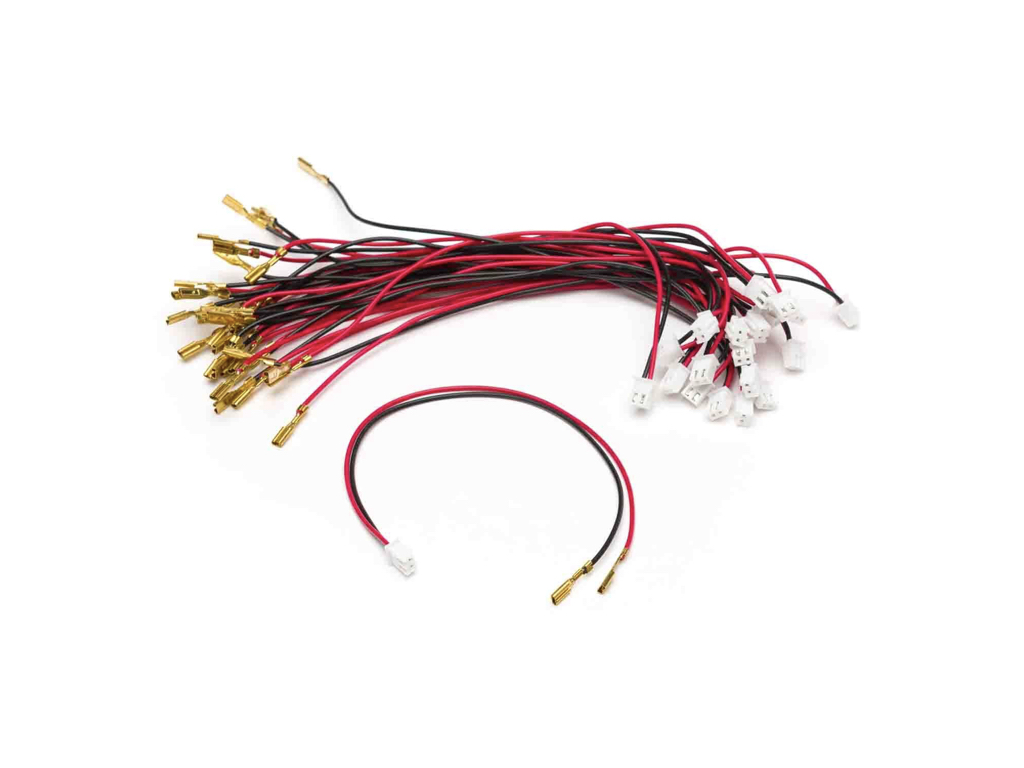
The daisy chain cable can power all the LEDs, and the single cables can be used to connect as many buttons as you need.
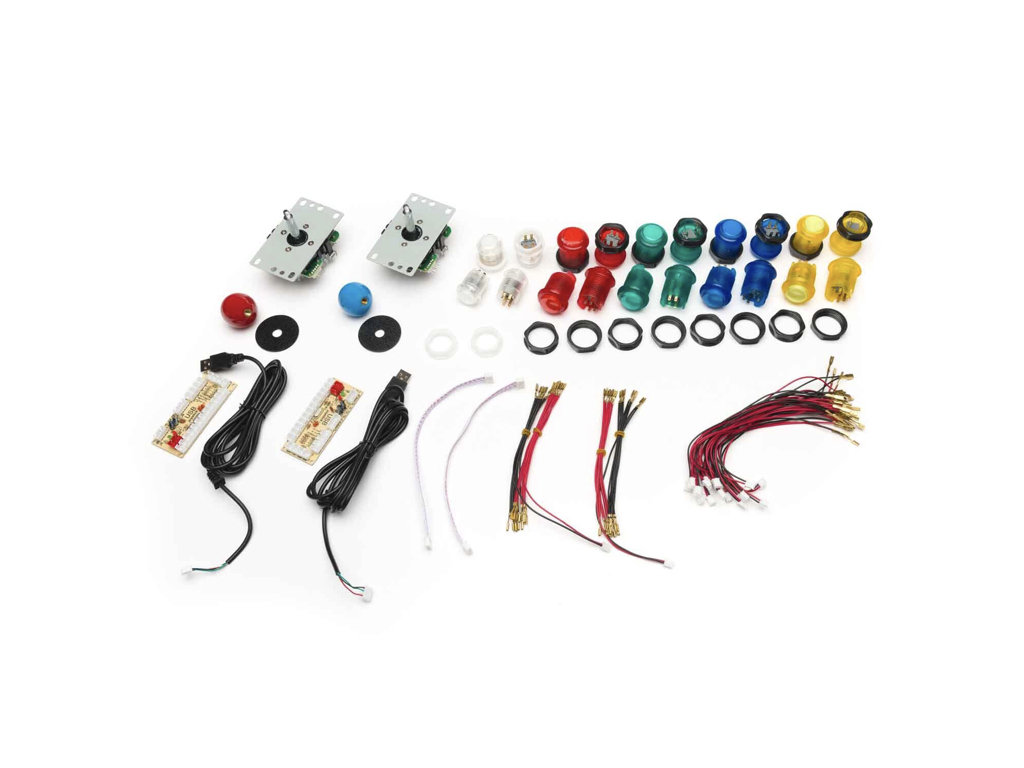
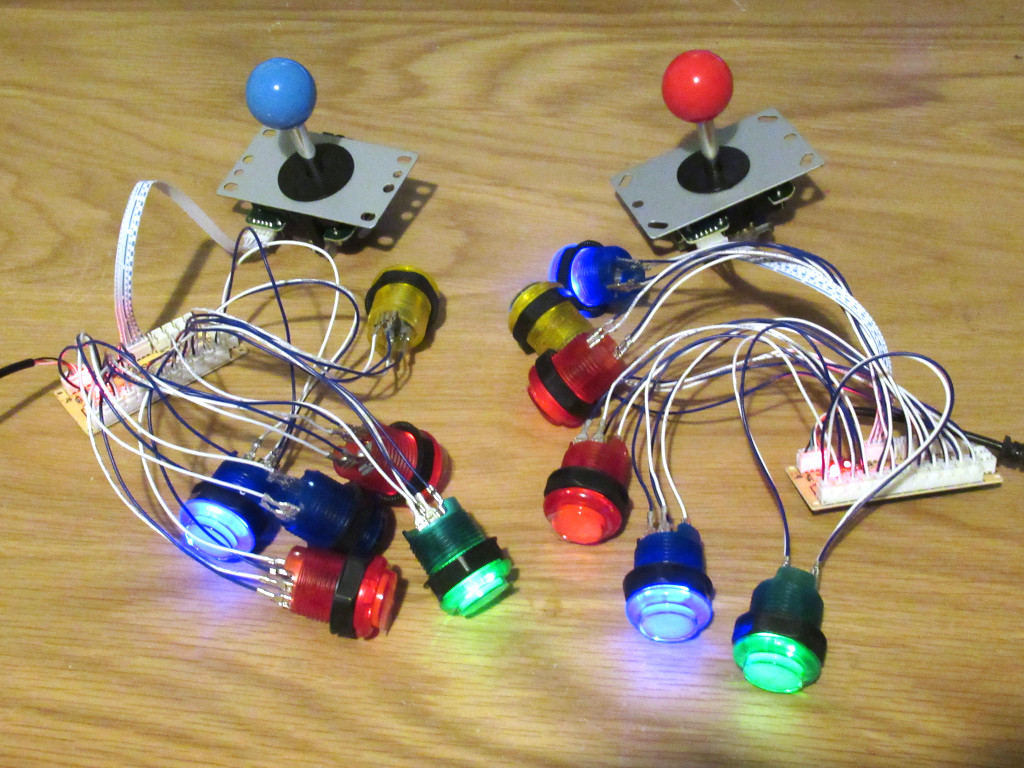
Get started with building your own arcade cabinet with this Two Player DIY Arcade Joystick Kit. Included in the Kit are:
- 20 LED Arcade buttons
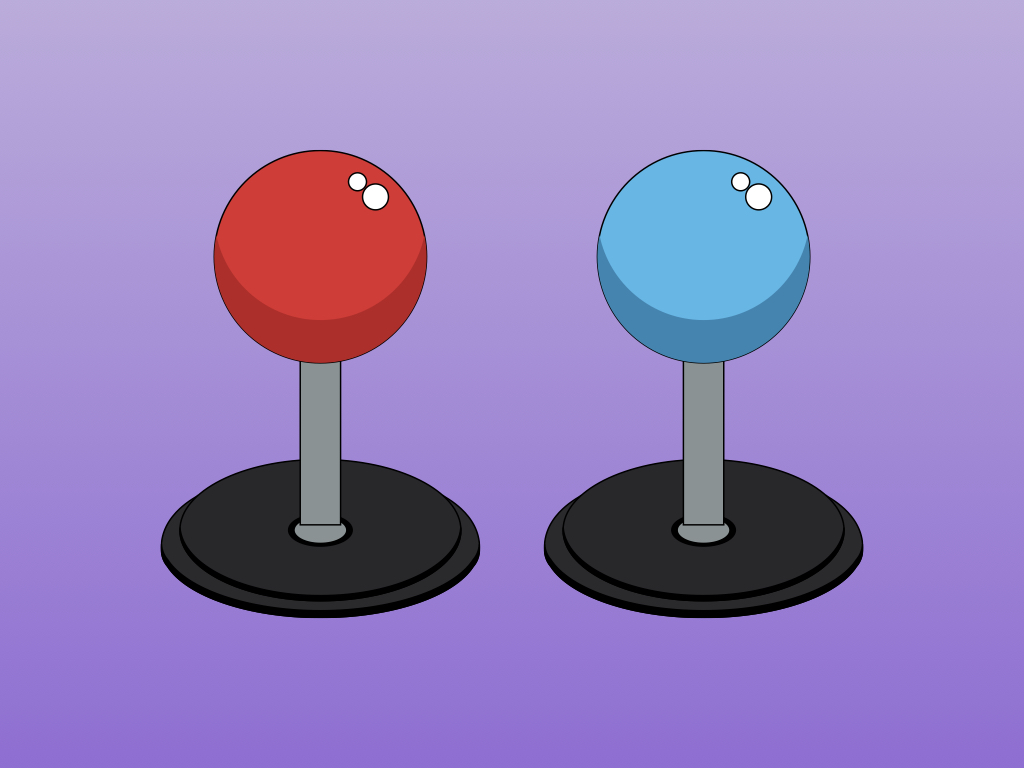
- A red joystick
- A blue joystick
- 2 USB encoders
- Cables
In this guide, we'll set up the arcade buttons with their built-in LED functionality.
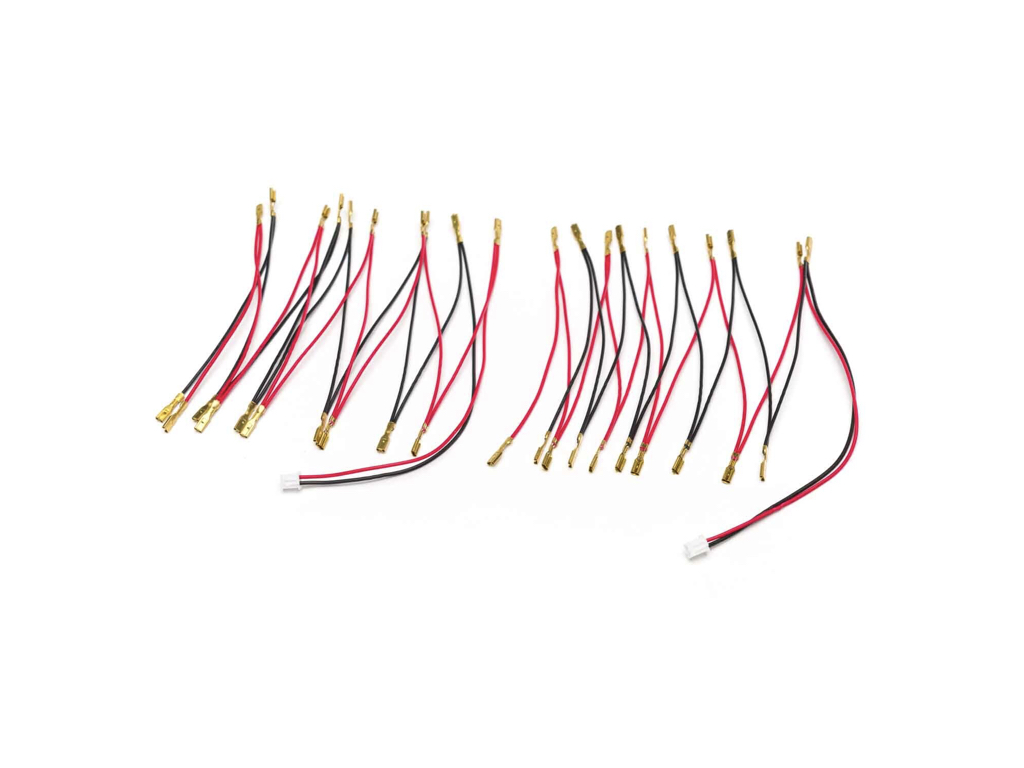
In newer versions of this kit, you will have received cables with single JST connectors, cables with a JST connector and a daisy chain of about 10 of the spade connectors each side. (Please see images 2 and 3 in this step)
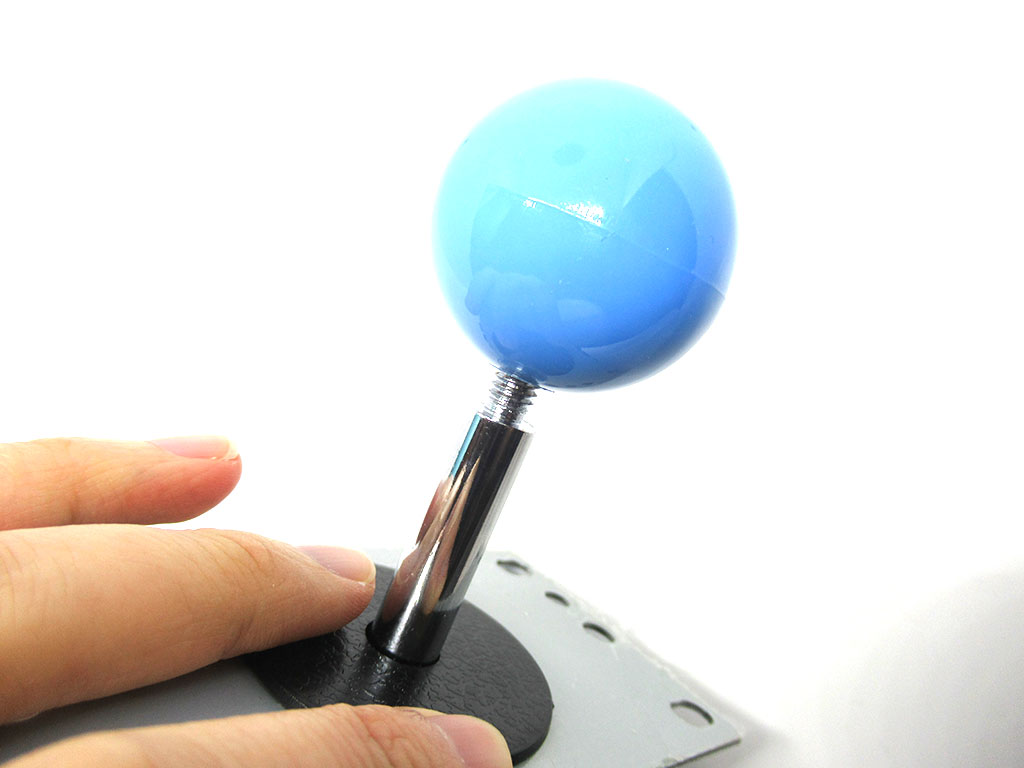
First, assemble the joystick by inserting the black circular ring and then screwing on the spherical ball at the top.
Complete the previous step for the other joystick as well.


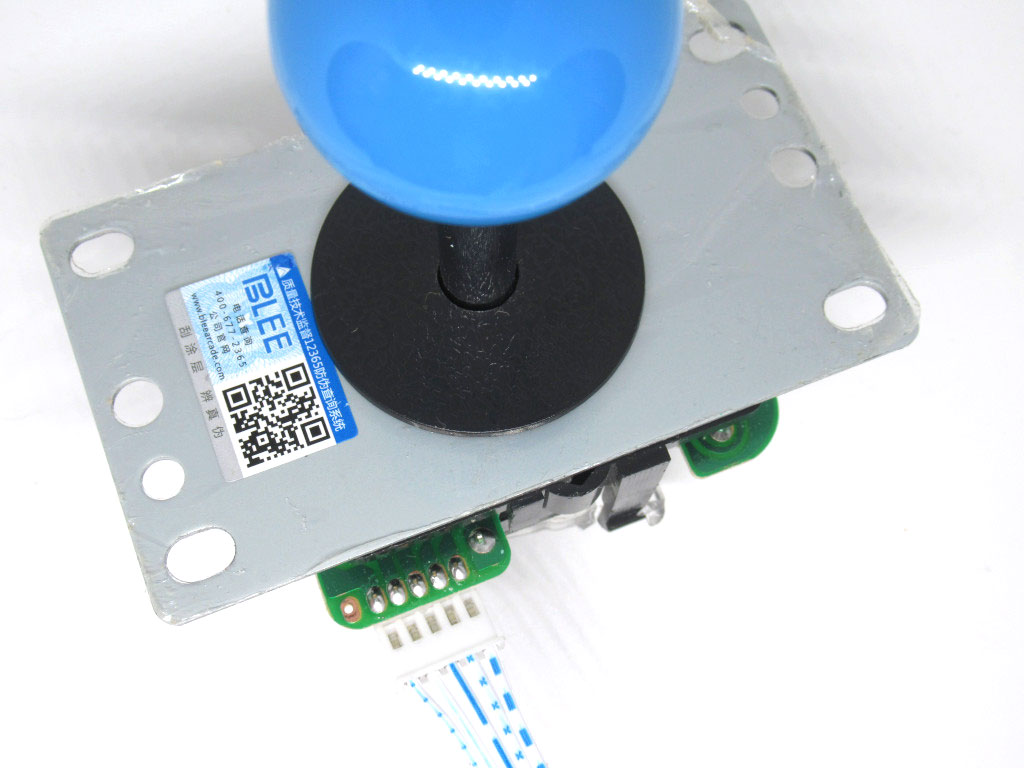
Connect a second 5-pin cable to the other joystick.
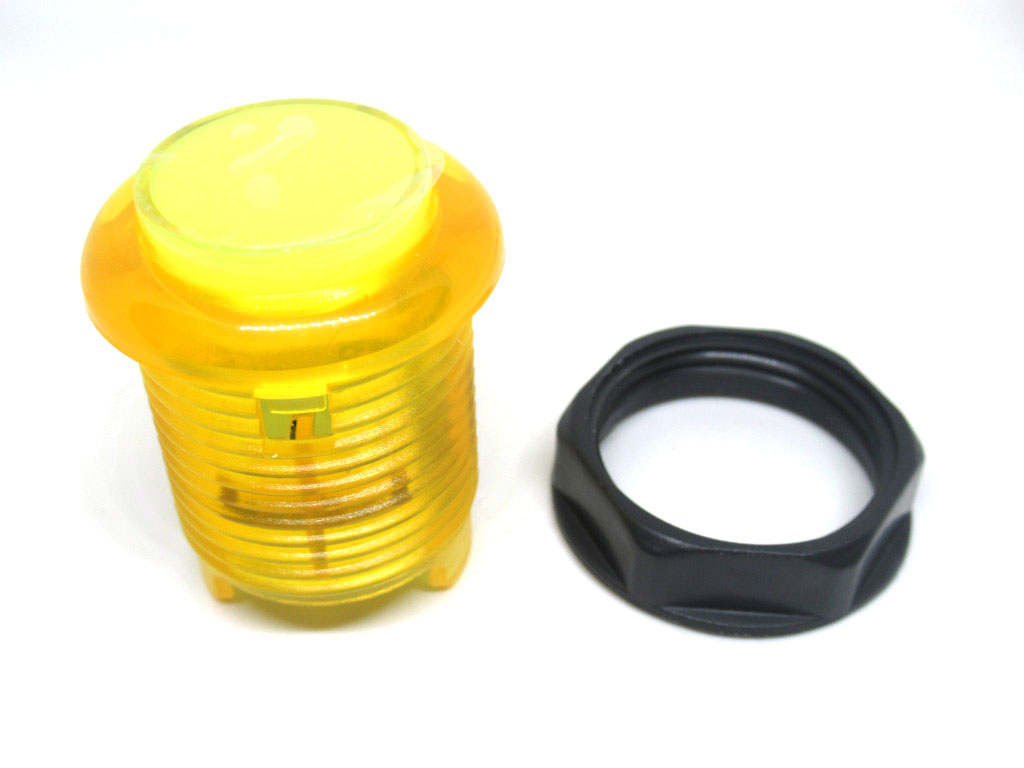
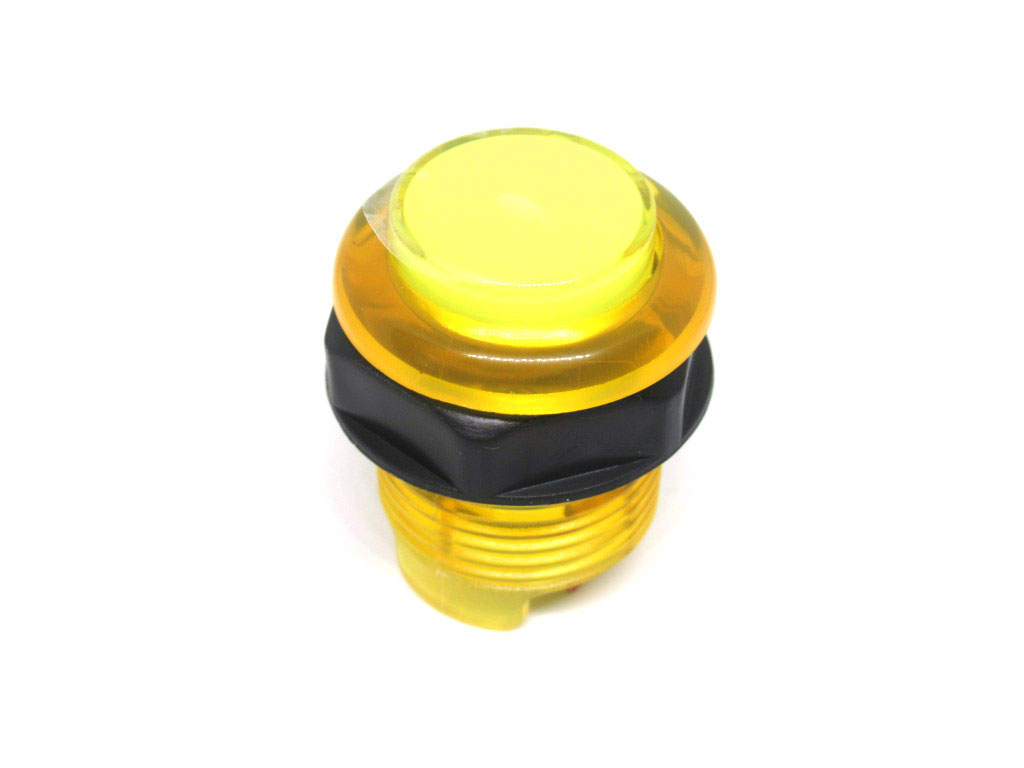
Next, prepare the arcade buttons. There are two types of arcade buttons in the kit, the 30mm arcade buttons and 24mm arcade buttons. Each type comes with a different plastic mounting nut that is to be screwed on. Connect a black plastic mounting nut by screwing it onto the 30mm arcade button as shown.
Do the same for all the 30mm arcade buttons.
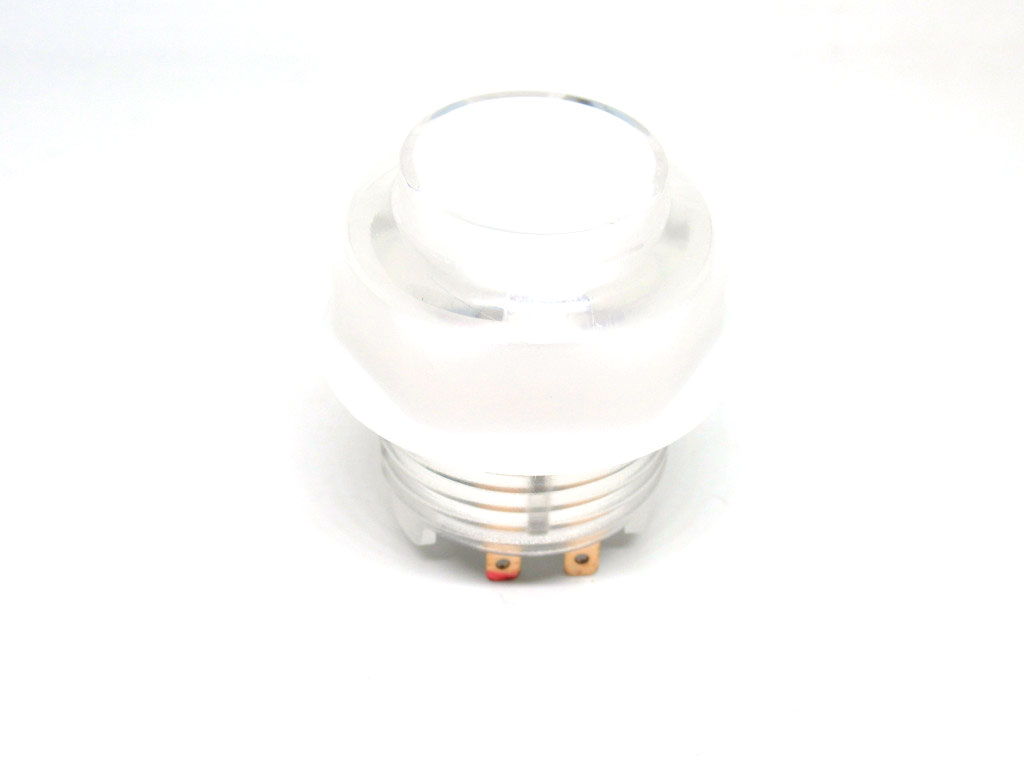
Connect a white mounting nut to a 24mm arcade button.
Do the same for all four 24mm arcade buttons.
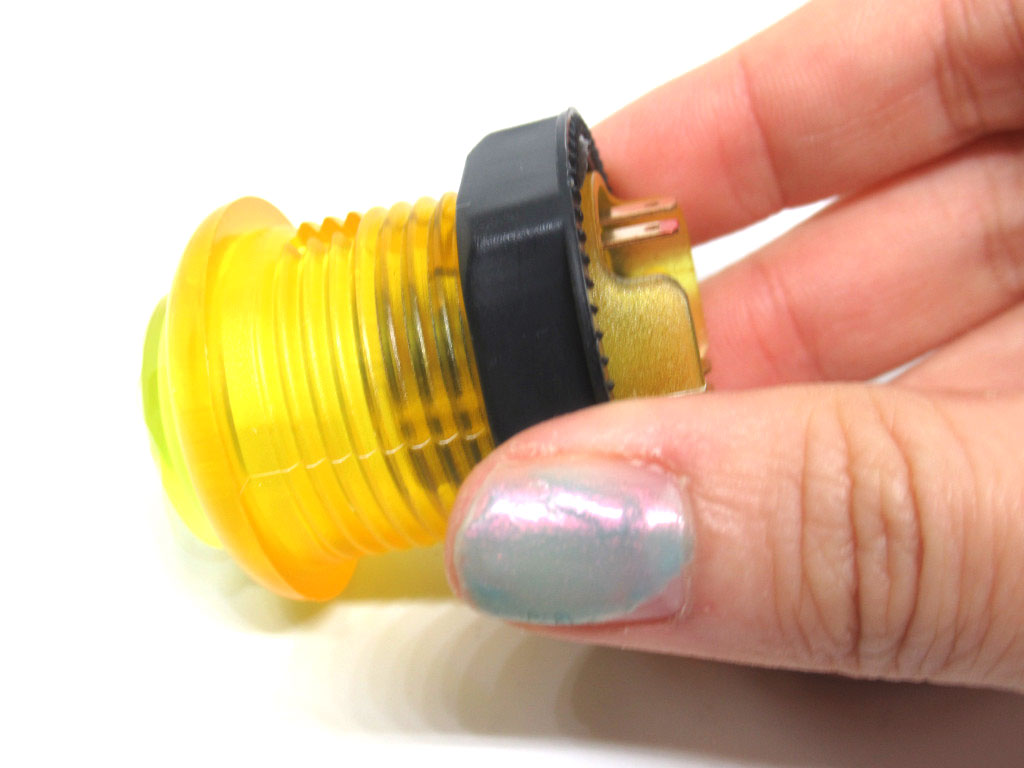
The cables included in the kit will enable you to connect up the arcade buttons quickly without any soldering required. On one end of this wire there is a JST connector. On the other end of the wire, there is a female spade connector.
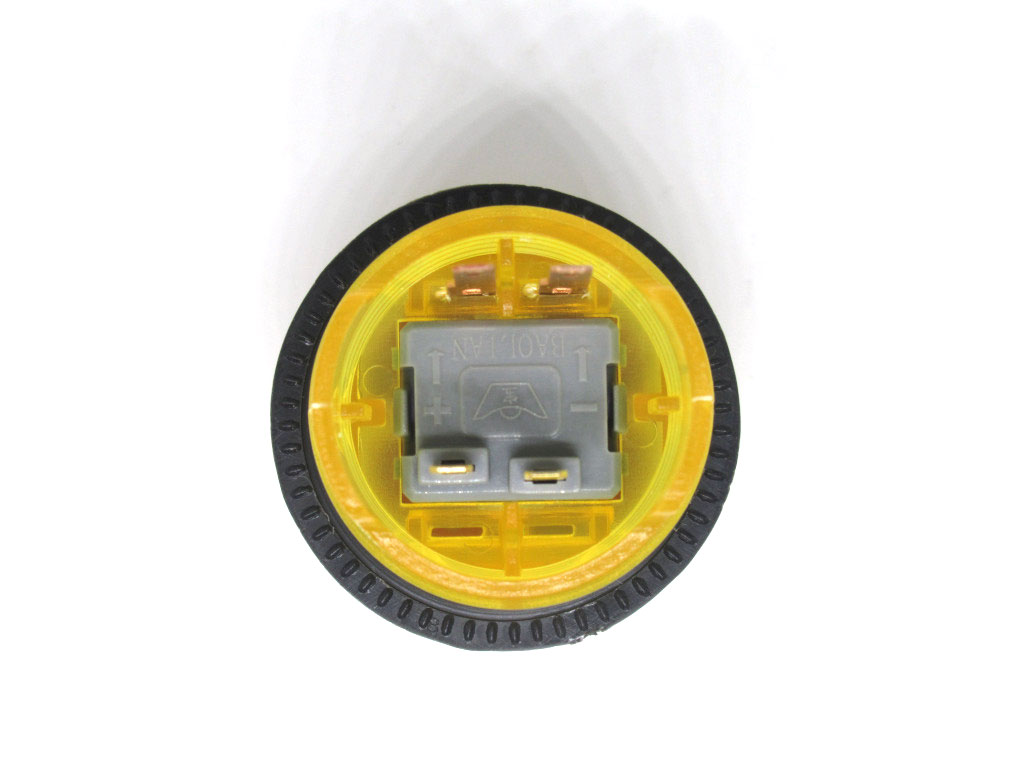
There are four pins on the back of the arcade button. Two of these pins are connected to the LED.
The pins that are closer to the edge of the arcade button are connected to the LED.
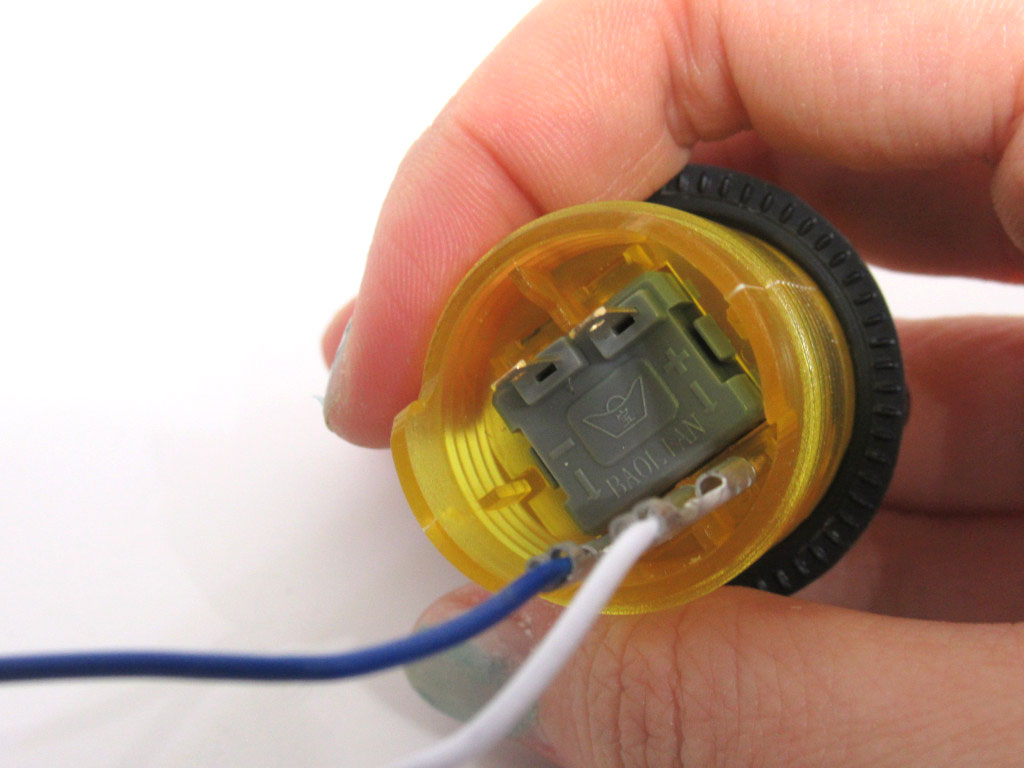
Your kit should come with a set of wires, these may be blue and white, or just black and red. In this guide, we have the version with blue and white wires. The colour of these wires do not matter, but we advise that you connect one colour to the '-' and another colour to '+' consistenetly throughout. For example, we have connected white to '+' and blue to '-'.
If your kit came with black and red wires, follow the convention: red for '+' (power) and black for '-' (ground).
If your kit came with black and red wires, follow the convention: red for '+' (power) and black for '-' (ground).
Connect the wires to the arcade button as shown

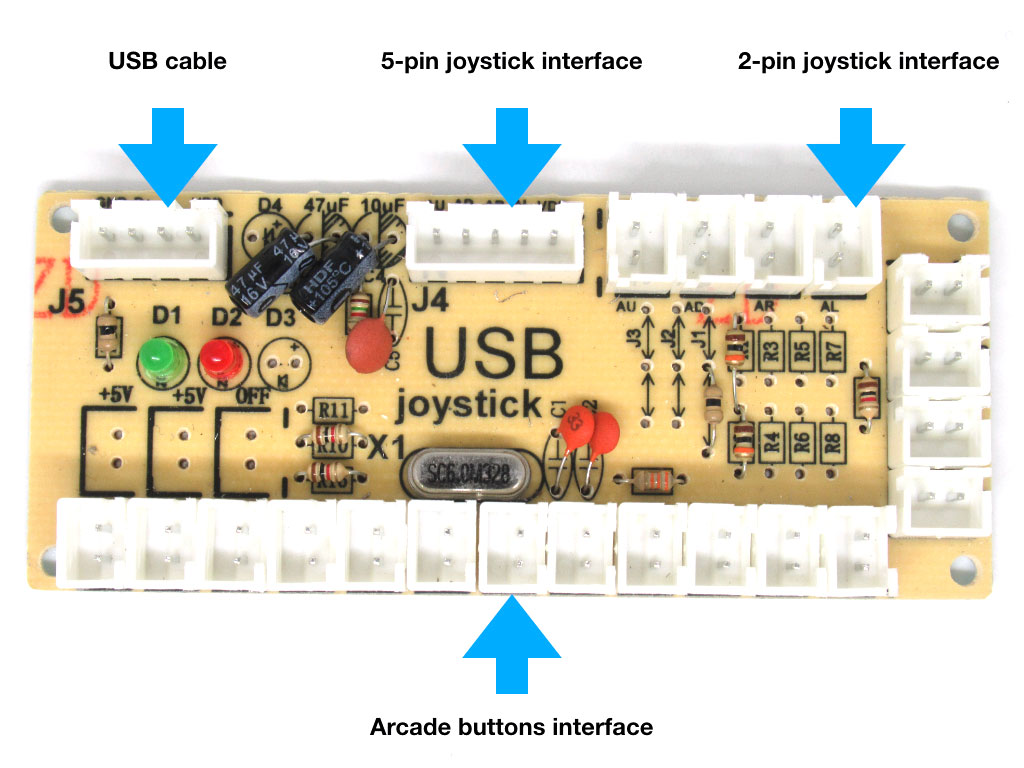
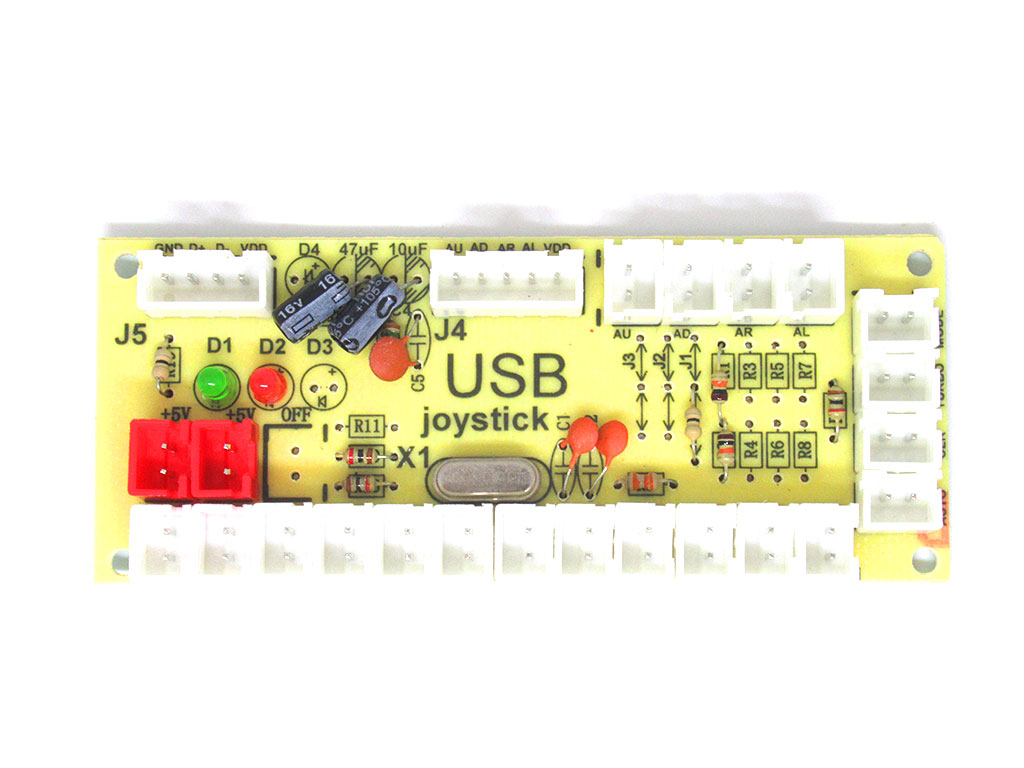
Let's take a closer look at a USB encoder. Firstly, it has an interface to connect the USB cable to.
The USB cable will then be connected to the Raspberry Pi
There is a 5-pin joystick interface to connect to a joystick
2-pin joystick interface; this will not be used in the guide or kit
Arcade buttons interface: This is where the arcade buttons will be connected to!
There are 12 such arcade button interfaces to connect via JST connector found on one end of each wire (that we previously used to connect up the arcade buttons)
The newer version of the kit comes with a USB joystick encoder with two red headers populated as shown in the third image. These could be used for something requiring 5V. Next to that is an unpopulated area marked as OFF. You could connect that to some kind of switch to turn the 5V on or off.
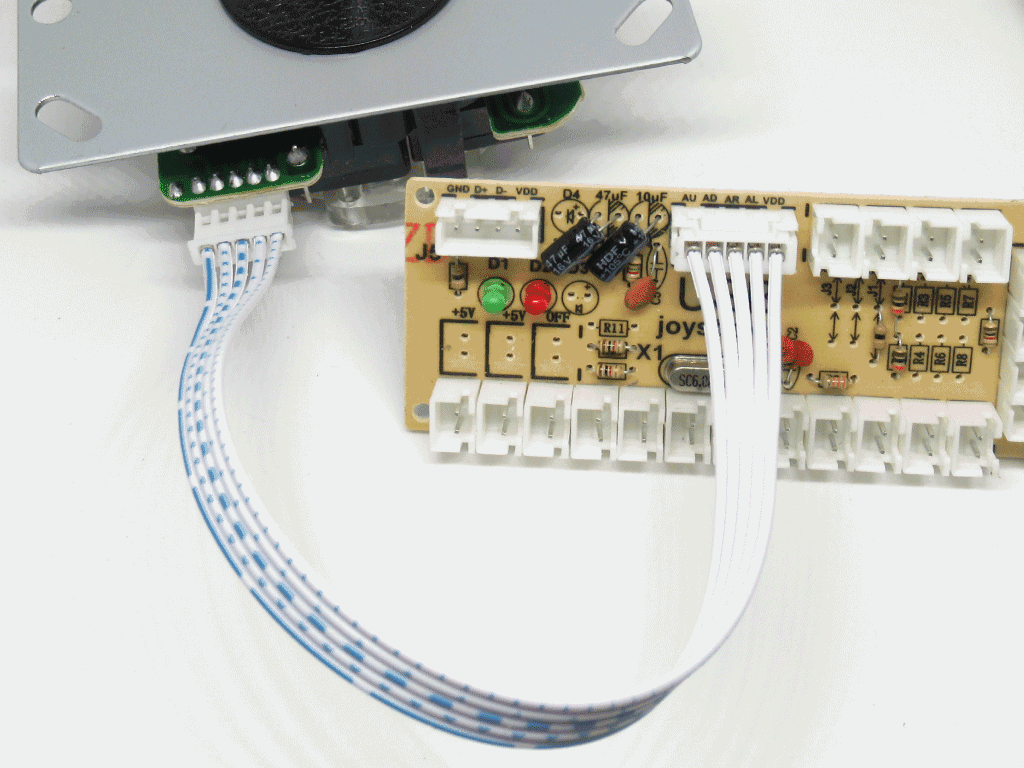
Connect the 5-pin cable to the first USB encoder.
Connect the second 5-pin cable to the second USB encoder.
Now both the joysticks are connected to the USB encoders.
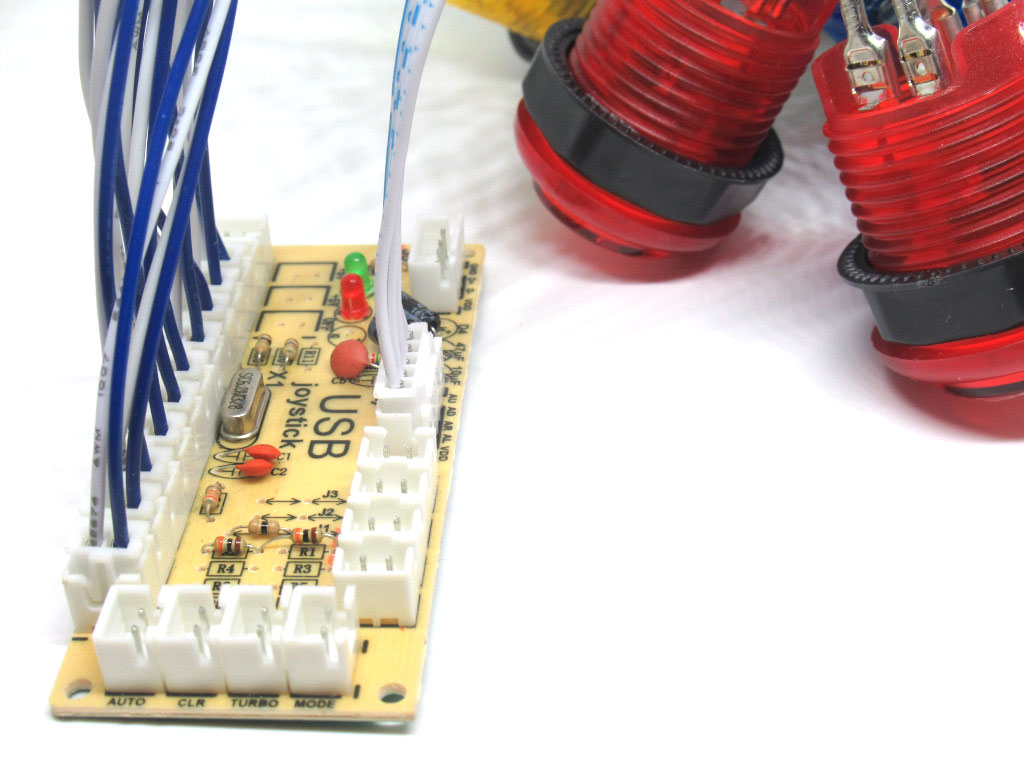
Connect six arcade buttons to one USB Encoder.
Both controller setups for 2 players need to be exactly the same. So keep in mind the way you have connected up the buttons, when you hook up the second controller, wire them up the exact same way.
Connect another six arcade buttons to the second USB Encoder.
Connect the USB cable included in the kit to the USB cable interface found on the USB encoder
Do the same for the second USB encoder.
The arcade buttons should now light up!
The arcade buttons should now light up!
Next, configure the arcade button controls in Retropie.
What is Retropie? Retropie is an application for retro gaming on the Raspberry Pi and other boards such as the Odroid as well as on PC. Follow our guide on how to set up Retropie with Raspberry Pi.
Already got a microSD card with Retropie on it? Jump to Step 7 in that guide to configure the arcade button controls.