Accelerometer and ShakeUp
Learn to use the Accelerometer with Arduino IDE and Processing
Written By: Cherie Tan

Difficulty
Medium
Steps
9
You might have already played around with your new ShakeUp board. Perhaps you've made music, a game controller or a snack jar alarm with it. Besides the 16 inputs on the ShakeUp board, it also has an in-built accelerometer.
What's an accelerometer? An accelerometer is a device that measures acceleration, the rate of change in velocity of an object. But wait, what's velocity? Velocity refers to how fast an object is moving in a particular direction.
In this guide, we will show you how to use the accelerometer and make pretty visuals with it using Arduino and Processing.
In this guide, we will show you how to use the accelerometer and make pretty visuals with it using Arduino and Processing.
Complete this guide to get started with making your own visualisations with the ShakeUp!

Already got the Arduino IDE installed and set up for the ShakeUp? Move on to the next step! If not, please follow our guide on how to set up the Arduino IDE for ShakeUp.
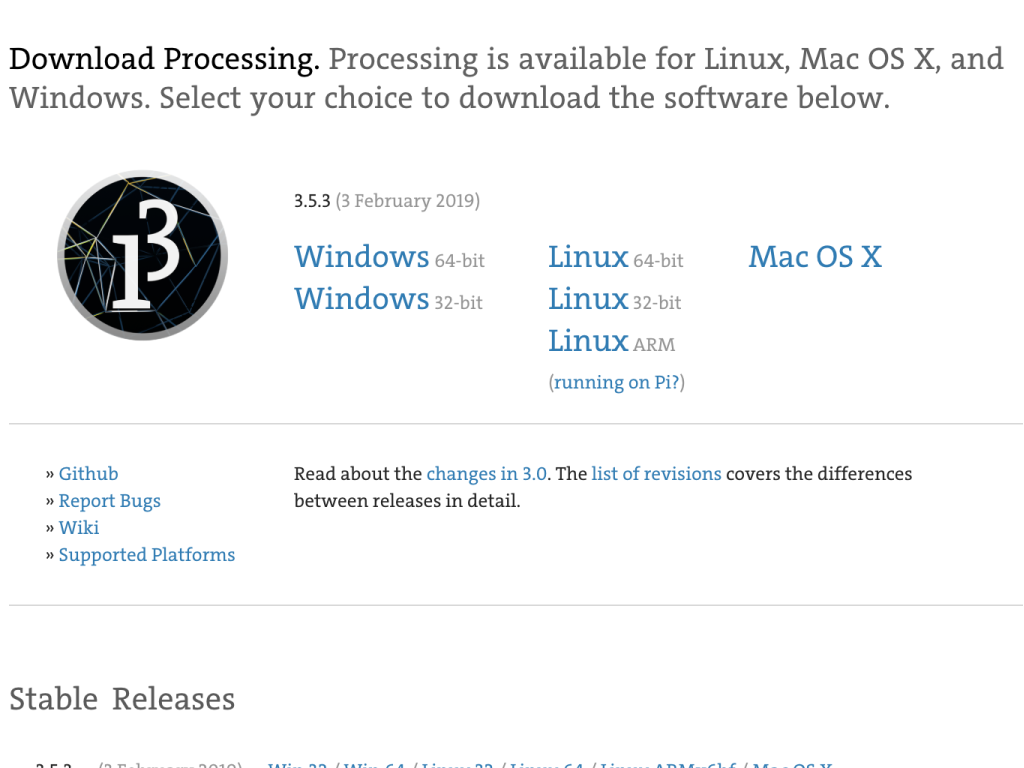
The next software you'll need is Processing. Processing is a programming language and tool to create visual programs, you can create artwork, prototype interfaces and much more. In this guide, we'll be using it to create pretty graphs. So head to the Processing Downloads page.
Select the version for your operating system.
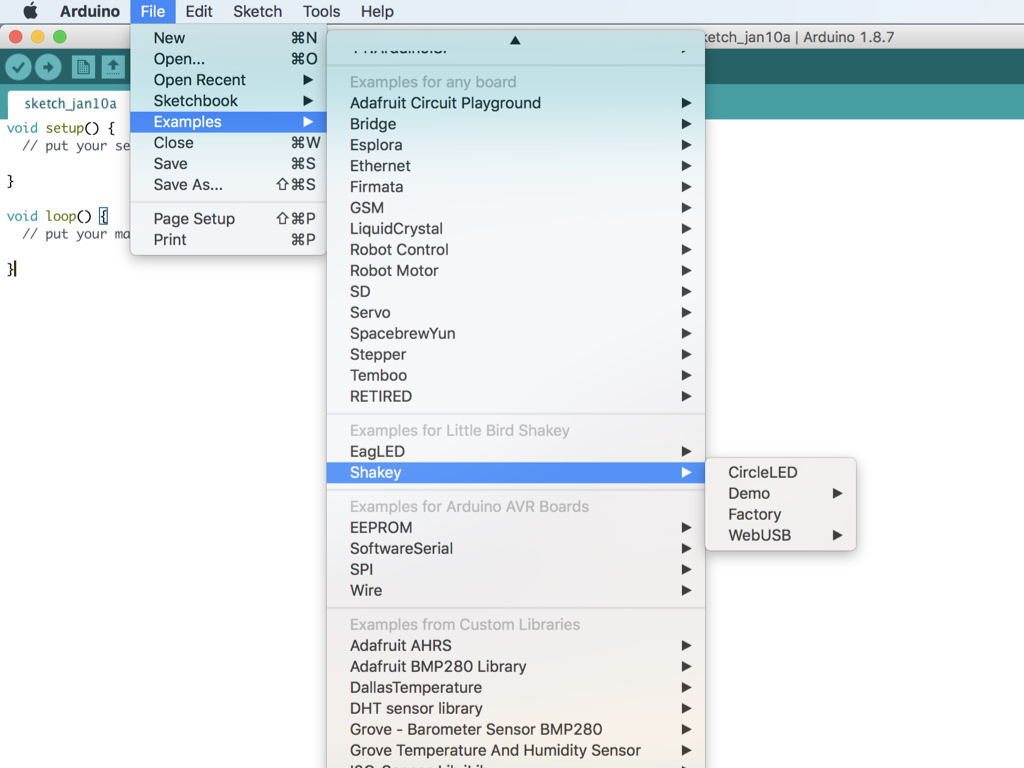
Next, in the Arduino IDE, open up the example sketch for the Accelerometer:
File > Examples > ShaKey > Demo > ICM20689 Motion Sensor > Accelerometer
File > Examples > ShaKey > Demo > ICM20689 Motion Sensor > Accelerometer
#include <LittleBird_ICM20689.h>

LittleBird_ICM20689 motion;

void setup() {
  Serial.begin(115200);
  motion.begin();
  motion.init();
  motion.calibrate();
}

void loop() {
  Serial.println(motion.getAccelX());
  delay(1);
}
Let's remove some code to focus on the acceleration along the X axis. Upload this code to your ShakeUp!
import processing.serial.*;

Serial port;    // Create an object from Serial class
int xPos = 0;         // horizontal position of the graph
float inByte = 0;

void setup () {
  // set the window size:
  size(400, 300);

  // if using Processing 2.1 or later, use Serial.printArray()
  println(Serial.list());

  // Open whatever port is the one you're using.
  port = new Serial(this, "/dev/cu.usbmodem1411", 115200);

  // don't generate a serialEvent() unless you get a newline character:
  port.bufferUntil('\n');

  // set initial background:
  background(0);
}

void draw () {
  // draw the line:
  stroke(127, 34, 255);
  line(xPos, height, xPos, height - inByte);

  // at the edge of the screen, go back to the beginning:
  if (xPos >= width) {
    xPos = 0;
    background(0);
  } else {
    // increment the horizontal position:
    xPos++;
  }
}

void serialEvent (Serial port) {
  // get the ASCII string:
  String inString = port.readStringUntil('\n');

  if (inString != null) {
    // trim off any whitespace:
    inString = trim(inString);
    // convert to an int and map to the screen height:
    inByte = float(inString);
    println(inByte);
    inByte = map(inByte, 0, 2, 0, height);
  }
}
Start the Processing IDE. Then copy and paste the code into Processing.
In the Arduino IDE, setup() and loop() are used. But in the Processing IDE, setup() and draw() are used instead.
If you are using the Mac OS:
To find out the port number for yours, open a terminal window on Mac, then type ls /dev/*
Look for /dev/tty.* where * is the port number
Change "/dev/cu.usbmodem1411" to your port number.
To find out the port number for yours, open a terminal window on Mac, then type ls /dev/*
Look for /dev/tty.* where * is the port number
Change "/dev/cu.usbmodem1411" to your port number.
If you are using Windows:
On Windows machines, this would be "COMX", replace X with the number of the COM port that your Arduino is connected to.
On Windows machines, this would be "COMX", replace X with the number of the COM port that your Arduino is connected to.
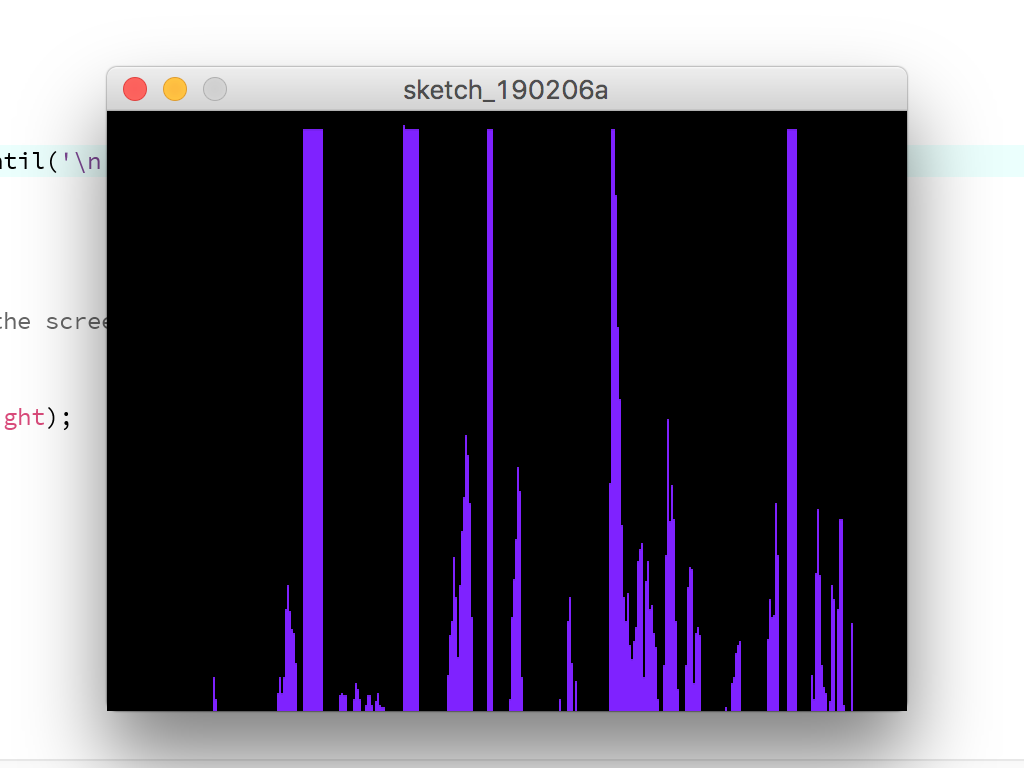
To view the graph in Processing IDE, click on the play button on the top left hand corner. Start shaking the ShakeUp along its horizontal axis and view the results.
#include <LittleBird_ICM20689.h>

LittleBird_ICM20689 motion;

void setup() {
        Serial.begin(115200);
        motion.begin();
        motion.init();
        motion.calibrate();
}

void loop() {
        // This print out format will plot on Arduino IDE->Tools->Serial Plotter
        Serial.print(motion.getAccelX());
        Serial.print(",");
        Serial.print(motion.getAccelY());
        Serial.print(",");
        Serial.println(motion.getAccelZ());

        delay(1);
}
We've played around with visualising acceleration along the x-axis. Now let's include the y-axis and z-axis values.
Copy the code below into the Arduino IDE and upload it!
import processing.serial.*;

Serial port;    // Create an object from Serial class
int xPos = 0;         // horizontal position of the graph
float AccelX = 0;
float AccelY = 0;
float AccelZ = 0;

void setup () {
  // set the window size:
  size(400, 300);

  // if using Processing 2.1 or later, use Serial.printArray()
  println(Serial.list());

  // Open whatever port is the one you're using.
  port = new Serial(this, "/dev/cu.usbmodem1411", 115200);

  // don't generate a serialEvent() unless you get a newline character:
  port.bufferUntil('\n');

  // set initial background:
  background(0);
}

void draw () {
  // draw the line:
  stroke(255, 0, 0);
  line(xPos, height, xPos, height - AccelX);
  stroke(0, 255, 0);
  line(xPos, height, xPos, height - AccelY);
  stroke(0, 0, 255);
  line(xPos, height, xPos, height - AccelZ);

  // at the edge of the screen, go back to the beginning:
  if (xPos >= width) {
    xPos = 0;
    background(0);
  } else {
    // increment the horizontal position:
    xPos++;
  }
}

void serialEvent (Serial port) {
  // get the ASCII string:
  String inString = port.readStringUntil('\n');

  if (inString != null) {
    // trim off any whitespace:
    inString = trim(inString);
    // split the string on the commas and convert the resulting substrings
    // into an array:
    float[] colors = float(split(inString, ","));
    // if the array has at least three elements, you know you got the whole
    // thing.  Put the numbers in the color variables:
    if (colors.length >= 3) {
      AccelX = map(colors[0], -2, 2, 0, height);
      AccelY = map(colors[1], -2, 2, 0, height);
      AccelZ = map(colors[2], -2, 2, 0, height);
    }
  }
}
Likewise, we'll make some changes to the Processing code. Copy and paste this into the Processing IDE.
Remember to change: port = new Serial(this, "/dev/cu.usbmodem1411", 115200); to your port number.
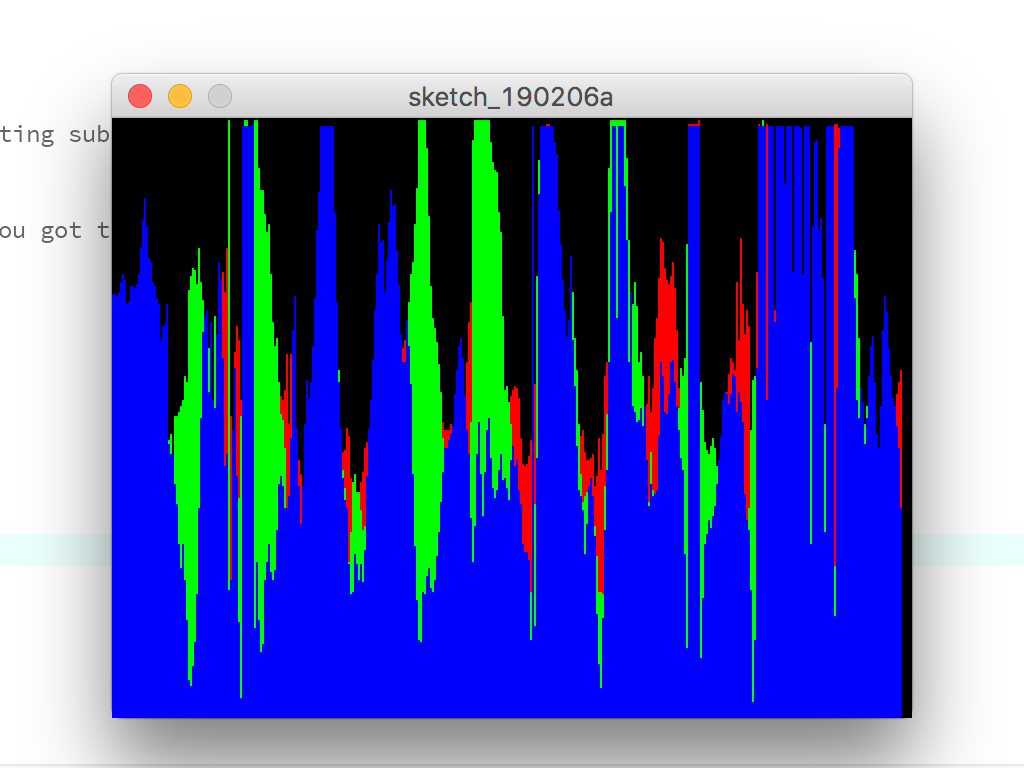
You should see a visualisation with three colours showing:
Red - Acceleration along x-axis
Lime Green - Acceleration along y-axis
Blue - Acceleration along z-axis
Red - Acceleration along x-axis
Lime Green - Acceleration along y-axis
Blue - Acceleration along z-axis
This is just one of many ways you could create visualisations with the ShakeUp and Processing. You could also control a 3D Cube with the ShakeUp's built-in accelerometer.