8-bit Sprites and Animation with PICO-8
Create your first animated PICO-8 game
Written By: Cherie Tan
Difficulty
Medium
Steps
22
PICO-8 packs a pixel-perfect punch of delights: it's a simple tool to learn coding, sprite art and animation as well as music-making -- all available on the Raspberry Pi.
In this guide, we'll look at how to import sprite art from an external sprite editor into PICO-8, how to add animation and a dash of code so that by the end you will have a finished game.
Complete this guide to start plotting pixels and create your first game with PICO-8 on the Raspberry Pi!
In this guide, we'll look at how to import sprite art from an external sprite editor into PICO-8, how to add animation and a dash of code so that by the end you will have a finished game.
Complete this guide to start plotting pixels and create your first game with PICO-8 on the Raspberry Pi!
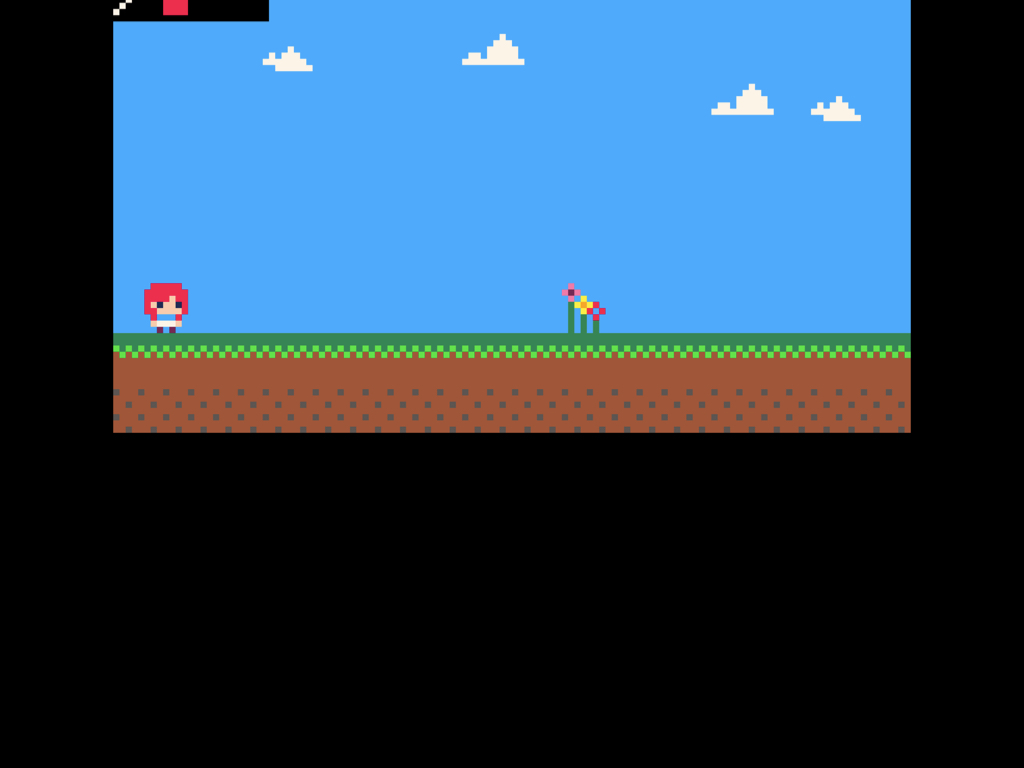
The pixel art aesthetic is well-loved and remains a mainstay of game development, and there are some good reasons for this! The style triggers warm feelings of nostalgia for those who are older, and yet it is still ever present in contemporary games. Creating your own 8-bit games on the Raspberry Pi with PICO-8 is a fun way to learn programming, art, music, and physical computing since you could even build your own handheld gaming device. In Introduction to PICO-8 with Raspberry Pi, we briefly looked at the various built-in editors in PICO-8.
In this guide, we will continue on from where we left off. We'll look at how to access an extended palette, import sprite art from an external sprite editor into PICO-8, animate sprites and simple effects, and add a dash of code so that by the end you will have a finished game!
We have used a Raspberry Pi 3 Model B+ here, but PICO-8 will run on other models of the Raspberry Pi too.
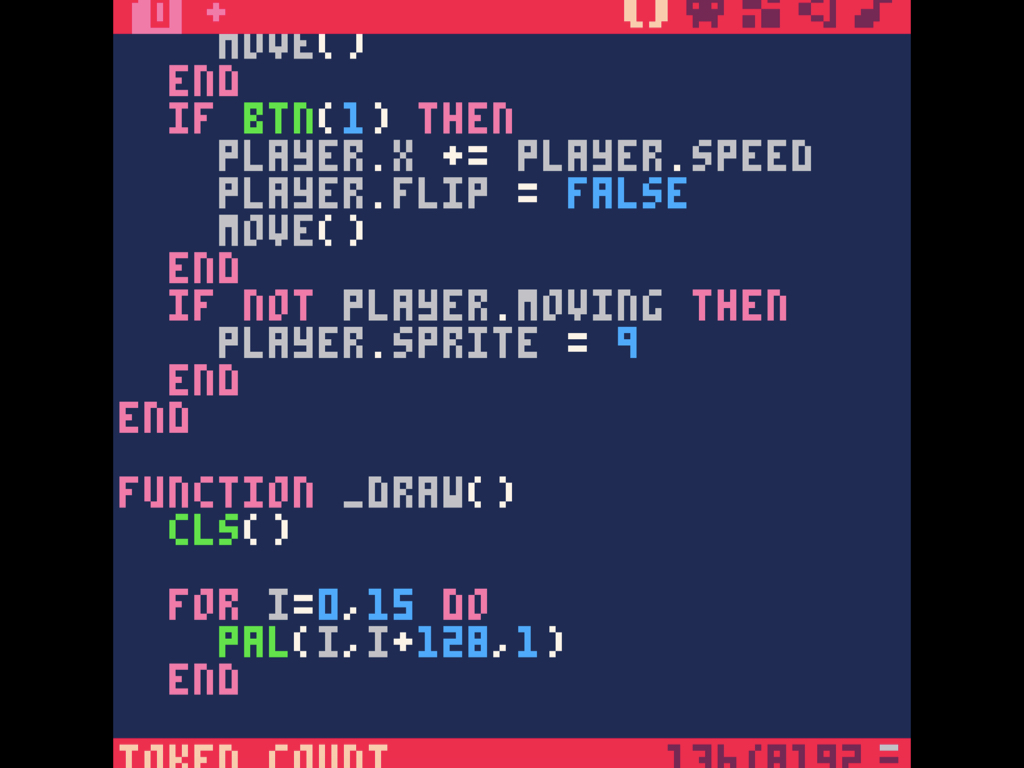
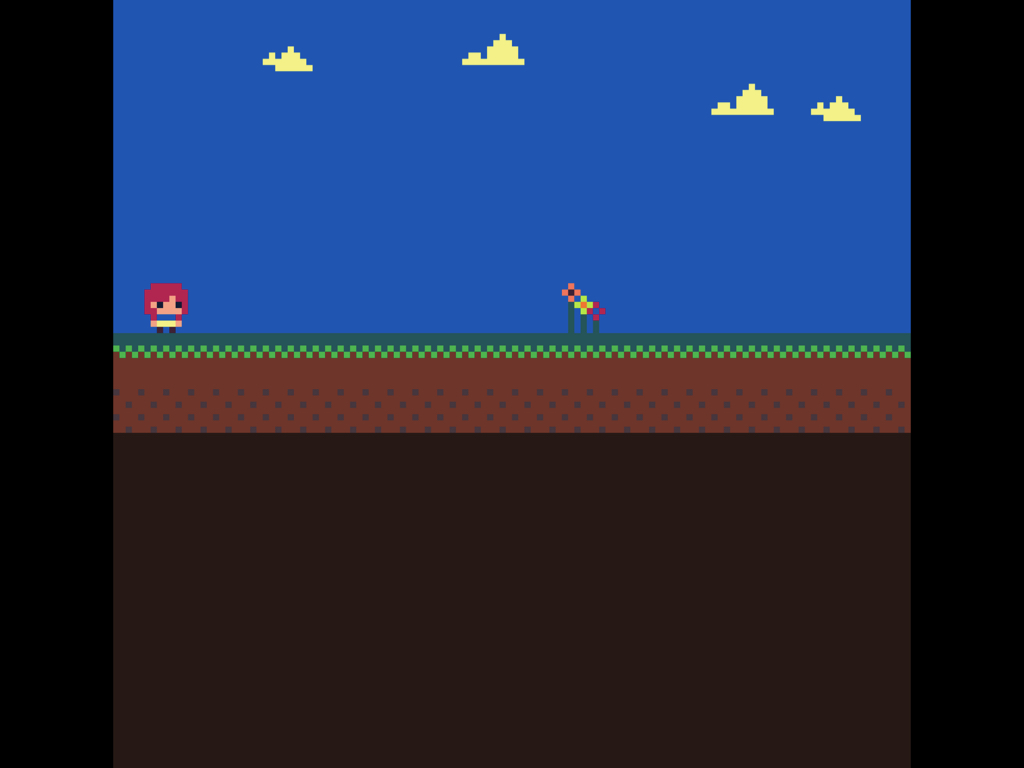
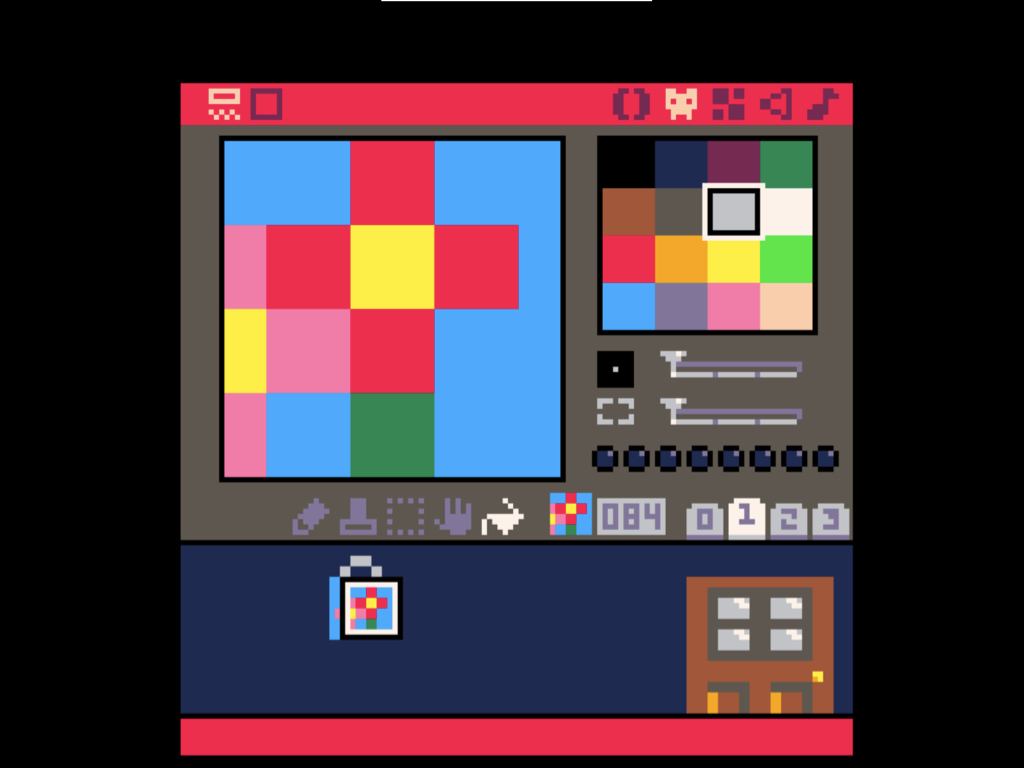
At first glance, it seems as though only 16 colours are available on PICO-8's sprite editor. There is actually a way to access a total of 32 colours. This can be done with some code: Using pal(colour1, colour2, 1). This function is used to replace one of the 16 colours in the original palette with a new colour. To access the "secret" colours, colour2 is one of the new colours with indices starting at 128.
Here, we've used the sprite art from Introduction to PICO-8, a for loop and the pal() function to change the colours in the original palette.
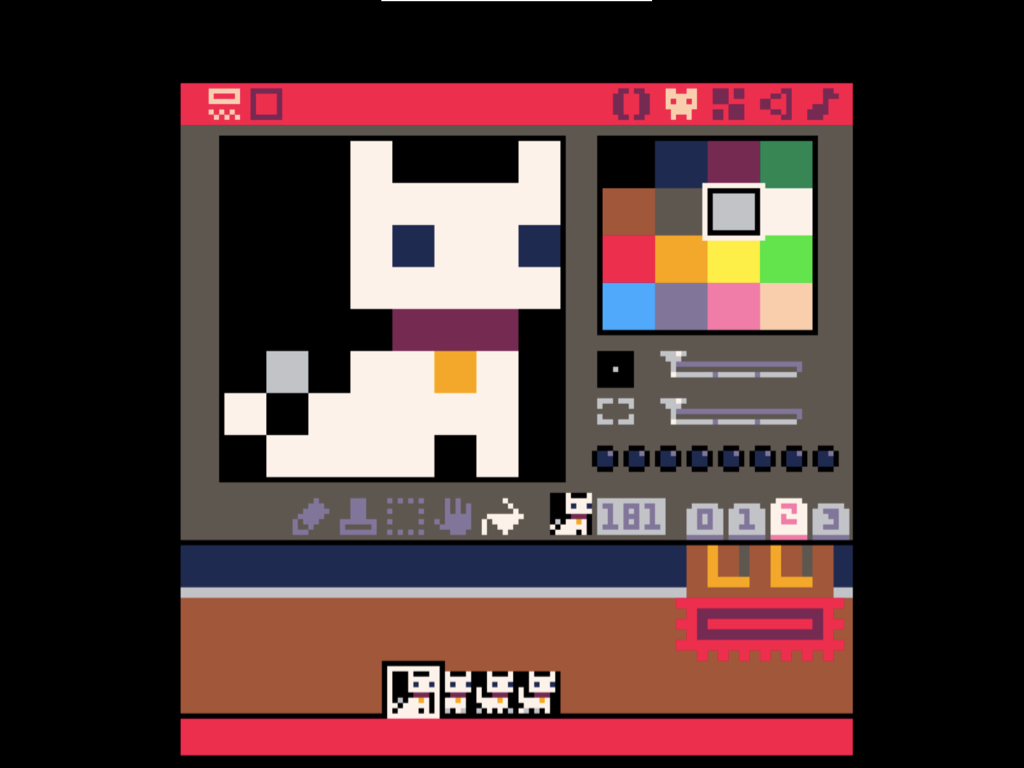
Aside from an extended palette, you can also import sprites into PICO-8 from an external sprite editor i.e. Aseprite. But the image needs to be 128 by 128 pixels!
Make sure to also use the PICO-8 palette, which can be found on Lospec right here.
Once you have got the spritesheet ready, export it!
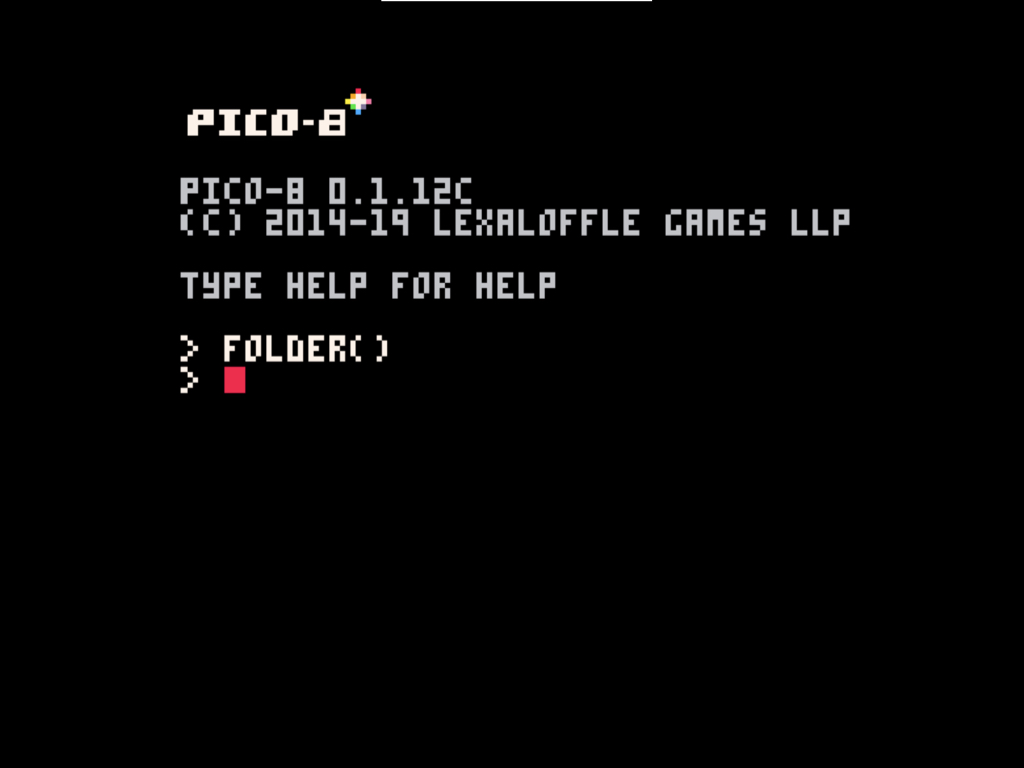
The sprites need to be placed in the right folder to be imported into PICO-8. Enter folder() in the console. The folder to place the spritesheet in will automatically open up.
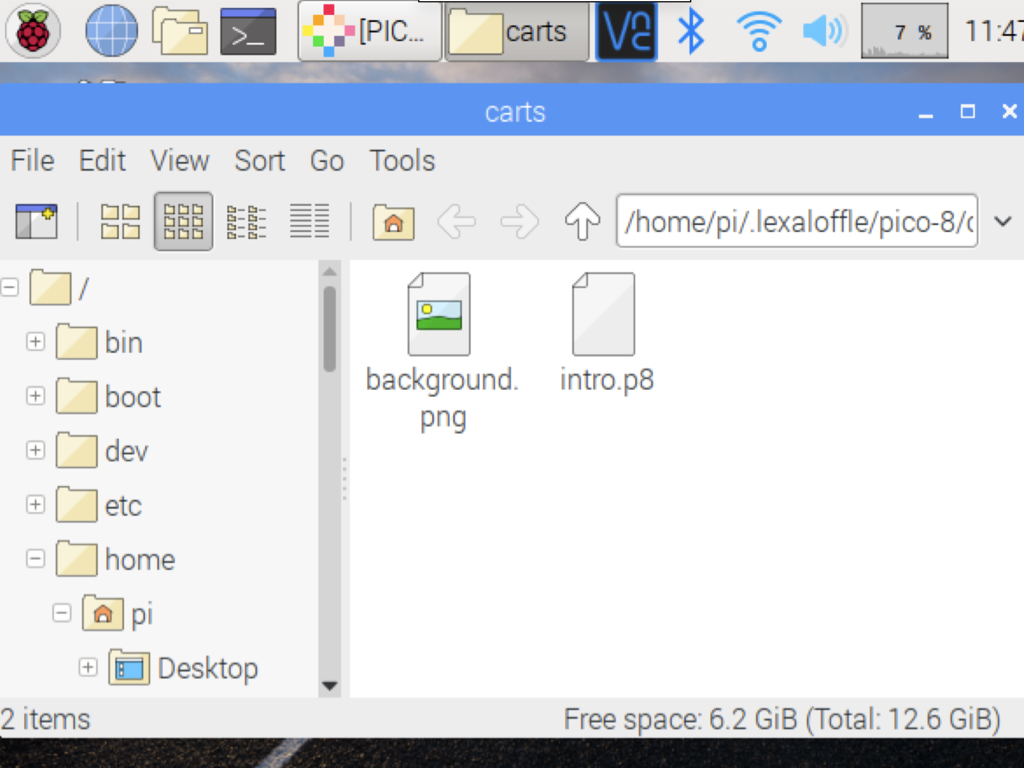
Next, place the spritesheet exported from the external editor into the folder.
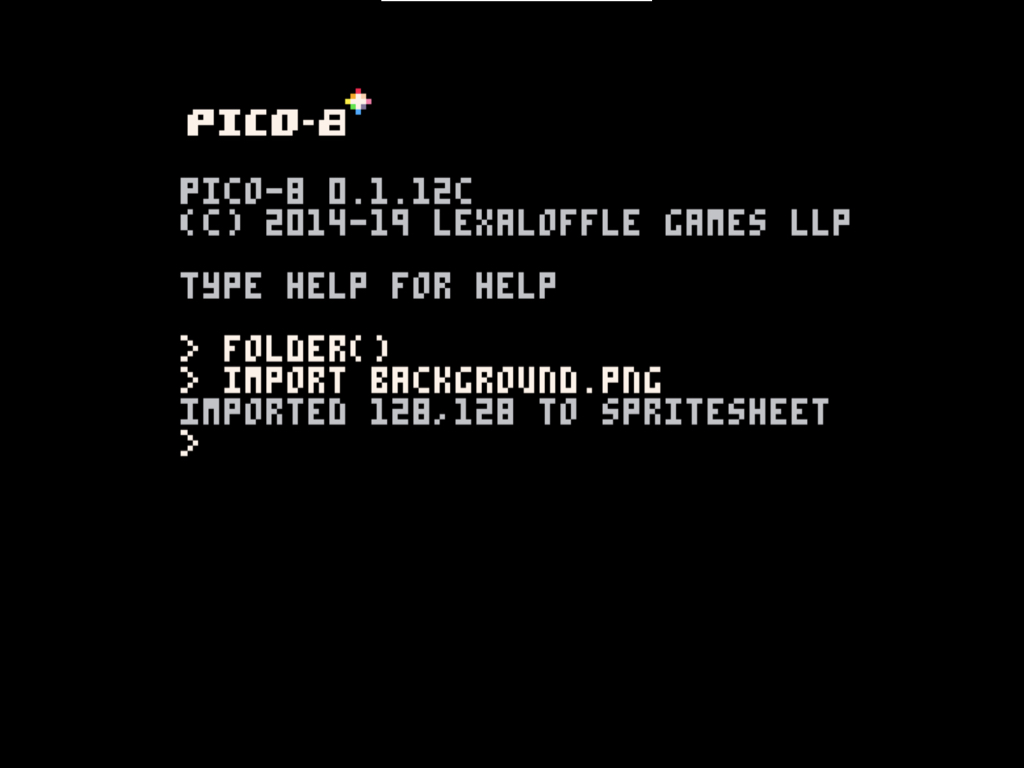
We're ready to import the spritesheet into PICO-8! So go ahead and use the import command like so: import image-name.png
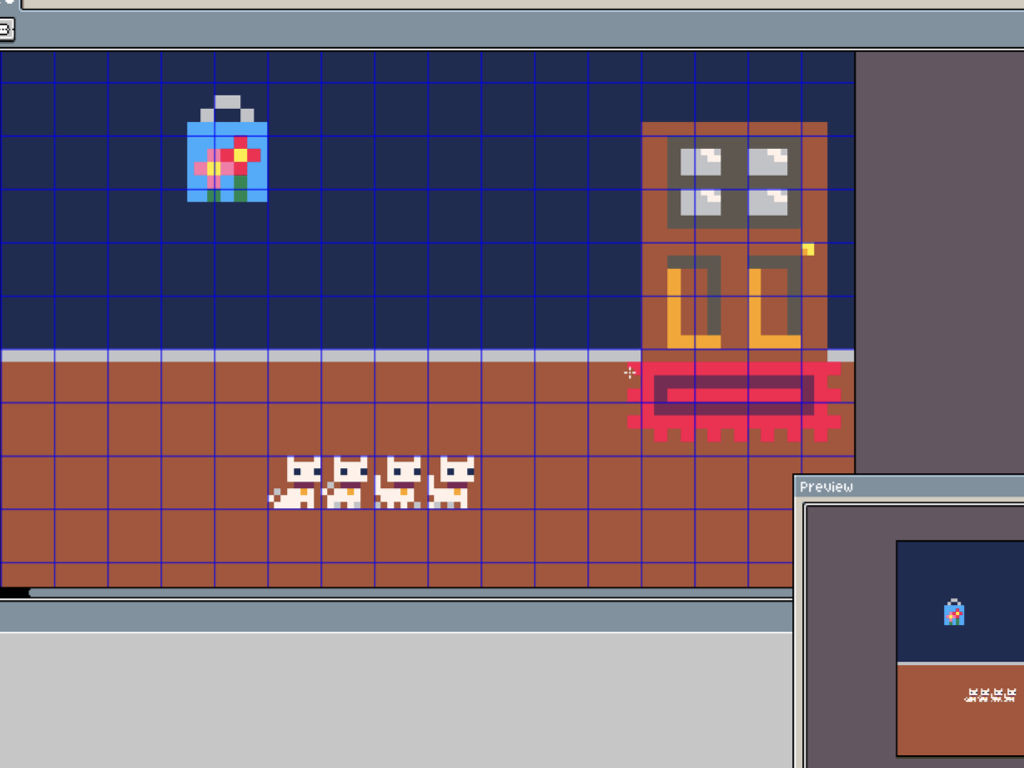
The player sprite will be drawn on top of the existing background image. For the surrounding pixels in the player sprite to be transparent, set it to black. By default, black (colour 0 in PICO-8 palette) is transparent, so when a sprite's pixel is set to this colour and drawn on top of an existing image, in this case the background, the pixel preserves the colour underneath it.
You can also change the transparency of a colour in the PICO-8 palette with the palt( [col,] [t] ) function.
col: The number of the colour to modify.
col: The number of the colour to modify.
t:If true, treat this colour as transparent. If false, treat this colour as opaque.
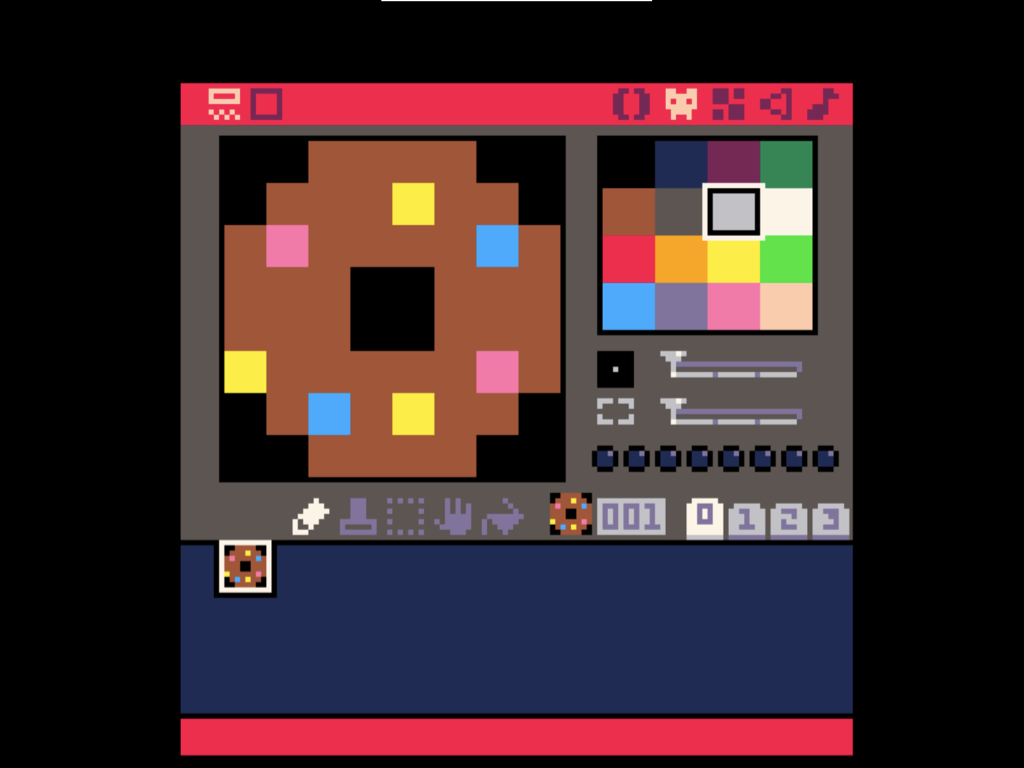
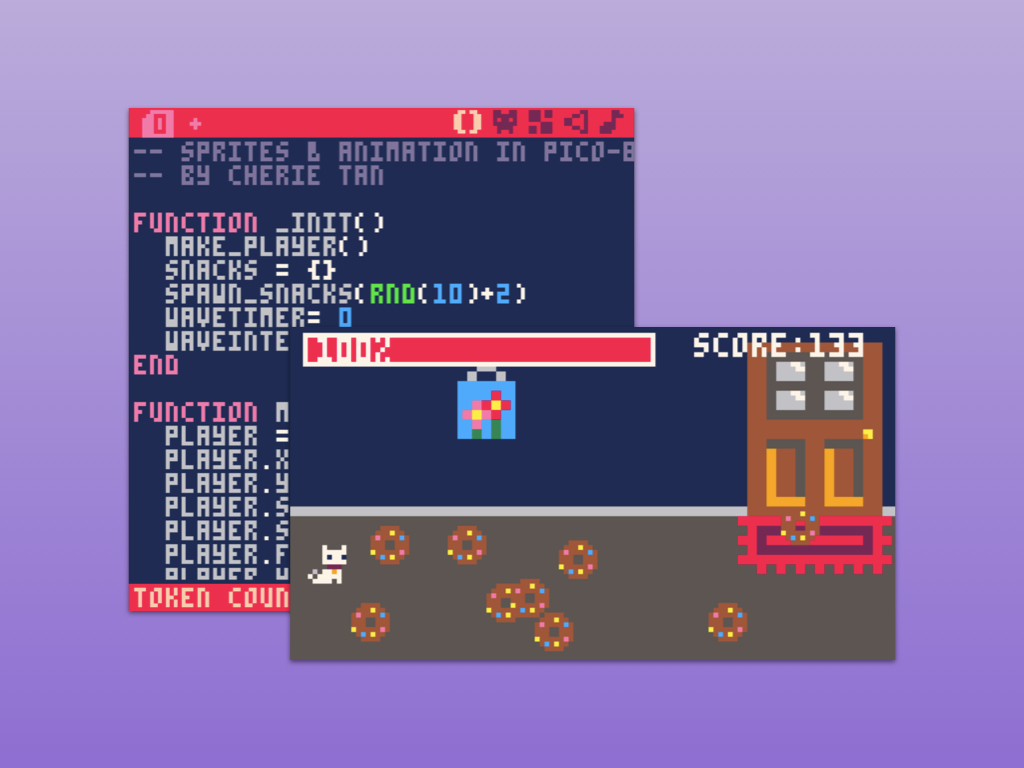
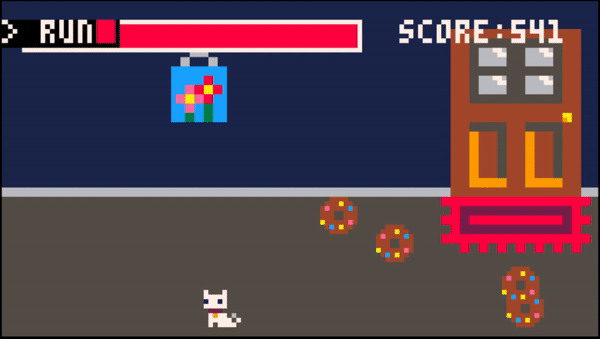
For this game, we have created an enemy sprite -- a doughnut. The more of these the player sprite collides with, it will lose health. Go ahead and create your own enemy sprite!
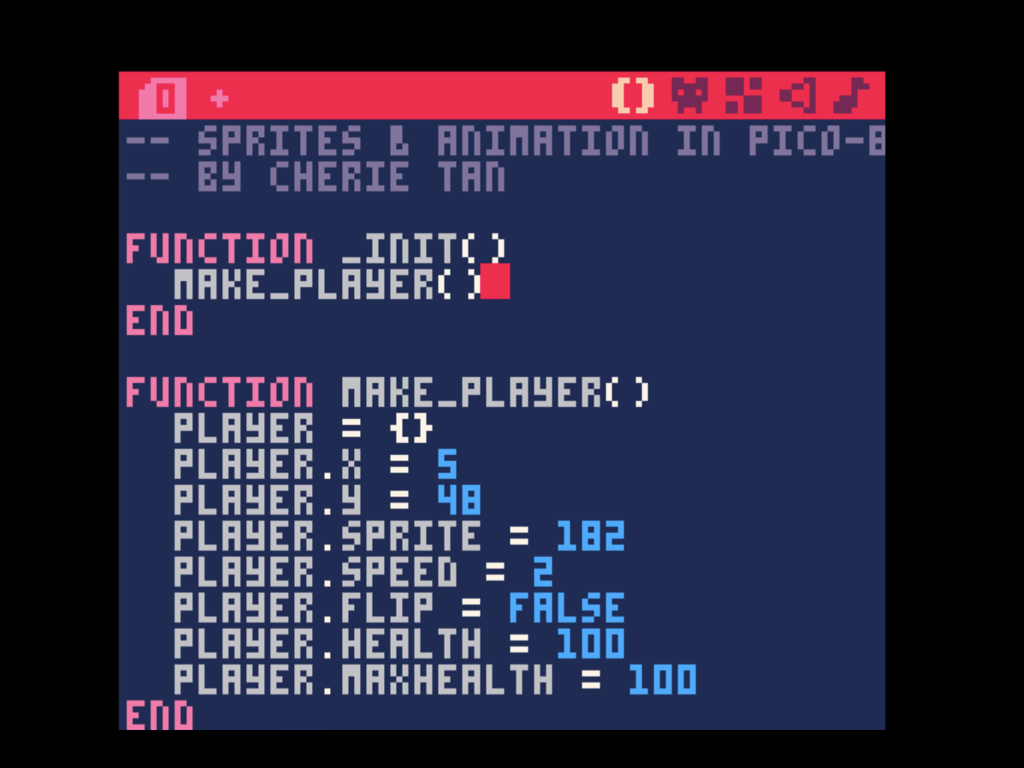
Next, we'll need to update the make_player function. Go ahead and add player.health and player.maxhealth. Set both to have a value of 100. Later, these values will be used to create the player health bar.
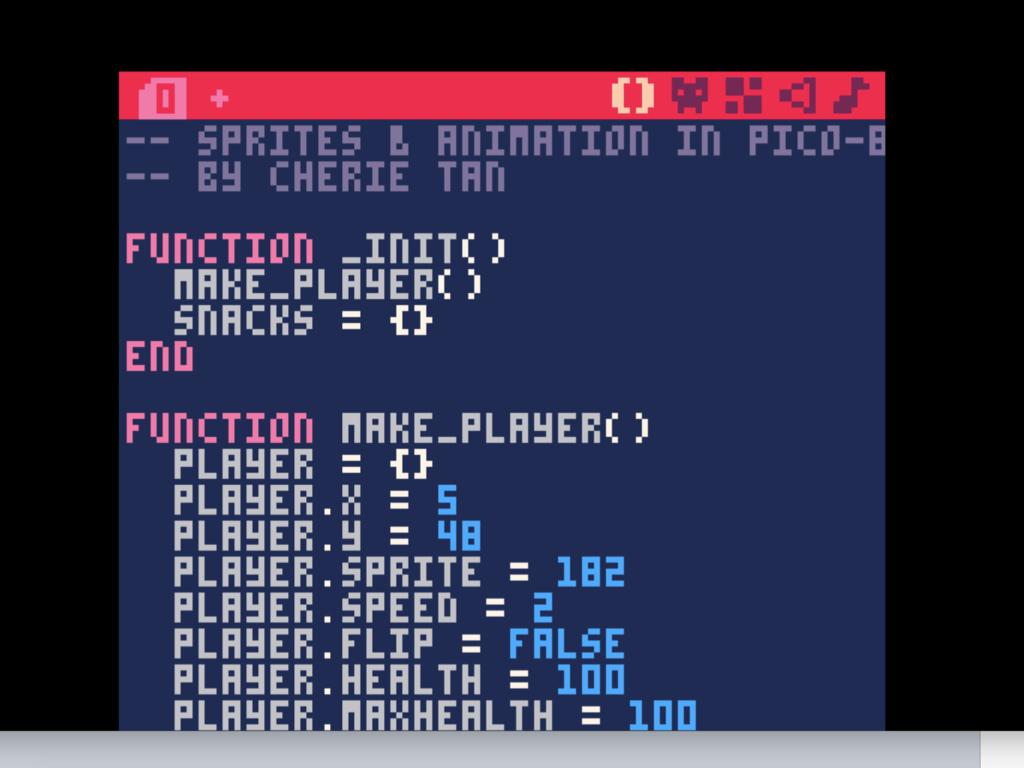
Just as we created a table for the player, we'll declare a table for the enemies in the game -- the doughnuts. So go ahead and create an empty snacks tablein _init(). This table will be used later, where we'll add individual instances of snacks.
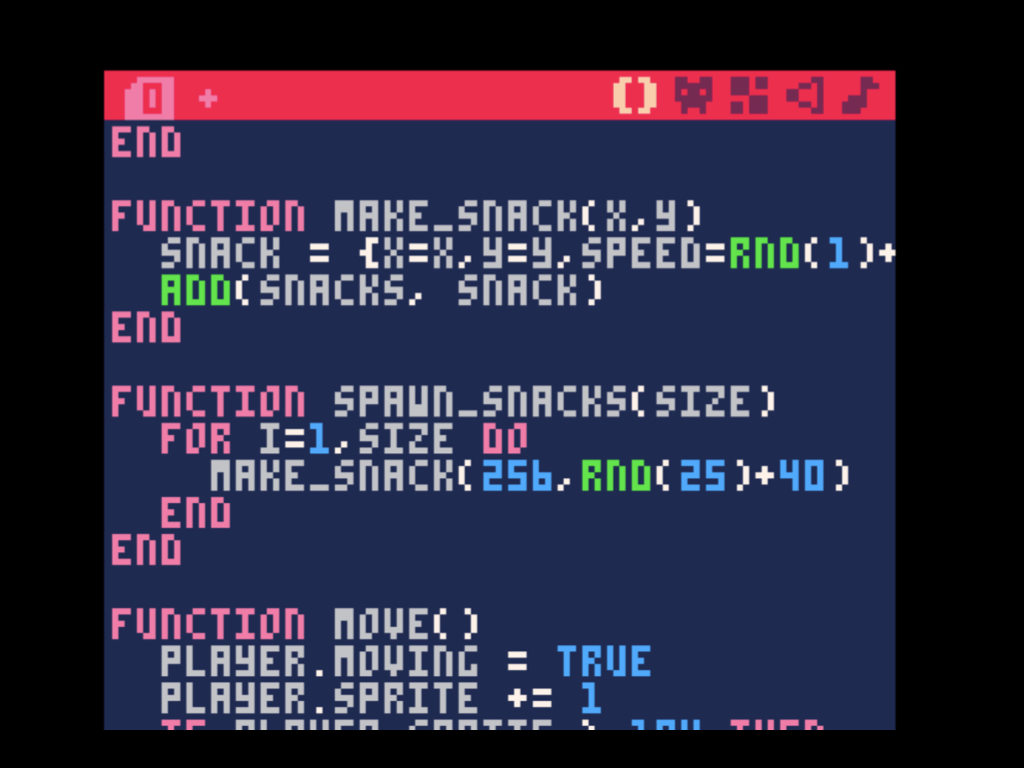
The next function has to do with creating individual instances of snacks and adding them to the currently empty snacks table. Let's take a closer look at the function:
function make_snack(x,y) has two parameters, these are the x and y coordinates of the snack. It is in this function that we create instances of snacks. Then, with the rnd() function, we have set each snack to have a randomised set speed of 1-2.
function make_snack(x,y) has two parameters, these are the x and y coordinates of the snack. It is in this function that we create instances of snacks. Then, with the rnd() function, we have set each snack to have a randomised set speed of 1-2.
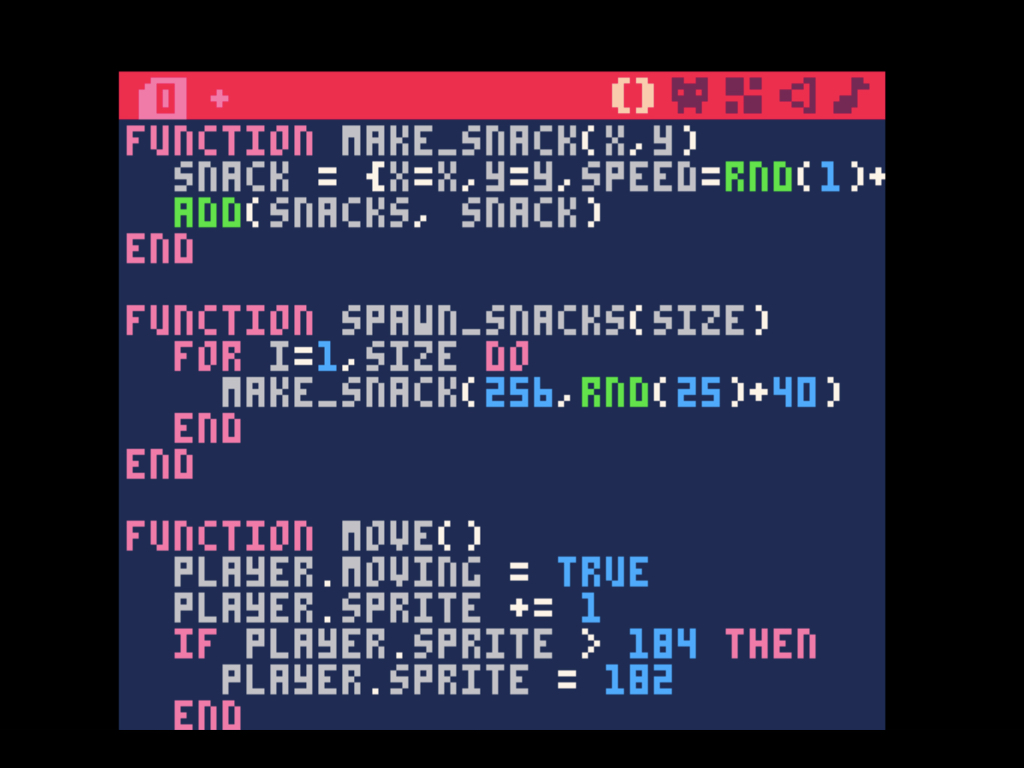
While we've created a make_snack function where instances of snacks are added to the snacks table, they still need to be spawned. The next function does just this. The spawn_snacks function has one parameter, size.

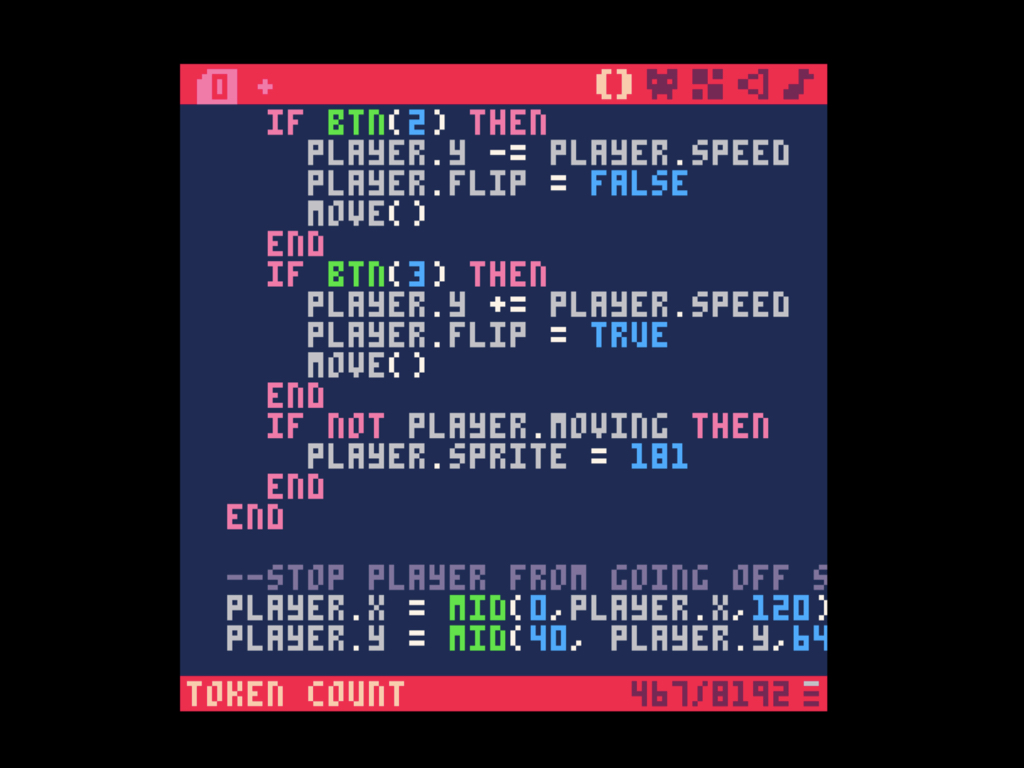
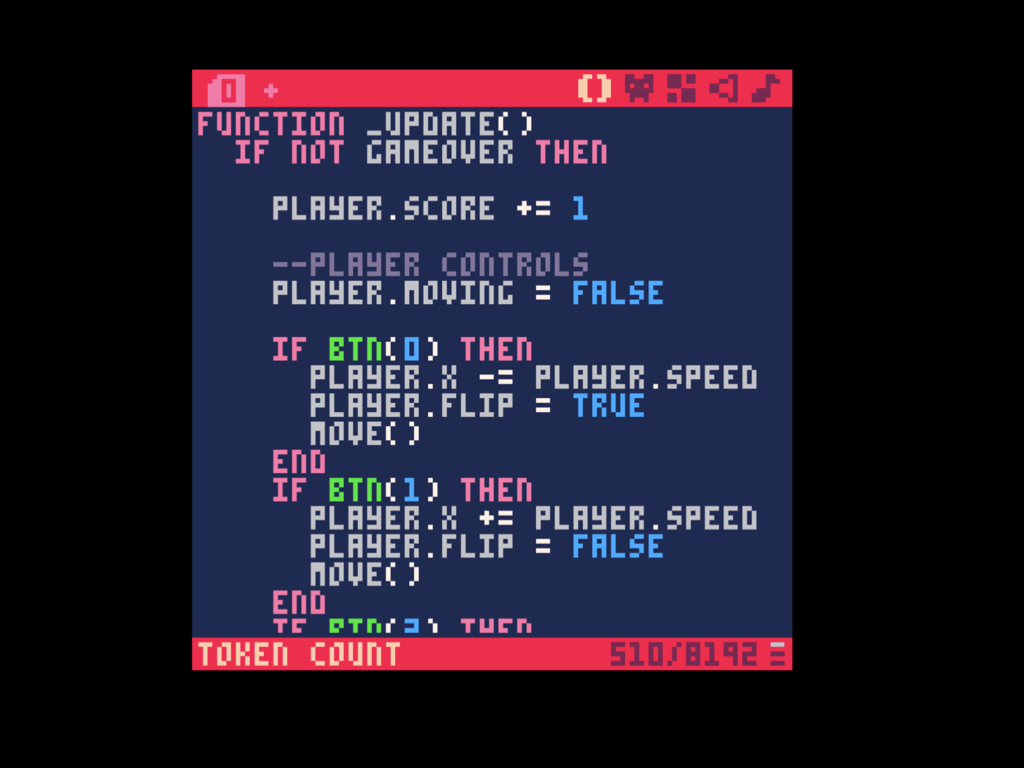
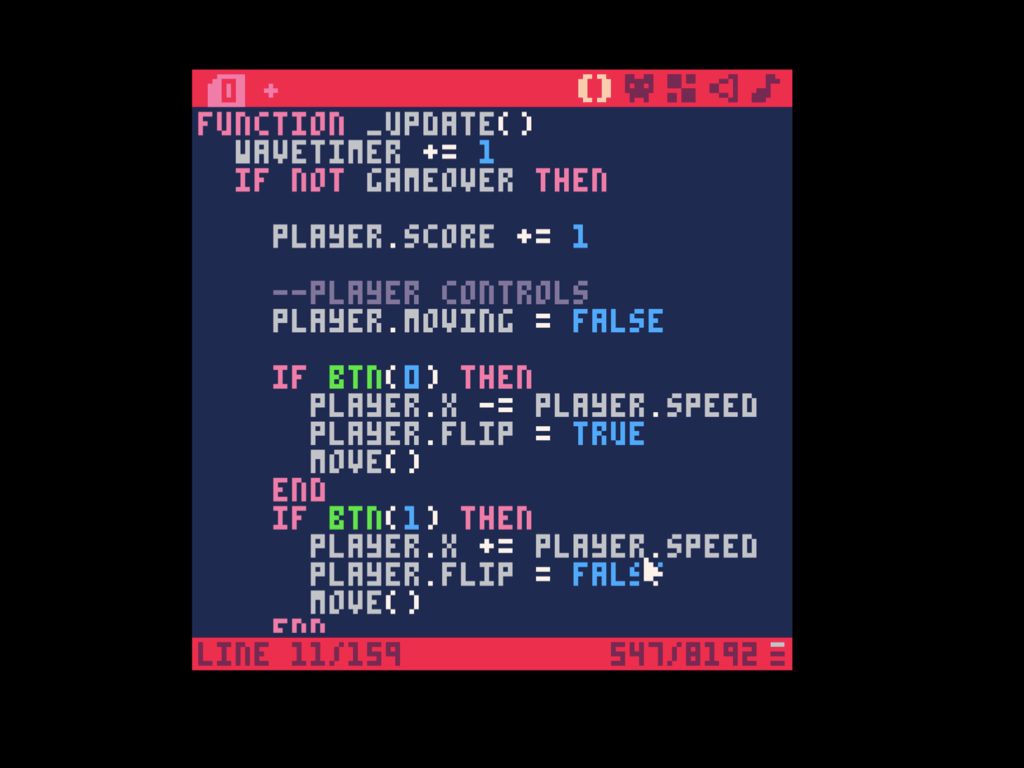
In the _update function, add an if not gameover then condition so that as long as the game isn't over, the player sprite can be moved with the arrow keys (btn 0 - 3).
Update the previous code to include controls for moving the player up and down. If btn(2) is pressed, then move the player up; this is done by decrementing the value of player.y by player.speed. To move down, use btn(3) to check if the down arrow key (on keyboard) is pressed. If so, then increment the value of player.y by player.speed. Don't forget to flip the player sprite with player.flip!
The btn( [i,] [p] )function tests if a button is being pressed at this moment.
i : The button number
p: The player number
i : The button number
p: The player number
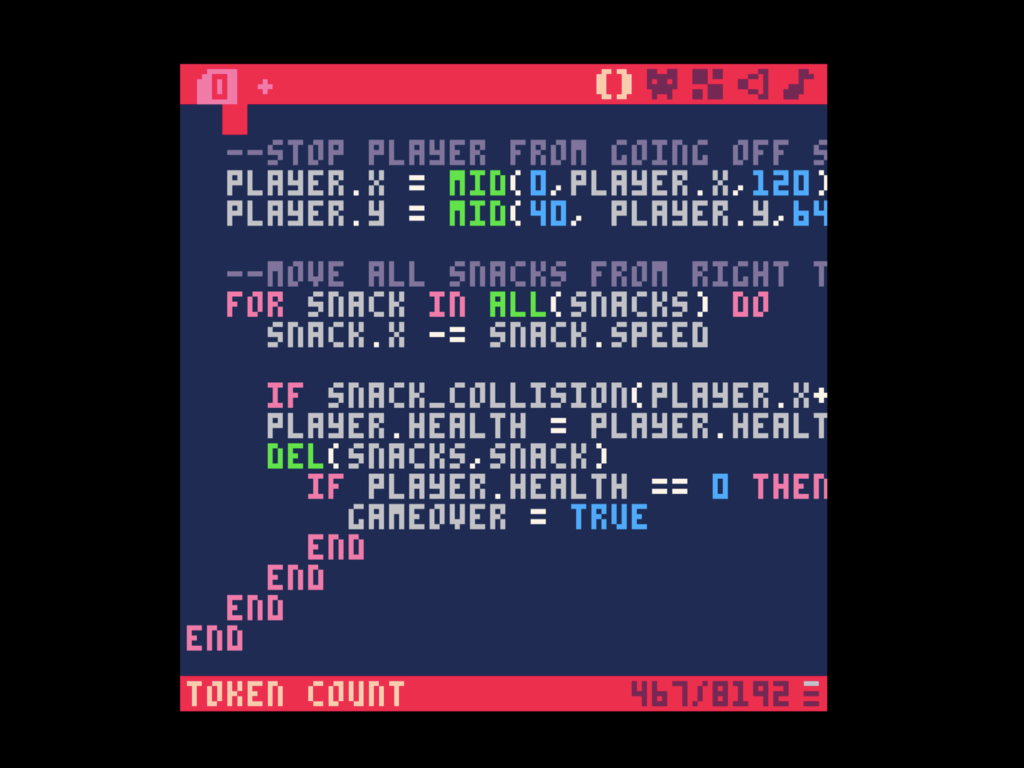
Right now, the player sprite can go off the screen. To prevent that and make sure it can only traverse on the 'floor' of the background, use the mid( first, second, third ) function to get the middle value out of three.

Next, to move all the spawned snacks from the right side to the left of our screen, create an update loop with for snack in all(snacks) do
Similar to what was done with controlling the player sprite on button press, simply decrement the x coordinate of each snack by snack.speed.
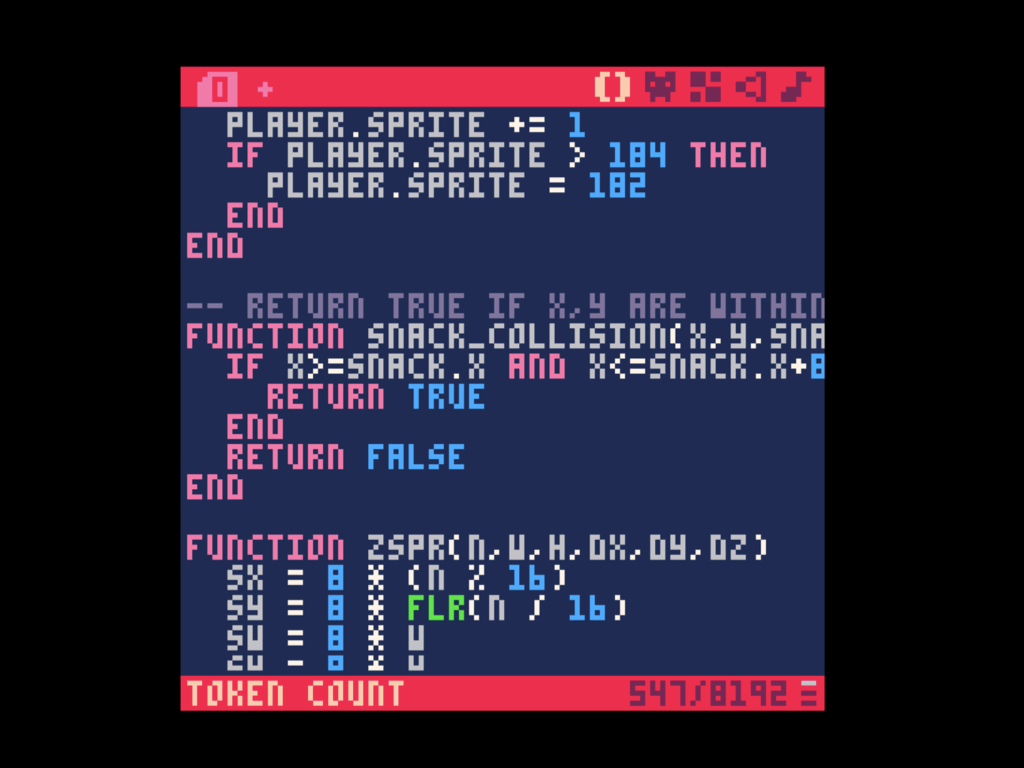

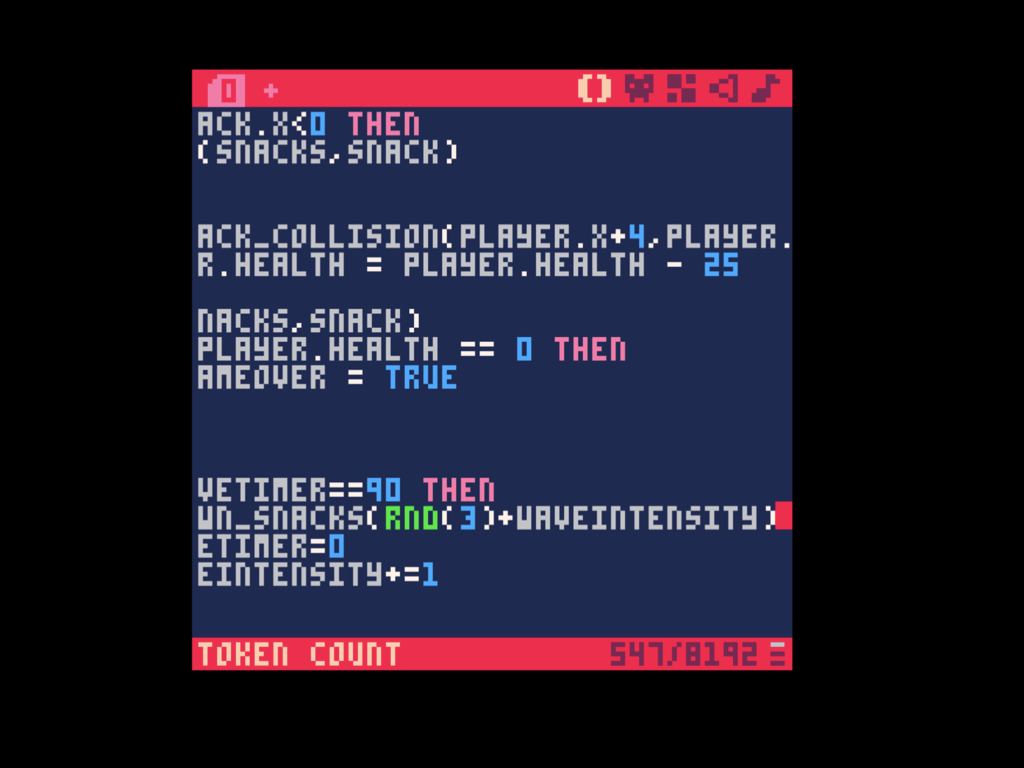
Running the game now, you might notice that the doughnuts just pass right through the cat. That's because we haven't added collision detection to the game. Create a new function called snack_collision that accepts three parameters: x, y, and snack
This function will be used to check to see if a point is inside an 8x8 pixel square around an enemy. If so, it returns true.
Within this function, create a conditional statement that checks to see If the value of x is equals to snack.x AND the value of x is less than or equal to snack.x+8 AND the value of y is larger than the value of snack.y AND the value of y is less than or equal to snack.y+8.
Within this function, create a conditional statement that checks to see If the value of x is equals to snack.x AND the value of x is less than or equal to snack.x+8 AND the value of y is larger than the value of snack.y AND the value of y is less than or equal to snack.y+8.
Next, back in the _update() function, where the snack update loop is, loop through the snacks table to check for collisions. If a collision has occurred, delete the snack sprite.
Within that if statement, create another if statement to check to see if the player health has reached zero. If so, set gameover to true.
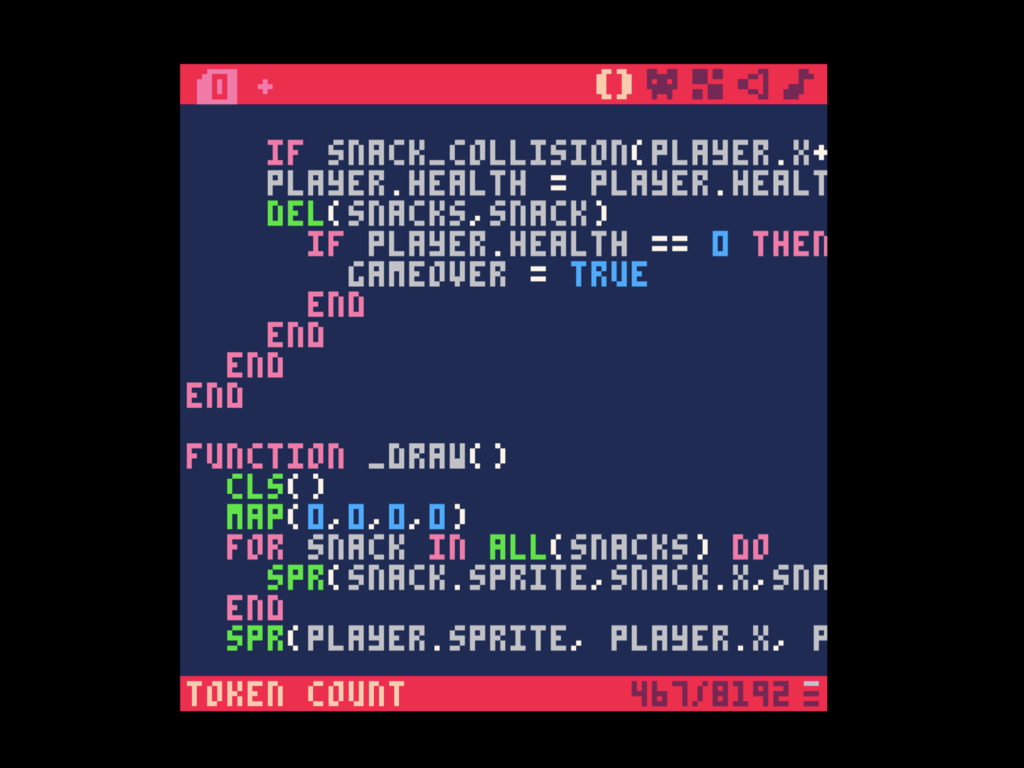
Now in the _draw() function, use the cls() function to clear the graphics buffer and set every pixel to colour 0, black.
Next, draw the background with the map() function
To draw the snacks, use: for snack in all(snacks) do and spr(snack.sprite,snack.x,snack.y)
Next, draw the player sprite on screen with spr(player.sprite,player.x,player.y)
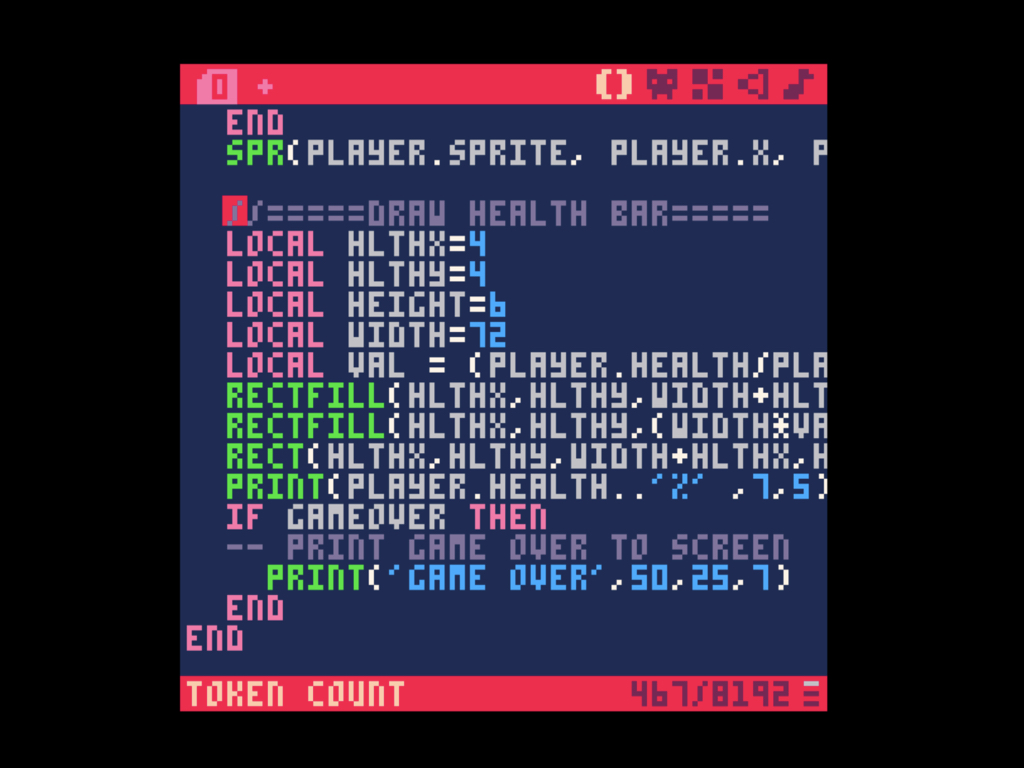
Now to draw the health bar, create five local variables, hlthx, hlthy, height, width, and val.
Local variables are accessible only within the function where they are declared. In this case, within the _draw() function. If a variable is not declared as local, then it is global.
local val = (player.health/player.maxhealth)
This will give a percentage value of the player health.
This will give a percentage value of the player health.
Using rectfill() twice, create a healthbar:
rectfill(hlthx,hlthy,width,width+hlthx,height+hlthy,0)
rectfill(hlthx,hlthy,(width*val)+hlthx,height+hlthy-1,8)
rectfill(hlthx,hlthy,width,width+hlthx,height+hlthy,0)
rectfill(hlthx,hlthy,(width*val)+hlthx,height+hlthy-1,8)
rectfill( x0, y0, x1, y1, [col] )
Draws a filled-in rectangle shape.
x0
The x coordinate of the upper left corner.
y0
The y coordinate of the upper left corner.
x1
The x coordinate of the lower right corner.
y1
The y coordinate of the lower right corner.
col
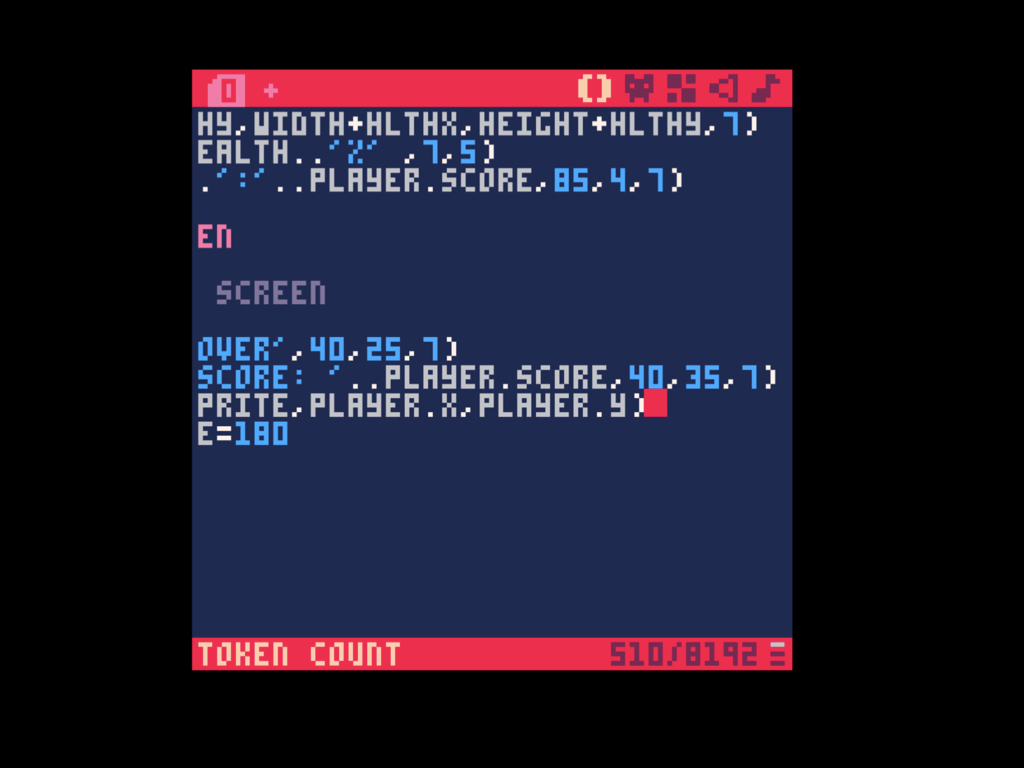
Finally, print the value of the player's health on the health bar with print().
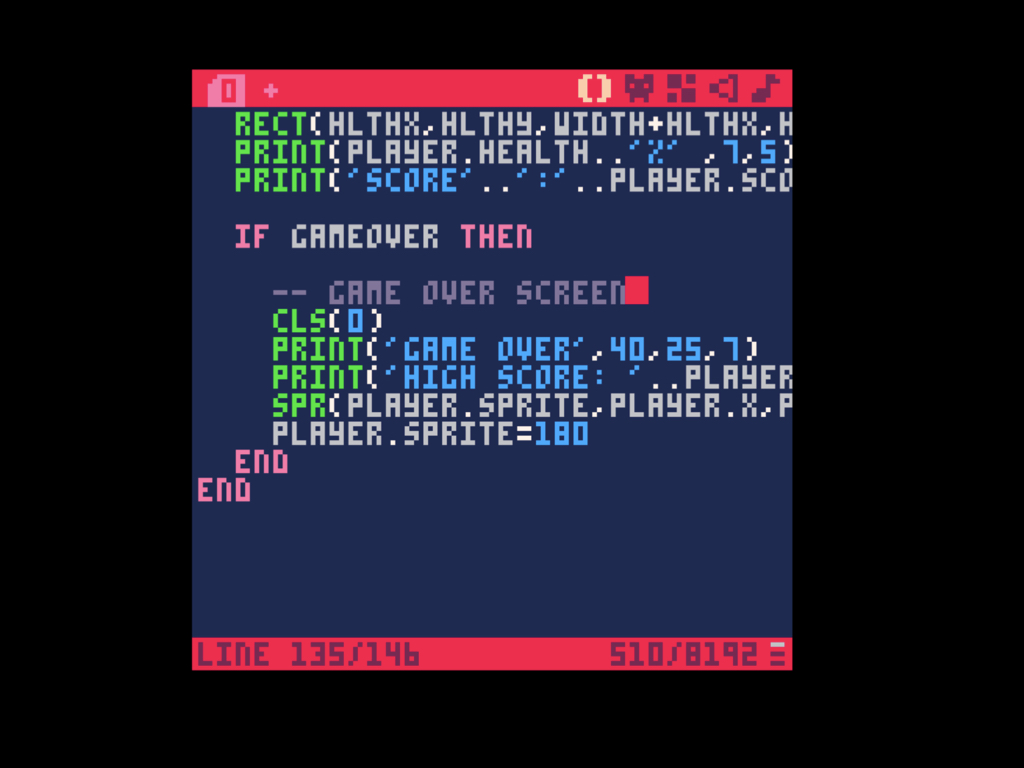
Now to add a score to the game, add player.score +=1 in the _update() function. This value will increment as long as the game isn't over.
Then, use print() function again to print the score at the top right-hand corner of the screen. The coordinates used are x:85 and y:4 in colour 7 in the PICO-8 palette.
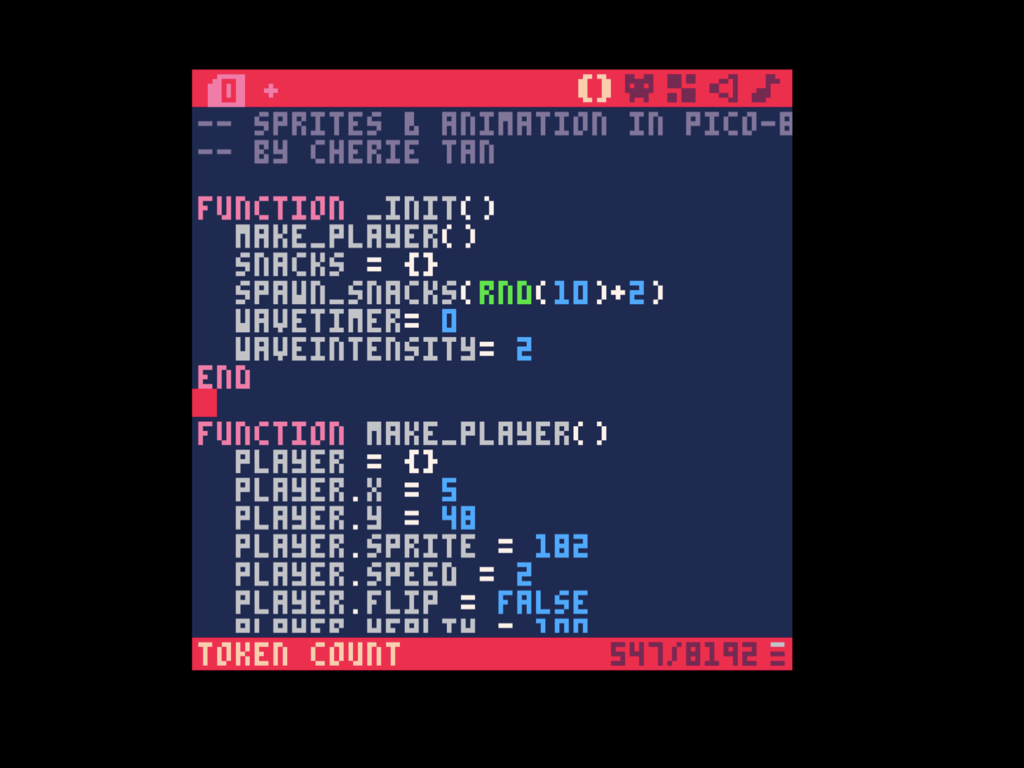
To keep the doughnuts continually spawning, first, create a new variable, wavetimer, in _init().
Create another variable, waveintensity.
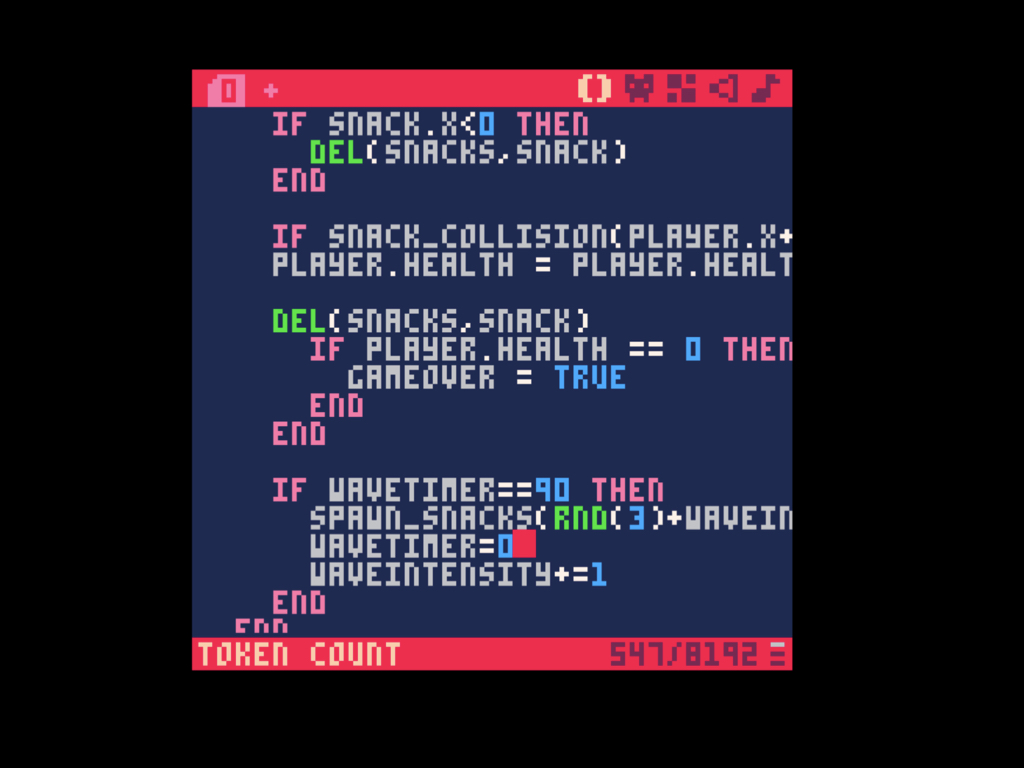
Also, go ahead and add another condition: if snack.x<0 then
If the snack.x valule is less than 0, delete the doughnut sprite using del(snacks,snack)
If the snack.x valule is less than 0, delete the doughnut sprite using del(snacks,snack)
In the _update() function, set the value of wavetimer to continually increment by 1.
Then create a conditional statement if wavetimer == 90 then so that when the value of the timer is 90, a new swarm of doughnuts will be spawned using spawn_snacks(rnd(3)+waveintensity)).
So, every 3 seconds, a new swarm of doughnuts is spawned. This is because the update function is called 30 times per second, and 90 = 30 x 3.
Increase or decrease the value of waveintensity to change the number of doughnuts that will spawn.
So, every 3 seconds, a new swarm of doughnuts is spawned. This is because the update function is called 30 times per second, and 90 = 30 x 3.
Increase or decrease the value of waveintensity to change the number of doughnuts that will spawn.
Next, set the value of wavetimer to be 0 to reset the timer.
Increase the value of waveintensity by 1.
We're done for now! In the next guide, we'll look at adding parallax scrolling to the game.
Check out the guides over at https://www.littlebird.com.au/a/how-to/#raspberrypi to learn even more. Happy coding!
Check out the guides over at https://www.littlebird.com.au/a/how-to/#raspberrypi to learn even more. Happy coding!