Set up OpenCV on Raspberry Pi 4
Get OpenCV up and running quickly on the Raspberry Pi
Written By: Cherie Tan
Difficulty
Easy
Steps
12
OpenCV makes adding computer vision to your Raspberry Pi projects a straight-forward process. Using it, you could train the Raspberry Pi to classify or recognise objects and react to them.
In this guide, learn to install OpenCV on the Raspberry Pi 4 in a dozen steps.
Complete this guide to start using OpenCV for your Raspberry Pi computer vision projects.
In this guide, learn to install OpenCV on the Raspberry Pi 4 in a dozen steps.
Complete this guide to start using OpenCV for your Raspberry Pi computer vision projects.
In 1999, the OpenCV project was established by Intel Research as an open standard for promoting the development of computer vision. Then in 2012, the nonprofit OpenCV Foundation took over, and now it is readily available to be integrated into your computer vision and robotics projects with the Raspberry Pi.
In this guide, we will show you how to install OpenCV using the default Raspbian repository.
OpenCV makes adding computer vision to your Raspberry Pi projects a straight-forward process. Using it, you could train the Raspberry Pi to classify or recognise objects and react to them. You could use it to monitor plant growth, facial recognition for a smart security system, build an object-tracking robot i.e. autonomous weed removal robot, a pet detection system for keeping wild animals from accessing your cat flap door, create visual assistive devices, just to name a few examples.
Computer vision is an area of computer science, mathematics and engineering that allows a computer to analyse an image and extract useful information. It is used in plenty of applications in our day to day lives. For example, if you have a smartphone then there's probably already an app that utilises computer vision on it -- the camera on your smartphone may already have facial detection built-in.
In this guide, we have used a Raspberry Pi 4 with the latest Raspbian Buster.
If you have not yet got Raspbian Buster set up, check out our guide on Getting Started with the Raspberry Pi 4.
Navigate to the <Finish> button and then reboot the Raspberry Pi.
In this guide, a headless Raspberry Pi setup via SSH is used. If you haven't done so, enable SSH on your Raspberry Pi or set up a VNC connection.
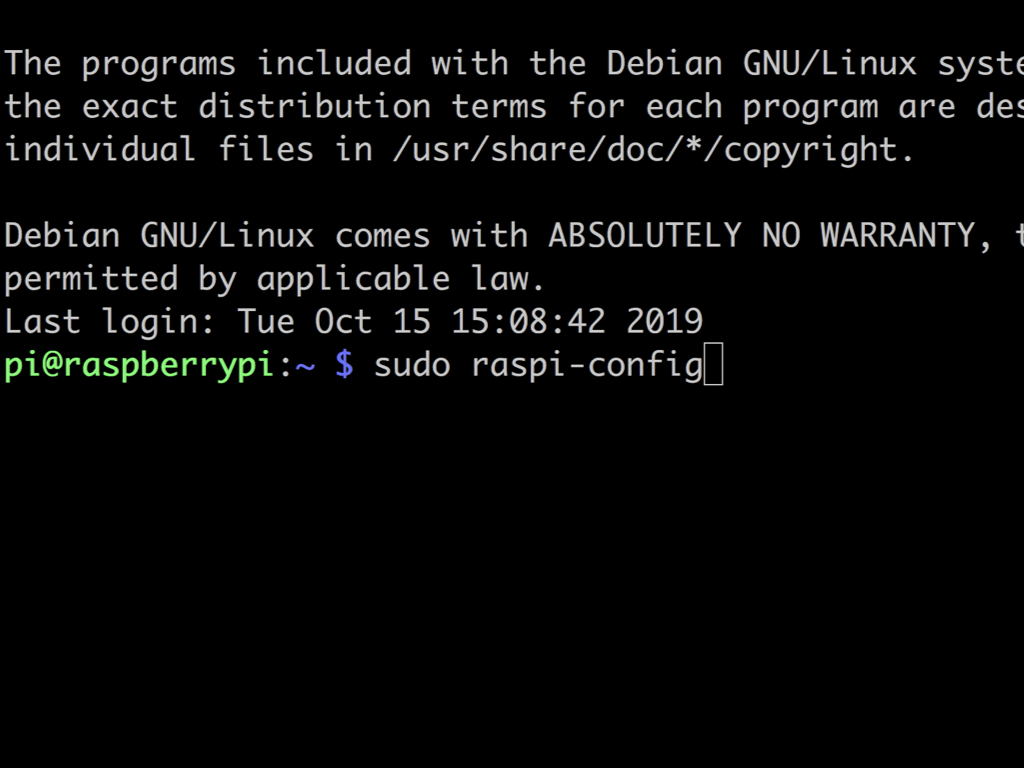
Then enter the following:
sudo raspi-config
sudo raspi-config
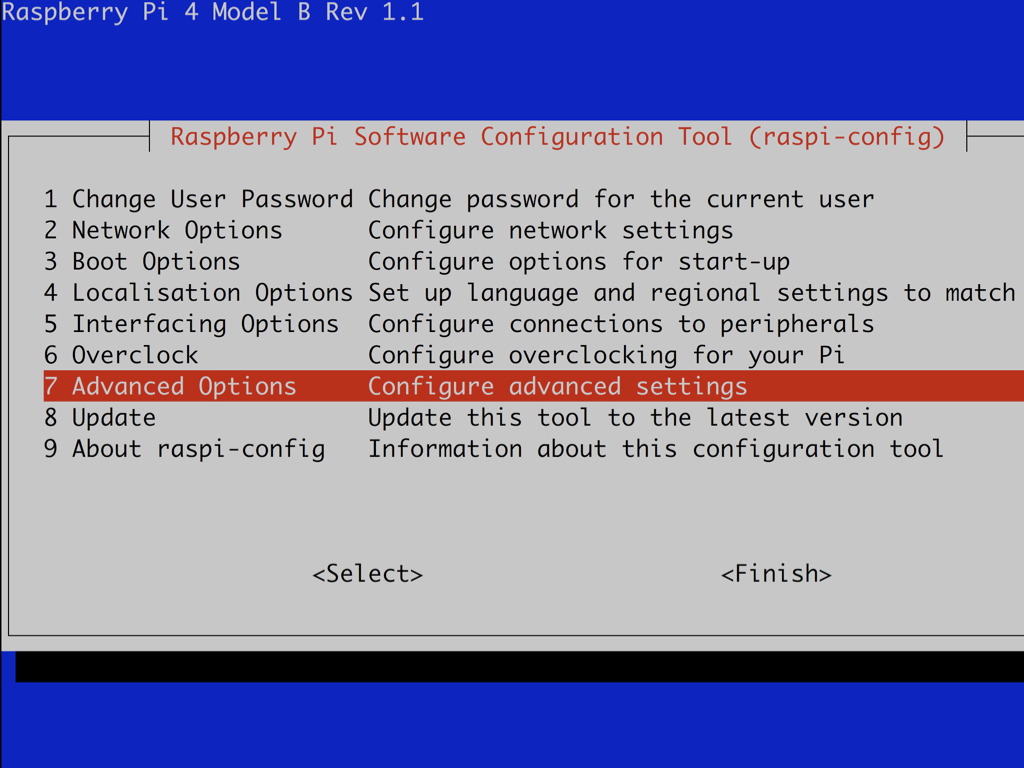
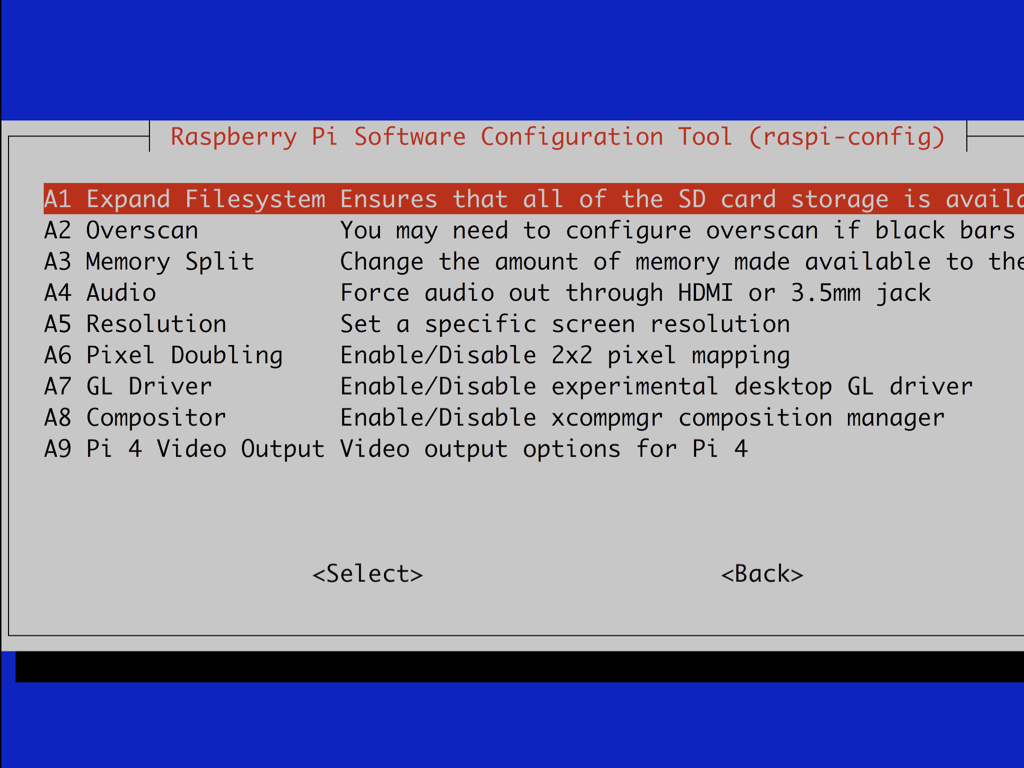
Navigate to Advanced Options and press enter
Navigate to A1 Expand Filesystem and press enter
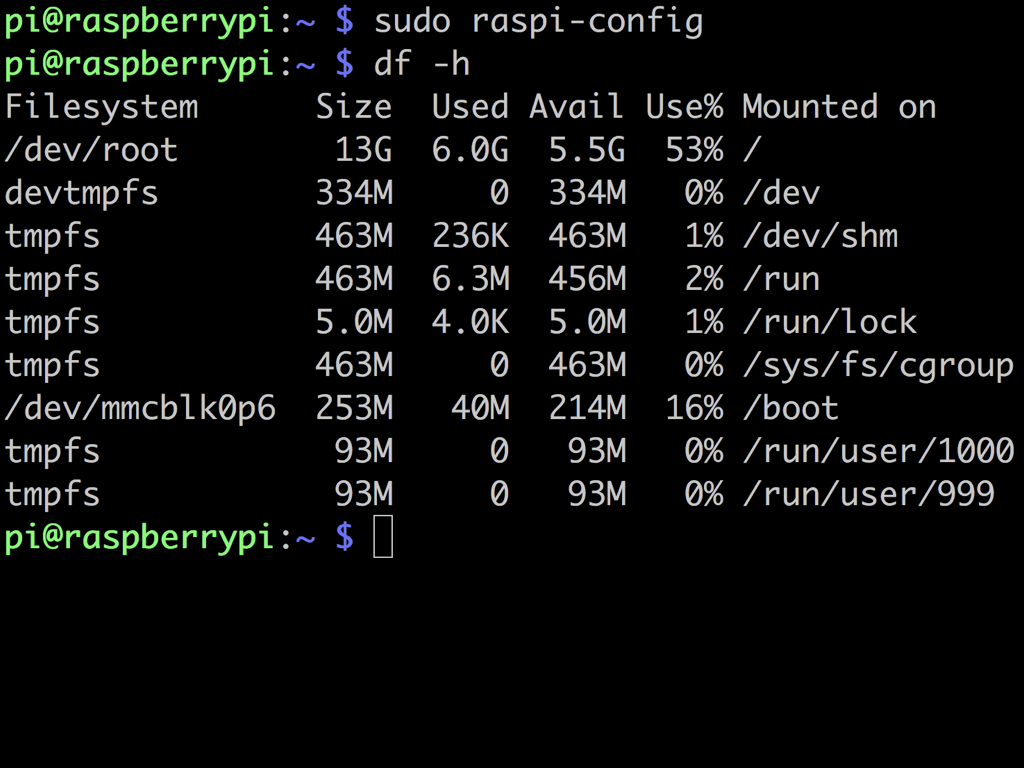
Now to display the amount of disk space on the Raspberry Pi, run the command:
df -h
df -h
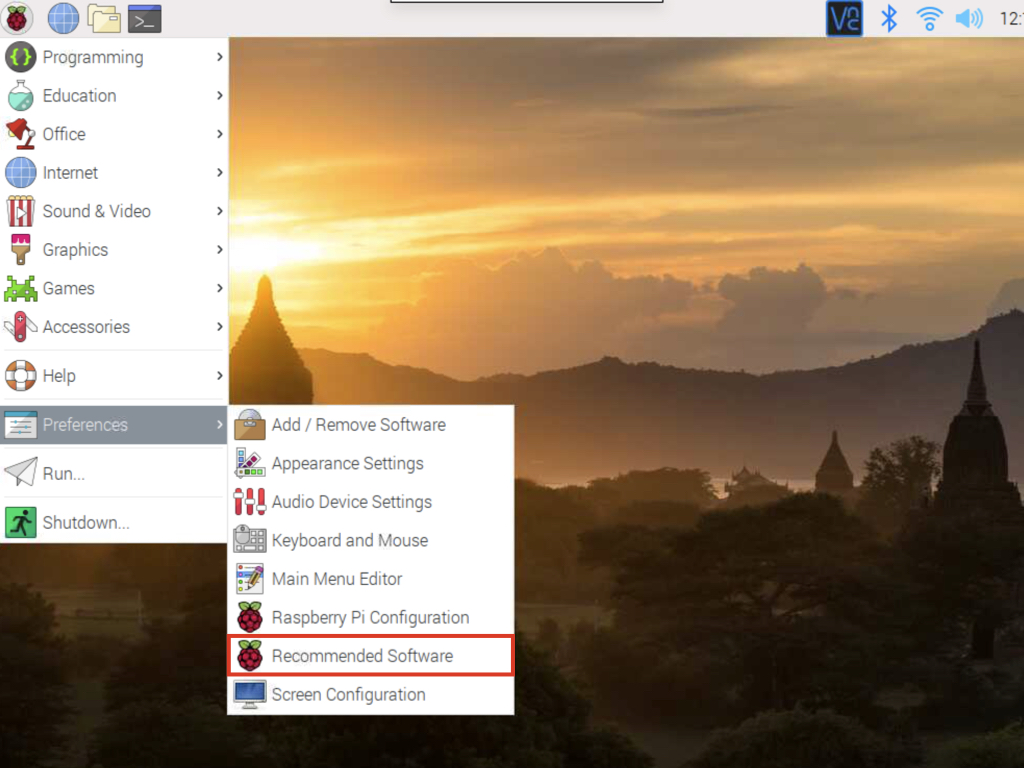
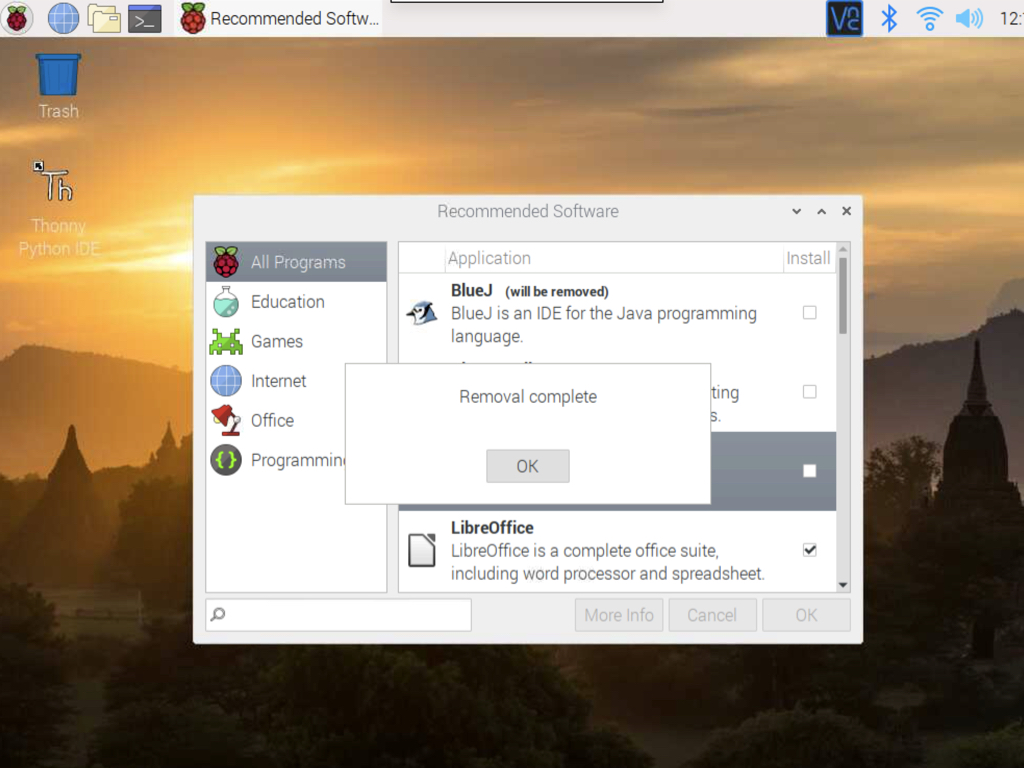
If necessary, uninstall some programs to free up some space on the SD card. To do so, first navigate to the Raspberry Pi applications menu, then go to Preferences > Recommended Software
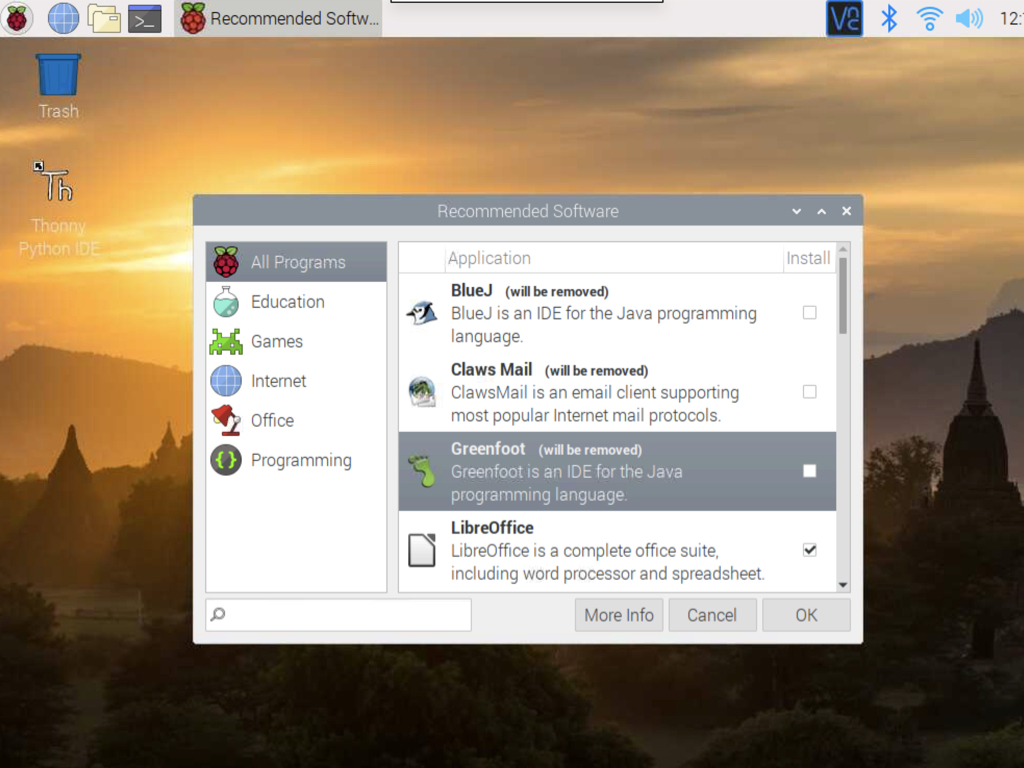
Uncheck the software to be uninstalled then click OK
Once the removal has been complete, click OK
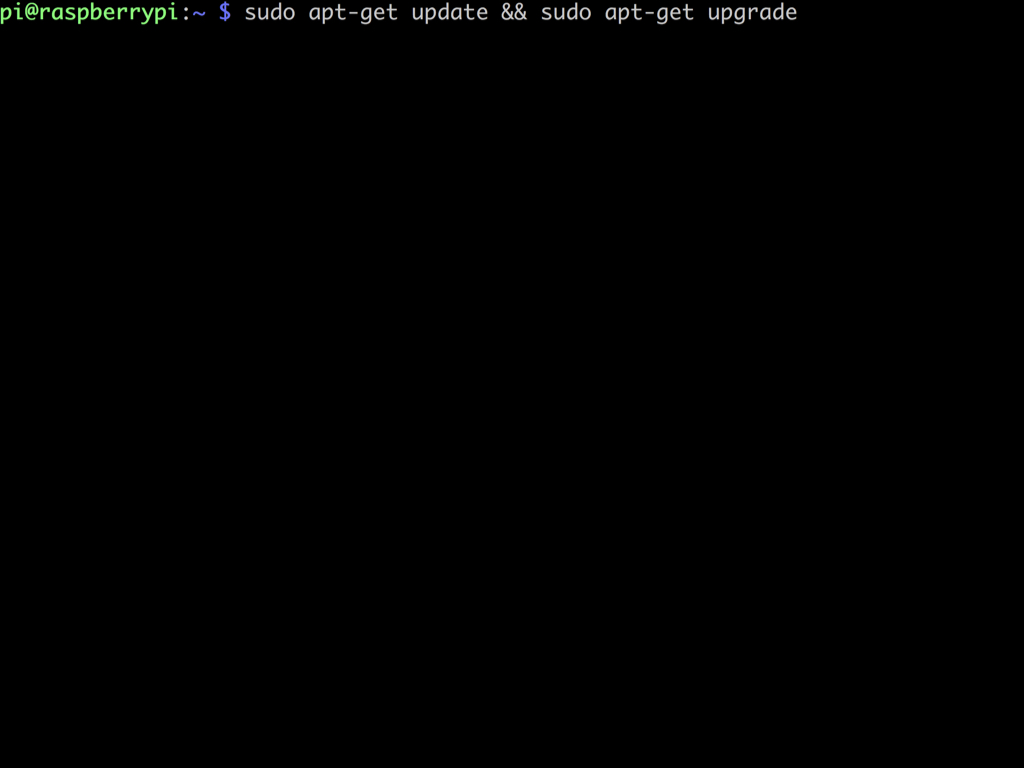

First, update and upgrade any existing packages with:
sudo apt-get update && sudo apt-get upgrade
sudo apt-get update && sudo apt-get upgrade
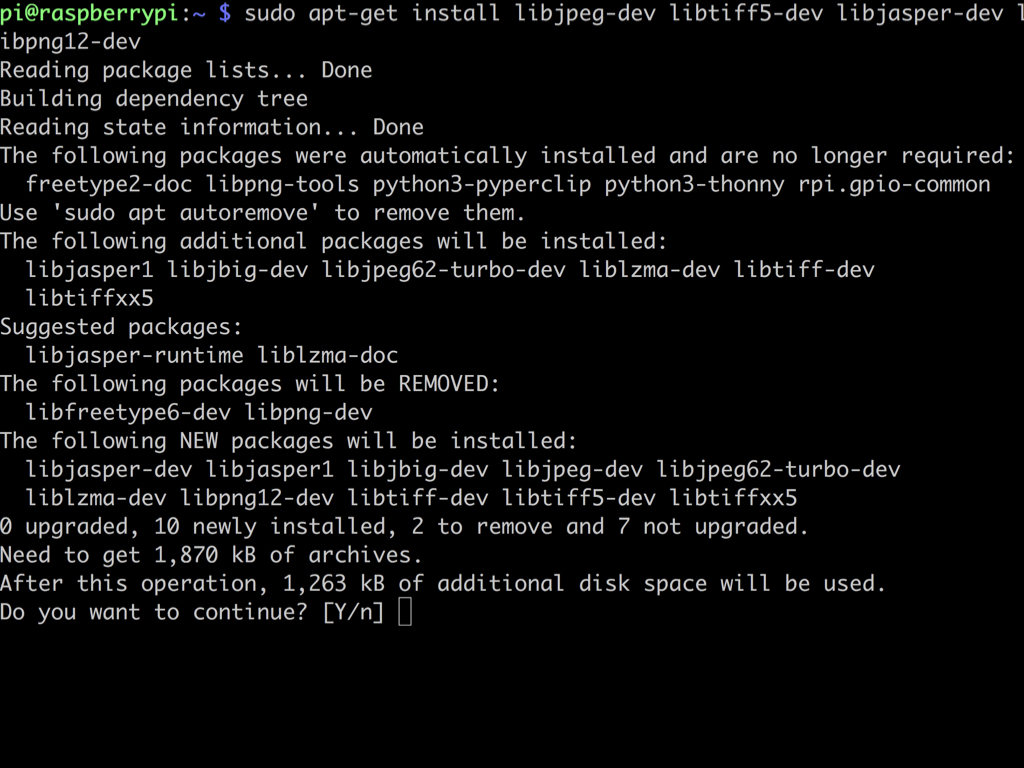
To install image I/O packages that will allow us to load various image file formats from disk, run the command:
sudo apt-get install libjpeg-dev libtiff5-dev libjasper-dev libpng12-dev
sudo apt-get install libjpeg-dev libtiff5-dev libjasper-dev libpng12-dev
These video I/O packages enables various video file formats to be read and enables you to work with video streams:
sudo apt-get install libavcodec-dev libavformat-dev libswscale-dev libv4l-dev
sudo apt-get install libxvidcore-dev libx264-dev
sudo apt-get install libavcodec-dev libavformat-dev libswscale-dev libv4l-dev
sudo apt-get install libxvidcore-dev libx264-dev
The following command installs the GTK development library which is required to compile the highgui module, used to display images to the screen and build basic GUIs:
sudo apt-get install libgtk2.0-dev
sudo apt-get install libgtk2.0-dev
For the further optimisation of more operations in OpenCV, a few more extra dependencies are required. So run the command:
sudo apt-get install libatlas-base-dev gfortran
sudo apt-get install libatlas-base-dev gfortran
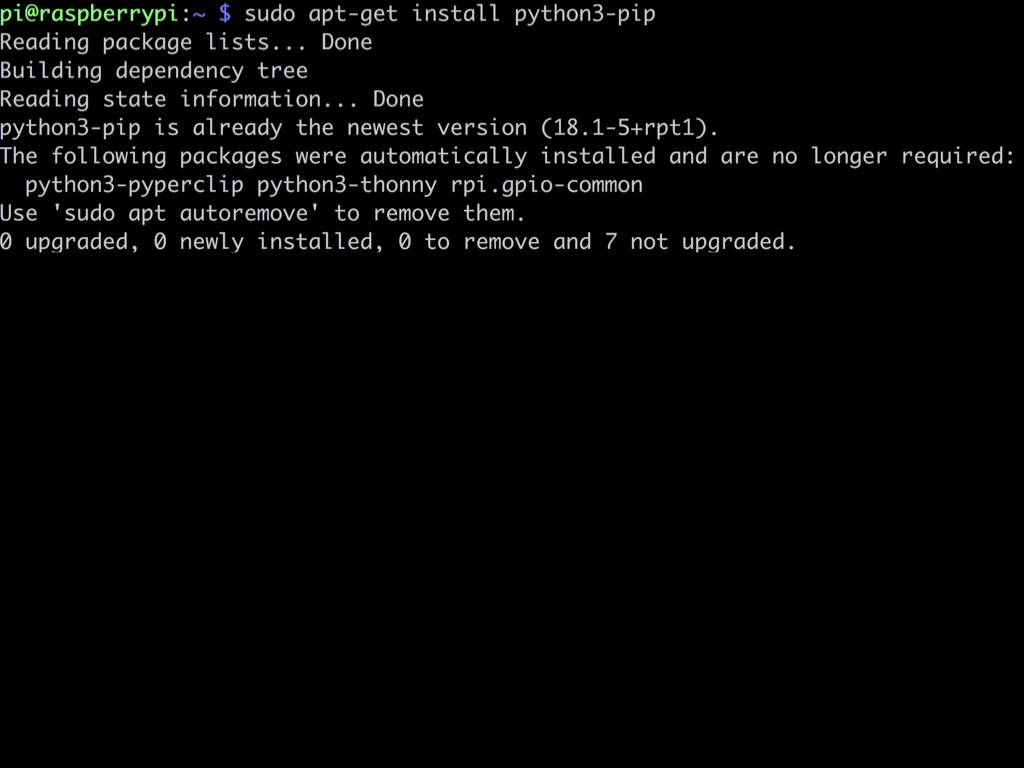
If it isn't already installed, install the package management tool, pip by running the following command:
sudo apt-get install python3-pip
sudo apt-get install python3-pip
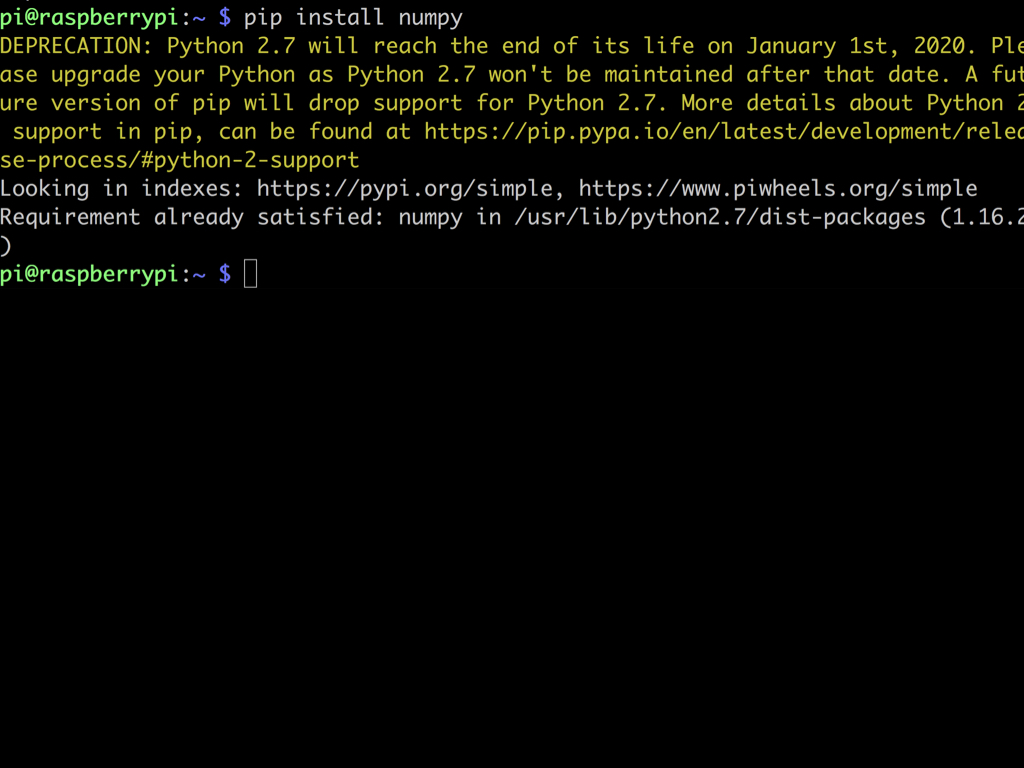
Next, install the Numpy library which adds mathetmatical and number handling functionality that will come in useful when working with OpenCV.
If it isn't already installed, you can install Numpy with:
pip install numpy
If it isn't already installed, you can install Numpy with:
pip install numpy
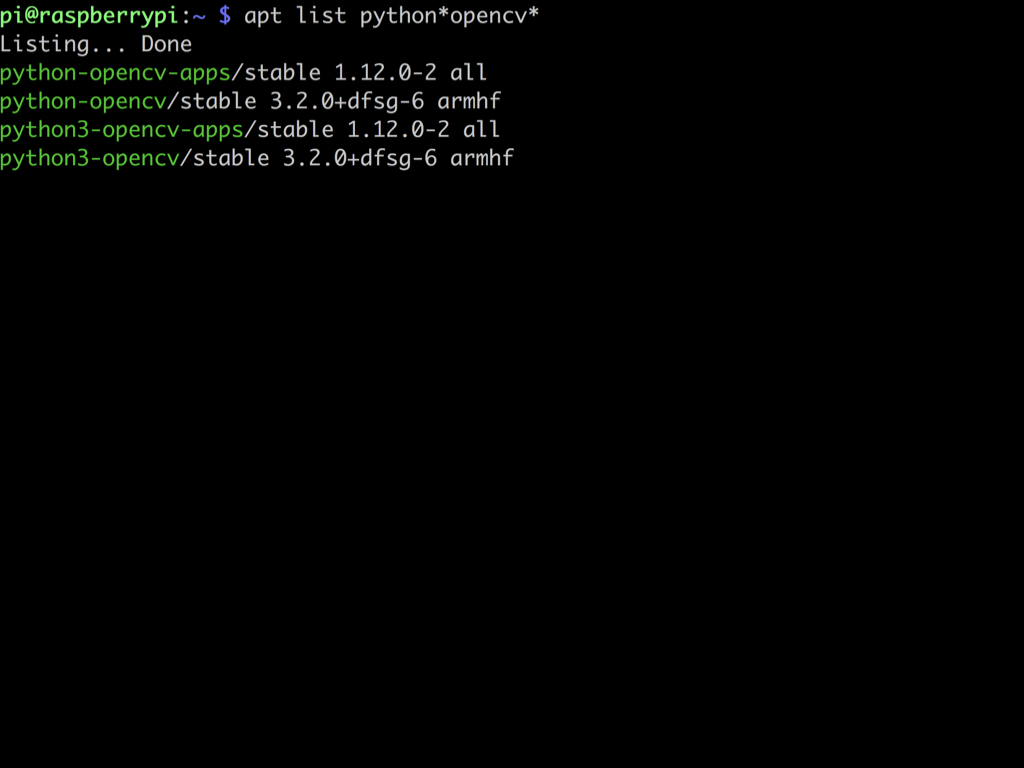
Next, we will use OpenCV from the default Raspbian repository. On Raspbian Buster, you will find it with the command
apt list python*opencv*
apt list python*opencv*
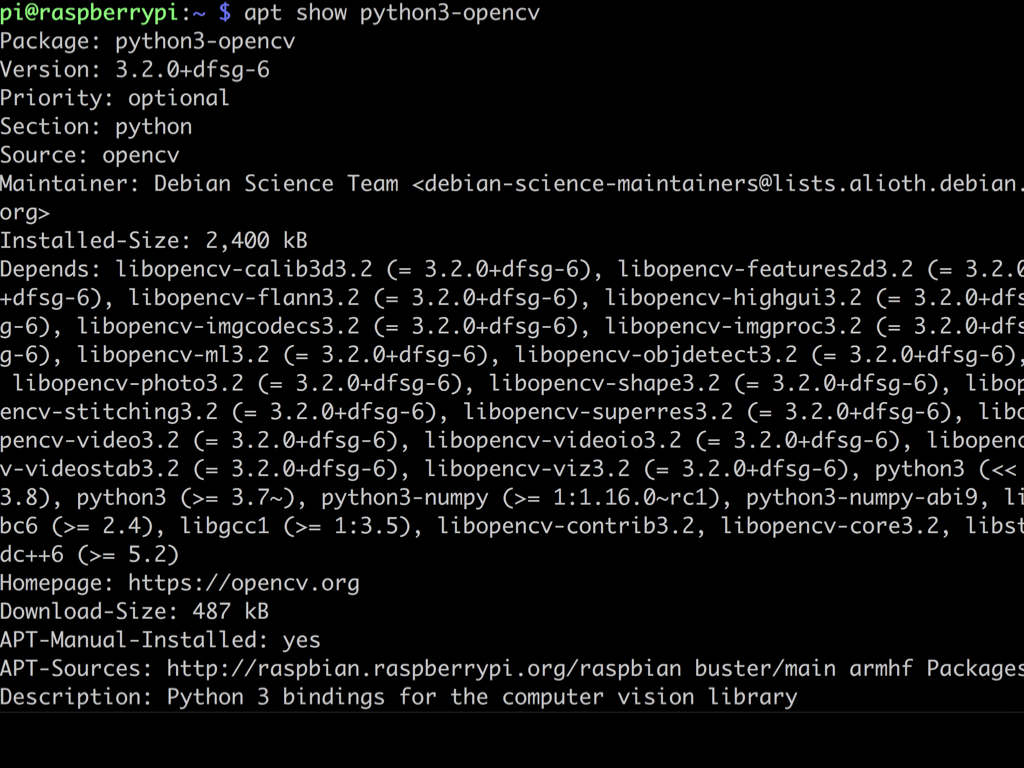
To install OpenCV, run the command:
sudo apt install python3-opencv
sudo apt install python3-opencv

