Meet the ShakeUp
Get started and learn to use the ShakeUp board's inputs
Written By: Cherie Tan
Difficulty
Easy
Steps
9
Meet the ShakeUp, a two-sided circuit board that not only acts as a keyboard or mouse, but it can help you connect everyday objects to your computer! It's simple to use, if you can plug in a Keyboard and Mouse to your computer, you can use the ShakeUp.
In this guide, you will learn about the ShakeUp board and its various inputs, and write some code for it in Scratch. Then you will use alligator clips with it and turn play-doh into game controller buttons.
Complete this guide to get to know your ShakeUp board!
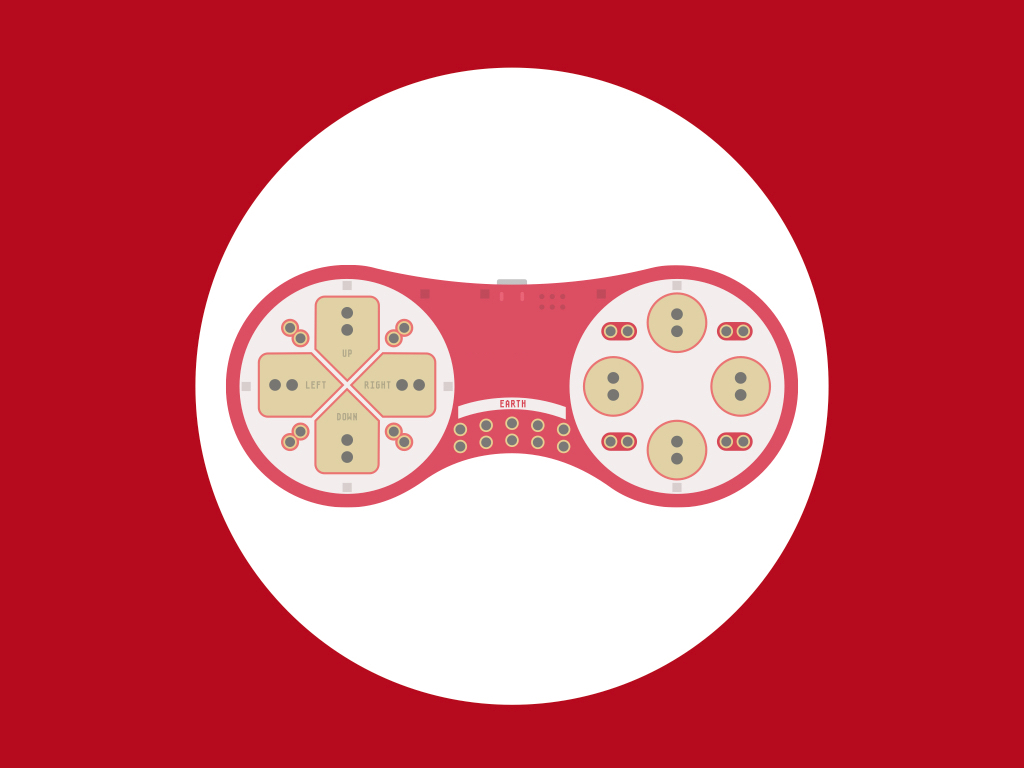
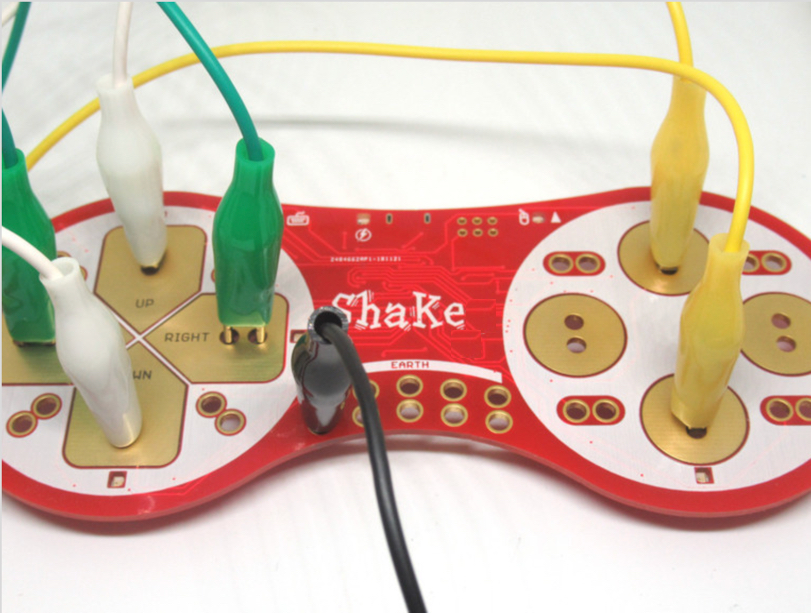
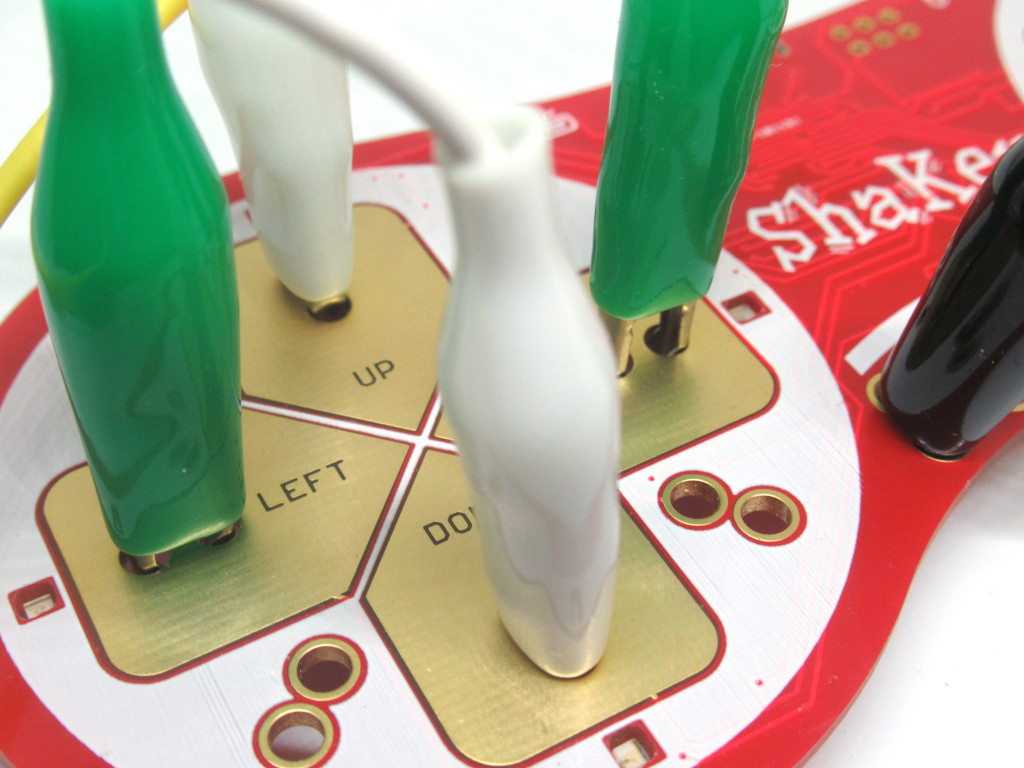
Let's get to know the ShakeUp board. There are eight inputs on the left: Up, Down, Left, Right, W, A, F, G
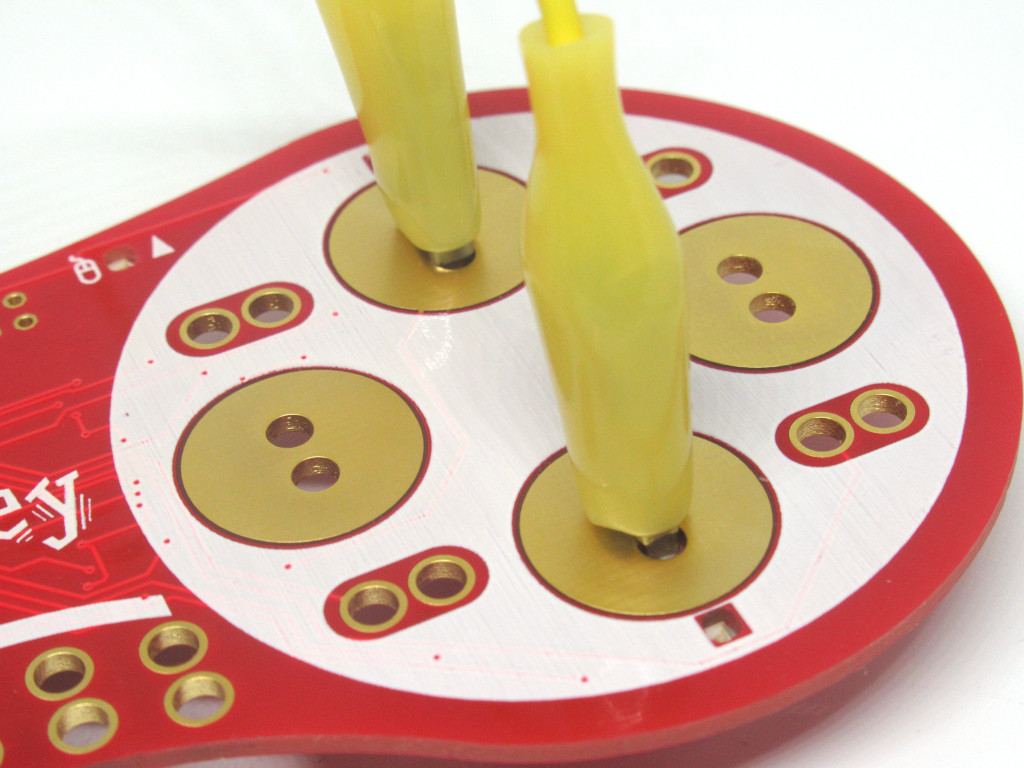
On the right-hand side the inputs are: Click, Space, Mouse-right, Mouse-left, Mouse-down, Mouse-up, Mouse right-click and Mouse left-click.
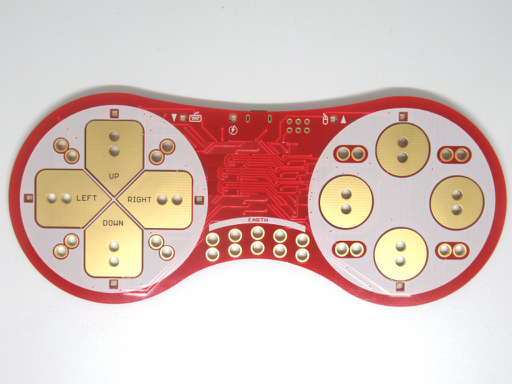
Flip it over as shown in the picture now. You will see the labels for the above inputs as well as the ATmega32U4. It can be programmed to emulate a USB keyboard or mouse in Scratch and the Arduino IDE. But more on that later.
You should also see the label 'Earth'. just above the 10 holes on the bottom.
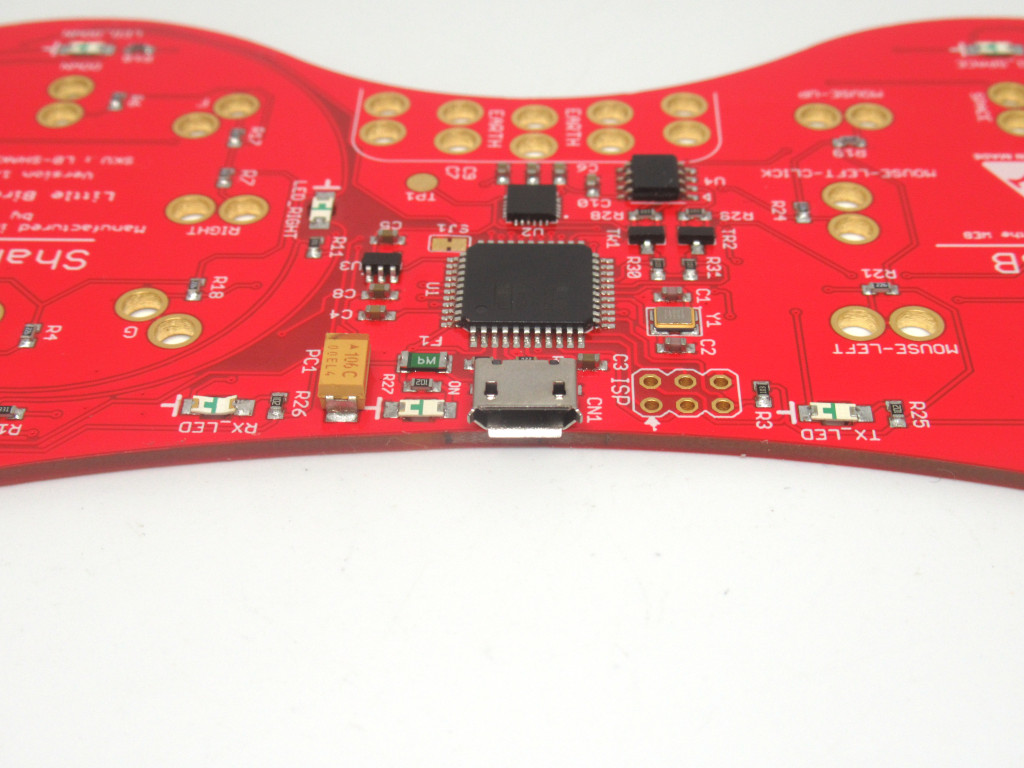
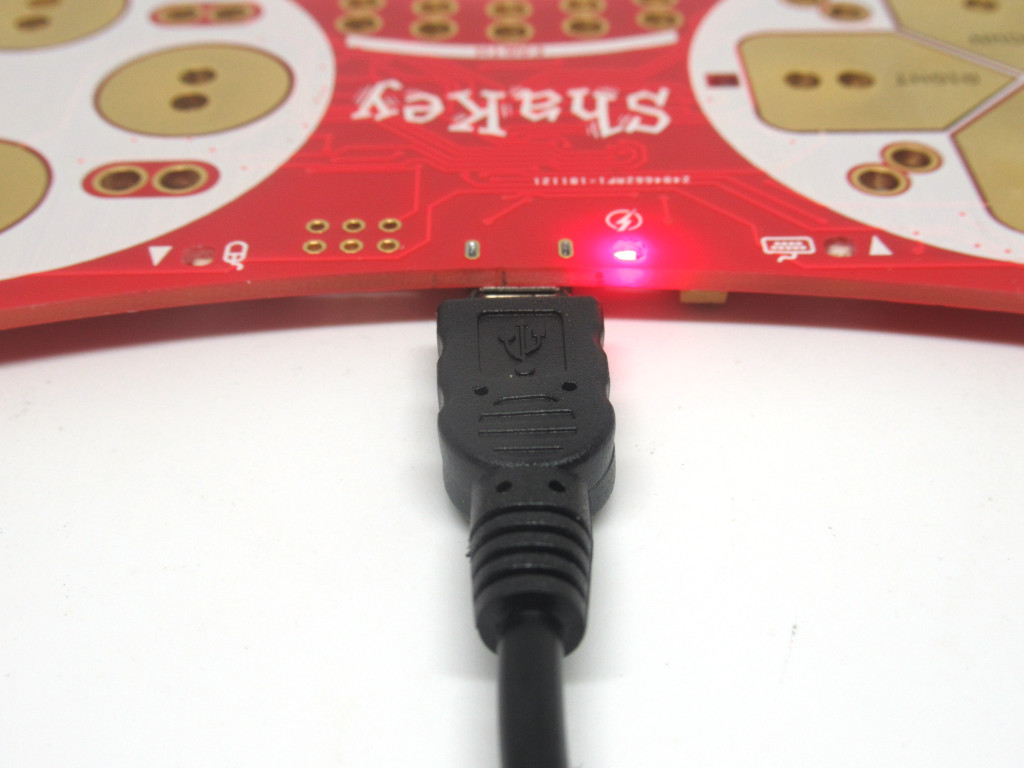
To program it, first plug in a microUSB cable into the microUSB port found on the ShakeUp. This can be found on the top as shown in the picture.
Then, connect the other end of the USB cable to the computer.
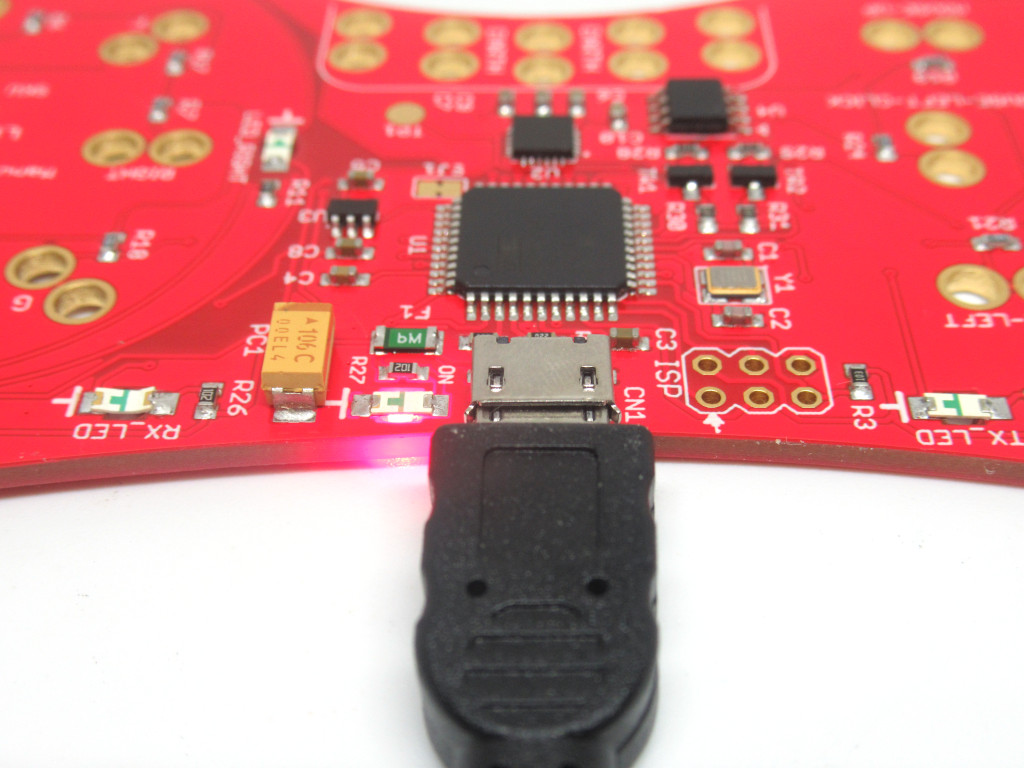
When connected and powered up, you should see a red LED lighting up as shown in the picture.

Connect a black alligator clip to 'Earth' on the ShakeUp.
Connect the other end to a band to be worn around your wrist.
To program the ShakeUp, we'll use Scratch, a programming language that's simple and easy to get started with.
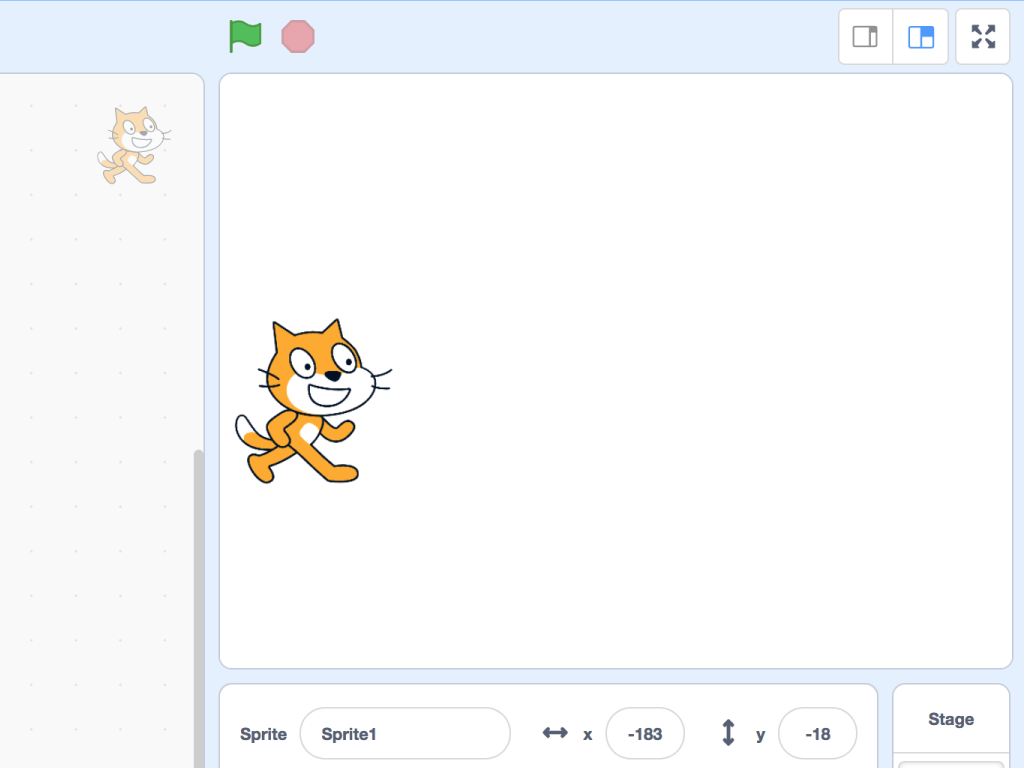
Open up the Scratch editor. We'll use the inputs to make the cat move.
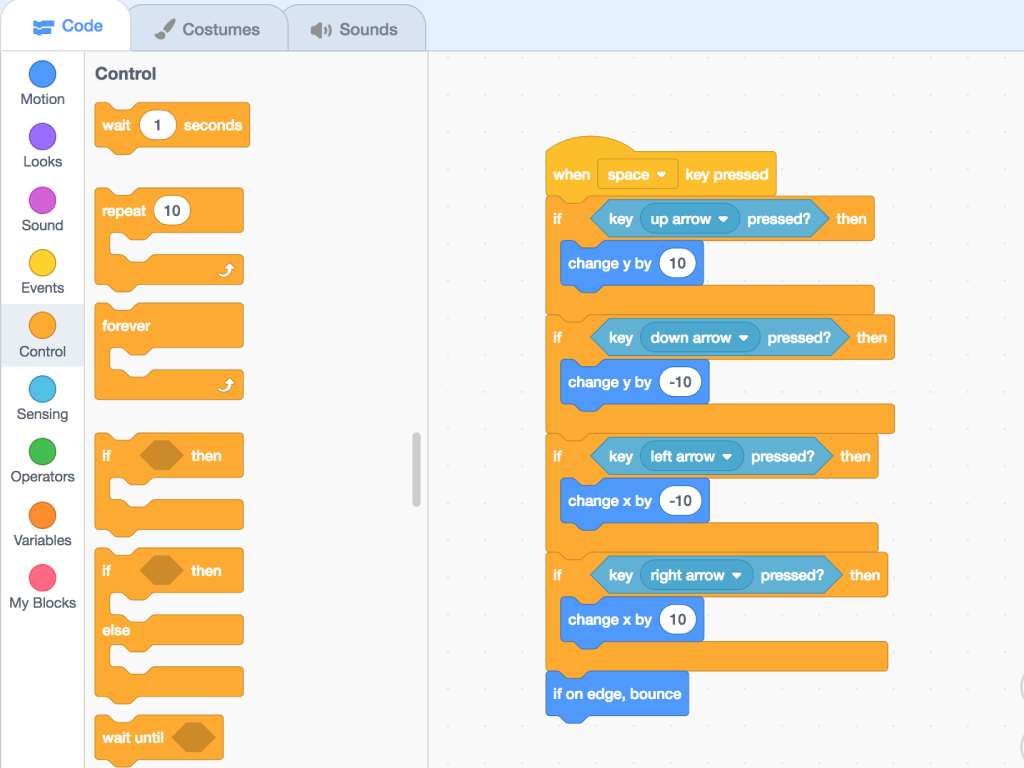
Click on 'Events' tab, then drag and drop a 'when space key pressed' block to the middle panel.
Click on 'Events' tab, then drag and drop a 'when space key pressed' block to the middle panel.
Under 'Control' tab, get a 'if ... then ' block, drag and drop four of these.
Next, in 'Sensing', grab four 'key ... pressed?' blocks and place them in each 'if ... then' block.
Change them so it detects 'up', 'down', 'left', and 'right' as shown in the picture
Back to the 'Motion' tab, and get a 'change y by ...' block. Get two of these.
Place one under the first if block and change it value to 10.
Place the other 'change y by ...' block under the second 'if' block. Change its value to -10.
Now for the last if block, grab two 'change x by ...' blocks and give the first a value of -10.
Give the second 'change x by ...' block a value of 10. Place it in the last if block.
Finally, grab a 'if on edge, bounce' block from 'Motion' tab. Place this under everything else
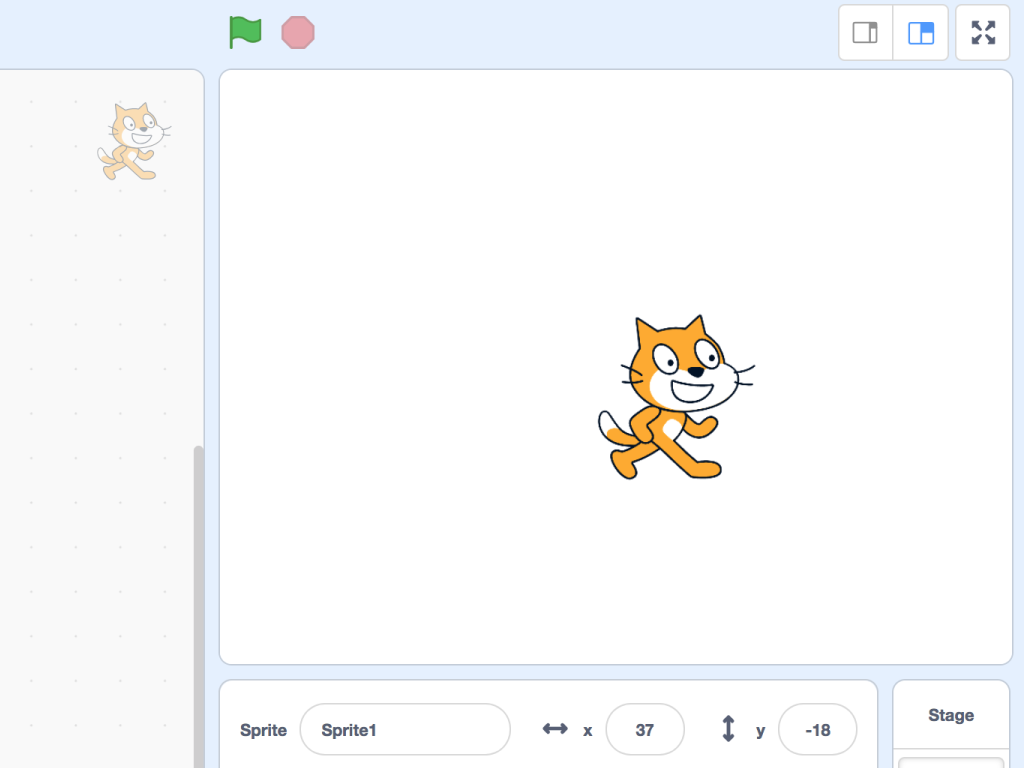
Try holding 'space' and 'earth', while tapping on 'up', 'down', 'left' or 'right'. The cat in the scratch editor should be moving!
We've programmed the inputs for 'up', 'down', 'left' and 'right'. Now let's program the 'mouse' inputs, and while we're at it, make the scratch code better. This time, we'll get the cat meowing with the 'space' input. Let's start with a new project. So click on File > New
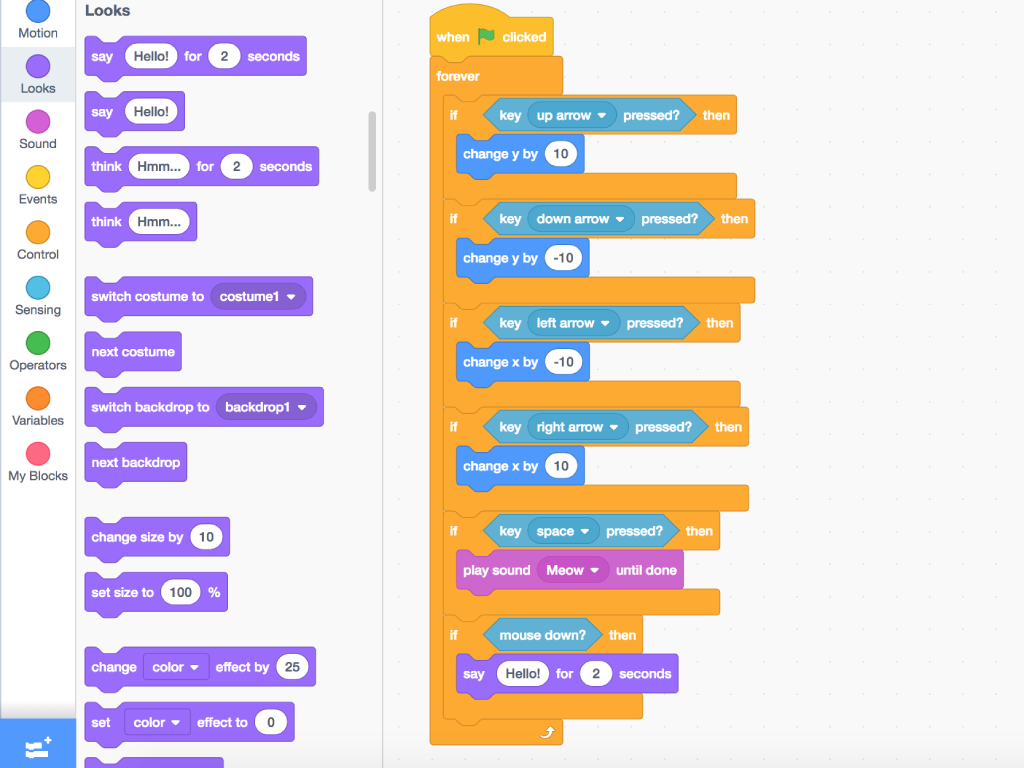
From 'Events' tab, get a 'when green flag icon is clicked' block.
Next, get a 'forever' block from 'Control' tab
While on 'Control' tab, get an 'if .. then ..' block, and get six of these out
Next, click on 'Sensing' tab and grab 'key ... pressed?' blocks, you'll need five of those.
Arrange it as shown in the picture so that it detects 'up arrow', 'down arrow', 'left arrow', 'right 'arrow', and 'space'
Still on 'Sensing' tab, get a 'mouse down?' block and place this in the last 'if ... then' block
Now go to 'Motion' and grab 'change y by ..' block, you'll need two of these. Change their values to '10' and '-10'.
Place them in the if block for 'key up arrow pressed' and 'key down arrow pressed' as shown
To get the cat walking left and right, we'll use two 'change x by ...' block
Change their values to '-10' and '10' as shown in the picture
To get the cat meowing, we'll use the 'play sound Meow until done' block found in 'Sound' tab
Finally, we'll also get the cat to say hello when on 'mouse click' (when you tap the 'Click' input on the ShakeUp) So grab a 'say Hello for 2 seconds' block from the purple 'Looks' tab.
You can also download the completed Scratch code here: Meet the Shakey Project.sb3
To use it: In the Scratch editor, click on File > Load file from your computer
Then select the file.
To use it: In the Scratch editor, click on File > Load file from your computer
Then select the file.
What if you could use everyday objects like gummy bears or play-doh as a keyboard or mouse? Using the ShakeUp, you can do just that.
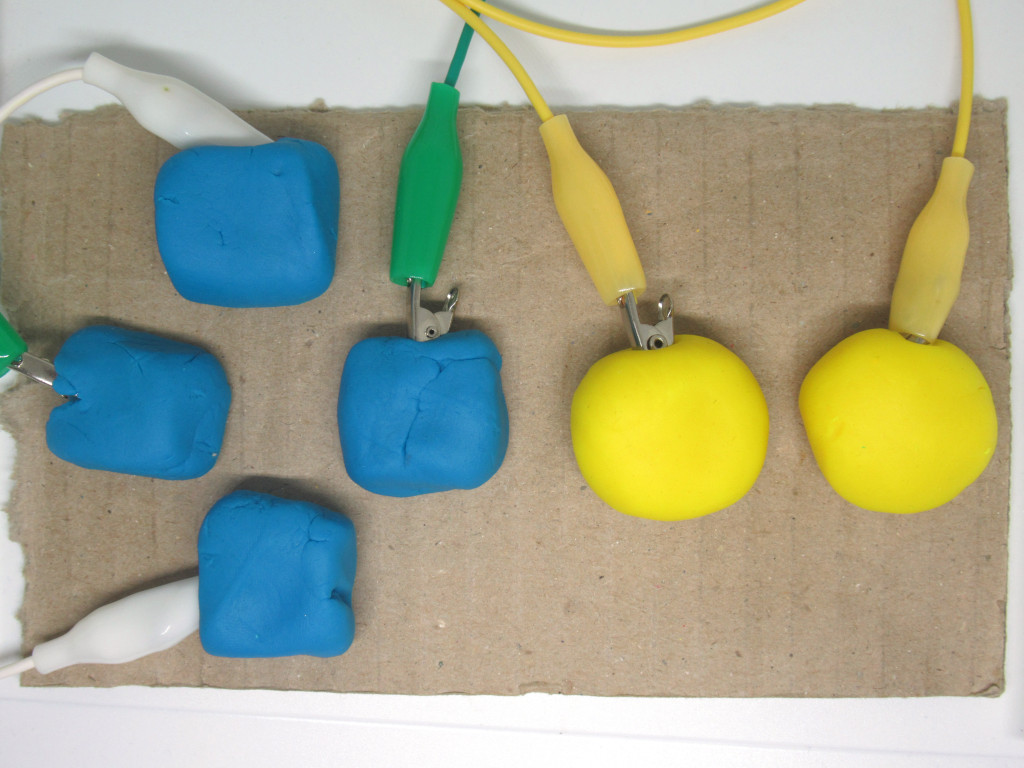
First, attach the ShakeUp to alligator clips and play-doh.
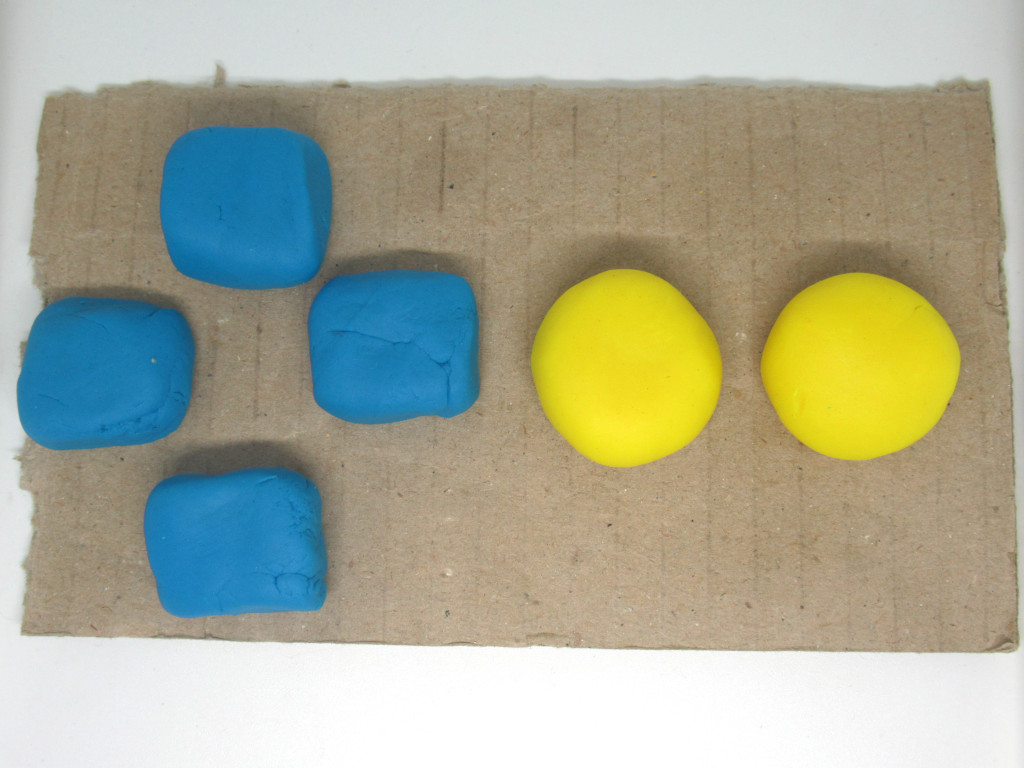
Get out some play-doh and a piece of cardboard. Create four play doh buttons for 'up', 'down', 'left' and 'right'
Create two play doh buttons for 'space' and 'mouse click'
Connect the alligator clips to the play doh buttons.

Finally, connect the black wire that is connected to 'Earth' on the ShakeUp, to a band. Use one that you can wear around your wrist.
If you don't have a hair tie or plastic band, you can hold the alligator clip.
Tap the play-doh gamepad buttons, the scratch program will work as it did previously with just the ShakeUp.

Yup, it works like a keyboard or mouse, and turns everyday things into input buttons so that it can be connected to the computer. The ShakeUp also has sensors.
An accelerometer that can detect tilting
A temperature sensor to collect useful information on the environment
A gyroscope for detecting any knocks or bumps to the ShakeUp
To use the ShakeUp's sensors, use the Arduino IDE. Follow the steps outlined in our guide on How to Set up the Arduino IDE for ShakeUp. View the example sketches provided to learn how to use its sensors.