
Beginner
Control LED Brightness Using a Potentiometer
Learn to use the potentiometer with micro:bit
By Cherie Tan
You might have already played with an LED and gotten it to blink using the micro:bit.
In this guide, you will be introduced to the potentiometer and program it using MakeCode and on the Arduino IDE to change an LED's brightness.
Once you have finished this guide, you will know how to use potentiometers with the micro:bit. You will make an LED light dimmer with it! Potentiometer can be used for all sorts of projects, from volume control to MIDI, just to name a few examples.
Let's start with taking a closer look at the adjustable potentiometer module. There are four pins here:
SIG: Signal pin
NC: No Connection
3.3V : 'VCC' stands for Voltage Common Collector. We'll connect the VCC pin to 3.3V on the micro:bit
GND: In electronics, we define a point in a circuit to be a kind of zero volts or 0V reference point, on which to base all other voltage measurements. This point is called ground or GND.
Voltage is the difference in potential between two points. As it is difficult to talk about voltage without a reference point, we need another point to compare it to.
Step 1 — The Module
Let's start with taking a closer look at the adjustable potentiometer module. There are four pins here:
SIG: Signal pin
NC: No Connection
3.3V : 'VCC' stands for Voltage Common Collector. We'll connect the VCC pin to 3.3V on the micro:bit
GND: In electronics, we define a point in a circuit to be a kind of zero volts or 0V reference point, on which to base all other voltage measurements. This point is called ground or GND.
SIG: Signal pin
NC: No Connection
3.3V : 'VCC' stands for Voltage Common Collector. We'll connect the VCC pin to 3.3V on the micro:bit
GND: In electronics, we define a point in a circuit to be a kind of zero volts or 0V reference point, on which to base all other voltage measurements. This point is called ground or GND.
Voltage is the difference in potential between two points. As it is difficult to talk about voltage without a reference point, we need another point to compare it to.
Step 2 — Connect module to breadboard
Step 3 — Connect GND to GND
Step 4 — Connect VCC to 3.3V
Step 5 — Connect P0 to SIG
Step 6 — Connect GND to LED (Negative lead)
Step 7 — Add a resistor
Step 8 — Connect P2 to LED
Step 9 — How it works
We want to make it so that turning the potentiometer will change the brightness of the LED. To do so, we need to get two values:
- the potentiometer's angle at a given time
- the brightness value based on the angle, at a given time
This is so that we can tell the micro:bit how bright the LED should be.
Step 10 — On start
let full_angle = 0
let vcc = 0
vcc = 3.3
full_angle = 300
Step 11 — The MakeCode
let brightness = 0
let degrees = 0
let voltage = 0
let full_angle = 0
let sensorVal = 0
let vcc = 0
vcc = 3.3
full_angle = 300
basic.forever(function () {
    sensorVal = pins.analogReadPin(AnalogPin.P0)
    voltage = Math.idiv(sensorVal * vcc, 1023)
    degrees = Math.idiv(voltage * full_angle, vcc)
    brightness = Math.map(degrees, 0, full_angle, 0, 255)
    pins.analogWritePin(AnalogPin.P2, brightness)
    basic.pause(500)
})
Copy and paste this code to the Javascript interface.
At the beginning of the 'forever' block, we create another variable called, 'sensorVal'. It is the analog value which is read from Pin 0 of the micro:bit. Remember, we connected the signal pin of the potentiometer to Pin 0 of the micro:bit! We want to give it a new value that shows how far the potentiometer has been turned.
At the beginning of the 'forever' block, we create another variable called, 'sensorVal'. It is the analog value which is read from Pin 0 of the micro:bit. Remember, we connected the signal pin of the potentiometer to Pin 0 of the micro:bit! We want to give it a new value that shows how far the potentiometer has been turned.
Because we want to get the angle of the potentiometer and its voltage at a given time, we need to make some calculations! As mentioned in the previous step, this is so that we can calculate a value for 'brightness'.
We calculate the voltage at a given time by the equation: sensorVal x vcc / 1023
Step 12 — Upload the code
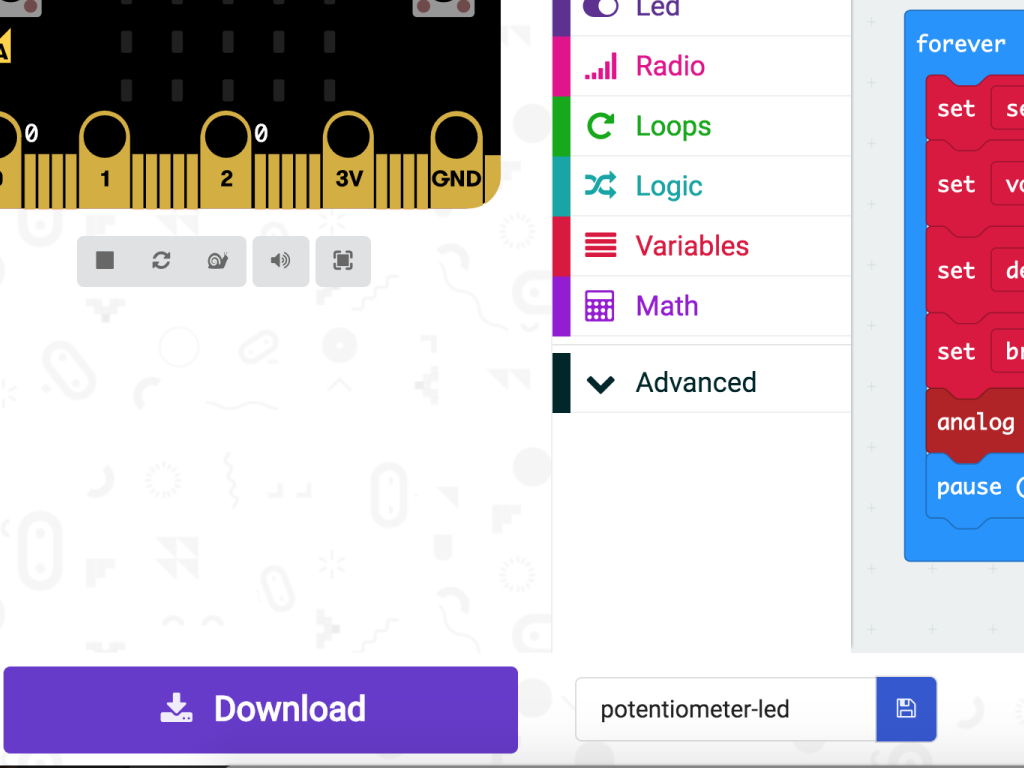
Alright, now let's upload the hex file to the micro:bit. Connect the micro:bit to your computer using a microUSB cable
Click on the Download button on the bottom left-hand corner of MakeCode editor
Find the hex file
Open up Finder on the MacOS or Explorer on Windows, and drag the hex file into MICROBIT under 'Devices' on the macOS.
The micro:bit will flash for a few seconds while the code uploads
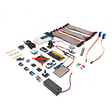
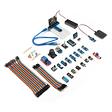
Parts List
Required Parts (3)

Project Summary
3 parts total
Required parts
$237.75
Total (required)
$237.75
Unavailable items will be skipped
