
Beginner
Light-dependent Resistor with micro:bit
Learn to use a light-dependent resistor with the micro:bit
By Cherie Tan
Light-dependent resistors are electronic components whose resistance changes with light intensity. They are also called LDRs, photoresistors, or photoconductors.
In this guide, you will learn to connect a light-dependent resistor to the micro:bit, and measure the relative brightness of the environment.
Complete this guide to learn how to use a light-dependent resistor. They are used in all sorts of light-sensing circuits; For instance, they could be used as a sensor in cameras or automatic lights that come on when it gets dark enough.
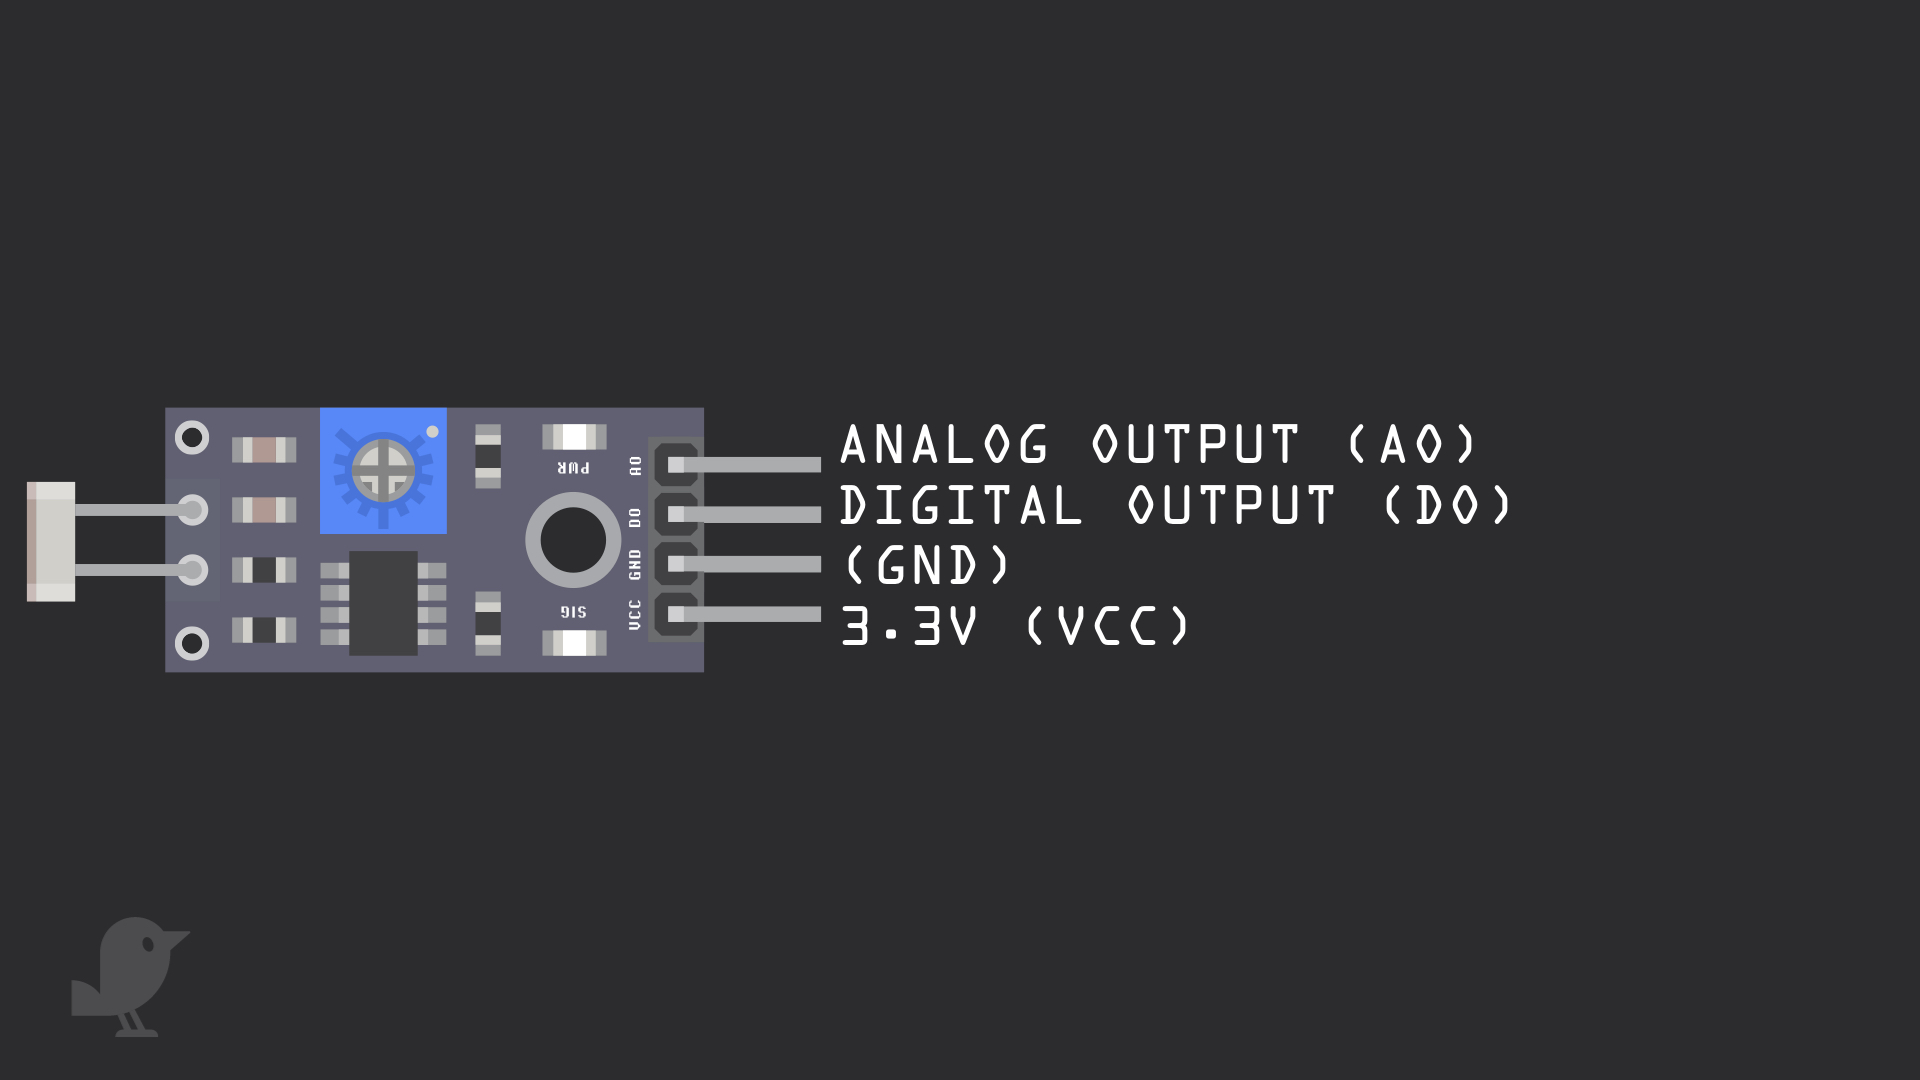
Before we begin, let's take a closer look at the light-dependent resistor module. It has four pins:
3.3V : While 'VCC' stands for Voltage Common Collector, we'll connect the VCC pin to 3.3V on the micro:bit
GND: In electronics, we define a point in a circuit to be a kind of zero volts or 0V reference point, on which to base all other voltage measurements. This point is called ground or GND.
DO: Digital Output
AO: Analog Output
Voltage is the difference in potential between two points. As it is difficult to talk about voltage without a reference point, we need another point to compare it to.
Step 1 — The Module
Before we begin, let's take a closer look at the light-dependent resistor module. It has four pins:
3.3V : While 'VCC' stands for Voltage Common Collector, we'll connect the VCC pin to 3.3V on the micro:bit
GND: In electronics, we define a point in a circuit to be a kind of zero volts or 0V reference point, on which to base all other voltage measurements. This point is called ground or GND.
DO: Digital Output
AO: Analog Output
3.3V : While 'VCC' stands for Voltage Common Collector, we'll connect the VCC pin to 3.3V on the micro:bit
GND: In electronics, we define a point in a circuit to be a kind of zero volts or 0V reference point, on which to base all other voltage measurements. This point is called ground or GND.
DO: Digital Output
AO: Analog Output
Voltage is the difference in potential between two points. As it is difficult to talk about voltage without a reference point, we need another point to compare it to.
Step 2 — Connect module to breadboard
Step 3 — Connect + to VCC
Step 4 — Connect GND to GND (light-dependent resistor)
Step 5 — Connect P5 to DO
Step 6 — Connect P1 to AO
Step 7 — Create the variables
let threshold = 0
let sensorVal = 0
basic.forever(function () {
    sensorVal = pins.analogReadPin(AnalogPin.P1)
    threshold = 500
    basic.showNumber(sensorVal)
})
Open up MakeCode editor and start a new project.
Add the following code to the Javascript interface
Step 8 — The loop
let threshold = 0
let sensorVal = 0
basic.forever(function () {
    sensorVal = pins.analogReadPin(AnalogPin.P1)
    threshold = 400
    basic.showNumber(sensorVal)
    if (sensorVal > threshold) {
        basic.showIcon(IconNames.SmallDiamond)
    } else if (sensorVal <= threshold) {
        basic.showIcon(IconNames.Target)
    }
})
Step 9 — Upload the hex file

Connect your computer to the micro:bit by using a microUSB cable
Click on the 'Download' button on the bottom left corner of the MakeCode editor
The hex file will be downloaded to your 'Downloads' folder. So open up Finder on a Mac OSX, or in Explorer on Windows and go to your Downloads folder.
Drag and drop the downloaded hex file to the 'MICRO:BIT' drive
You may want to adjust the threshold level to your liking. Then, test it by covering the light-dependent resistor with your hands. The LED will light up.
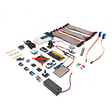
Parts List
Required Parts (1)
Project Summary
1 part total
Required parts
$79.35
Total (required)
$79.35
Unavailable items will be skipped
