
Beginner
Setting up the micro:bit with Makecode
Learn about the programming interface for the micro:bit
By Cherie Tan
This guide steps through how to set up the BBC Micro:Bit programming interface and how to add on packages.
The two program interfaces currently available are the 'Blocks' interface and the 'Javascript' interface. These two interact with each other seamlessly.
Note: If you are using Windows 10 and the micro:bit is not detected and you are unable to upload code to it, connect the micro:bit to another device and upgrade to the latest micro:bit firmware. This does not apply to Mac OSX users.
All of the programming for the micro:bit is done through their website. Open this link to go to the website: https://makecode.microbit.org
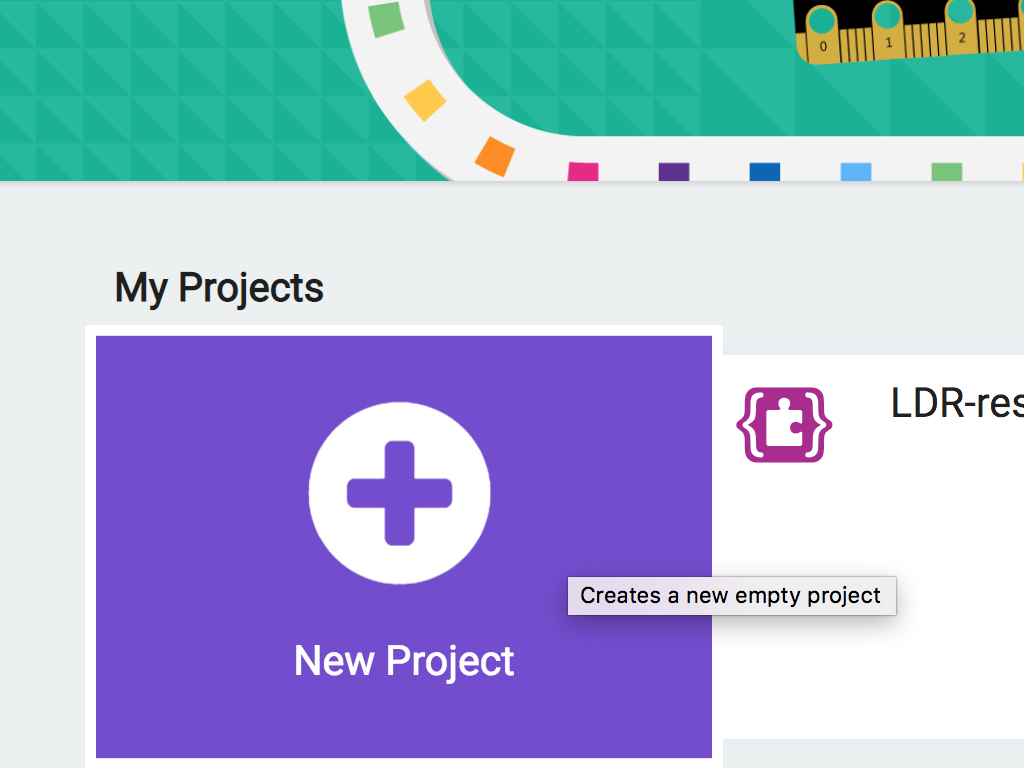
Click on 'New Project'
You'll then be directed to the MakeCode editor.
Step 1 — Go to the makecode.microbit.org website
All of the programming for the micro:bit is done through their website. Open this link to go to the website: https://makecode.microbit.org
Click on 'New Project'
You'll then be directed to the MakeCode editor.
Step 2 — The two interfaces
The micro:bit coding interface has two options; the 'Blocks' interface and a 'Javascript' interface. These interfaces are intended to enable one to learn coding easily by being able to transfer from blocks to javascript.
Step 3 — Introduction to the Blocks Interface

The blocks interface is a visual programming interface; where 'blocks' 'snap' into place to form functions and commands
This type of interface is aimed at beginners to aid them in the beginning of their programming journey and help one understand how computer commands and functions work.
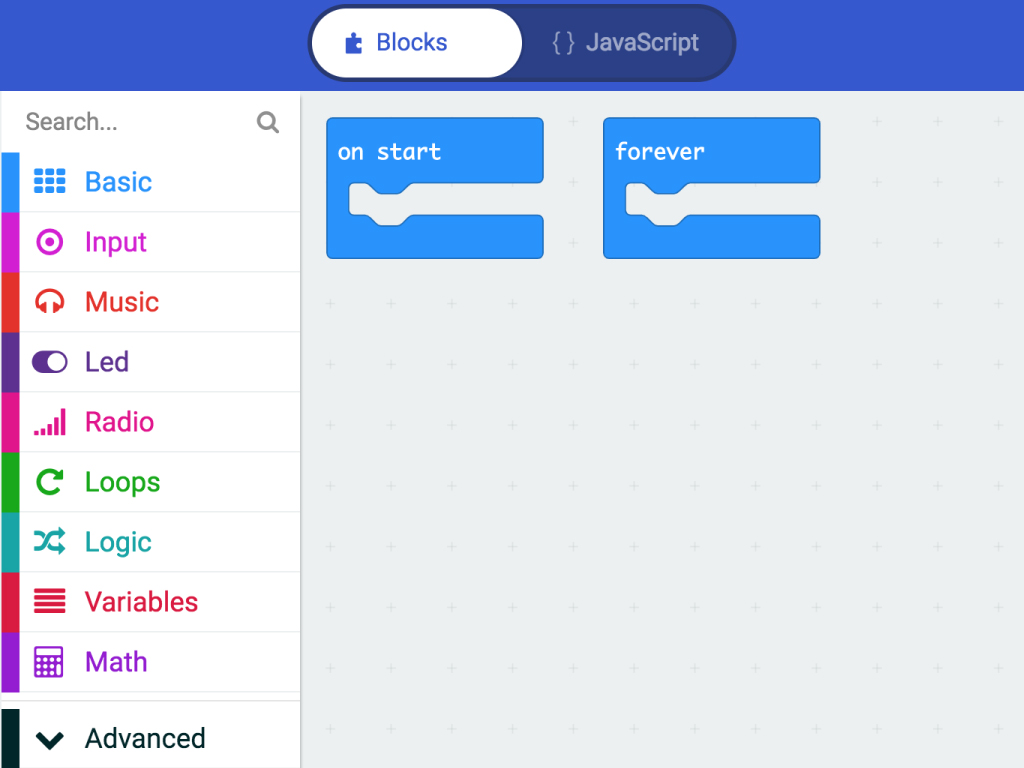
Step 4 — Blocks interface - Panel Layout
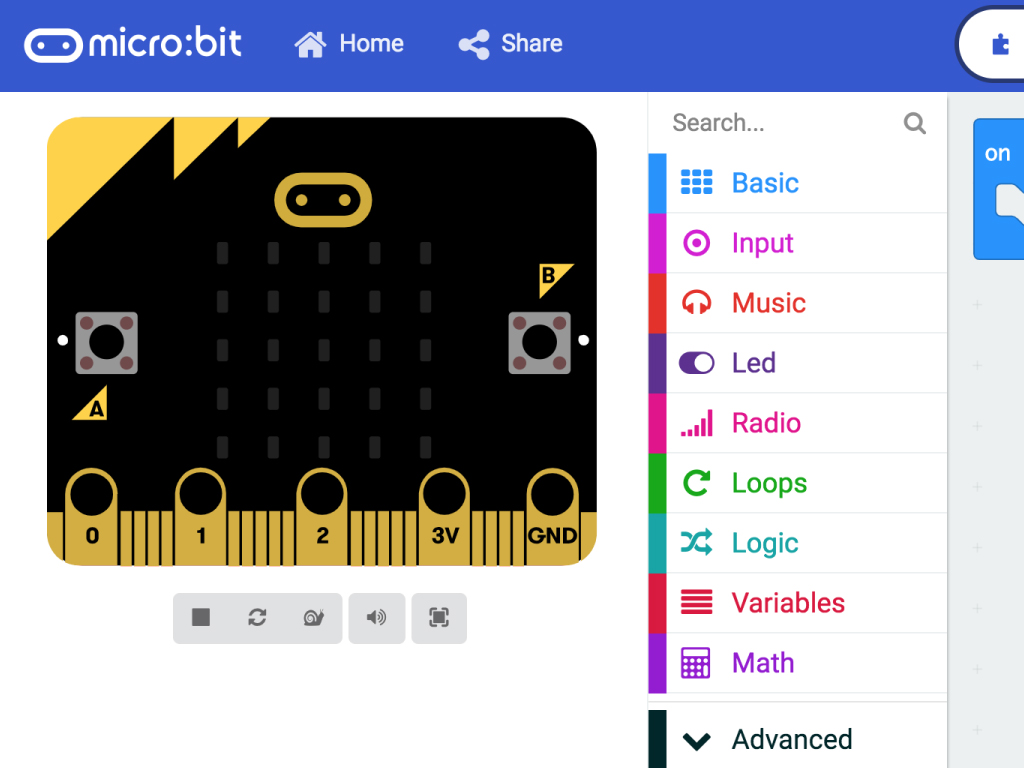
As a blank project is opened, down the side is the location of all the 'blocks' separated in their categories; With a BBC micro simulator next to this.
In the centre is the panel building space. This is where the blocks get placed and the programming happens!
Step 5 — Adding extensions

Extension packages are used to extend the functionality of the micro:bit
To add a package, you must first click on the 'Advanced' tab found on the bottom of the panel layout.
Next select 'Extensions' button
And now you can search for the extension package you need, for the groove kit, the package required is the 'grove zero' package
Step 6 — Blocks interface - Programming

To program using the block interface, an 'on start' or a 'forever' loop is required which allows anything in this loop runs forever.
To program, a simple click, drag and drop maneuverer is employed; this can be done with any of the 'blocks'.
Step 7 — Javascript Interface - Introduction
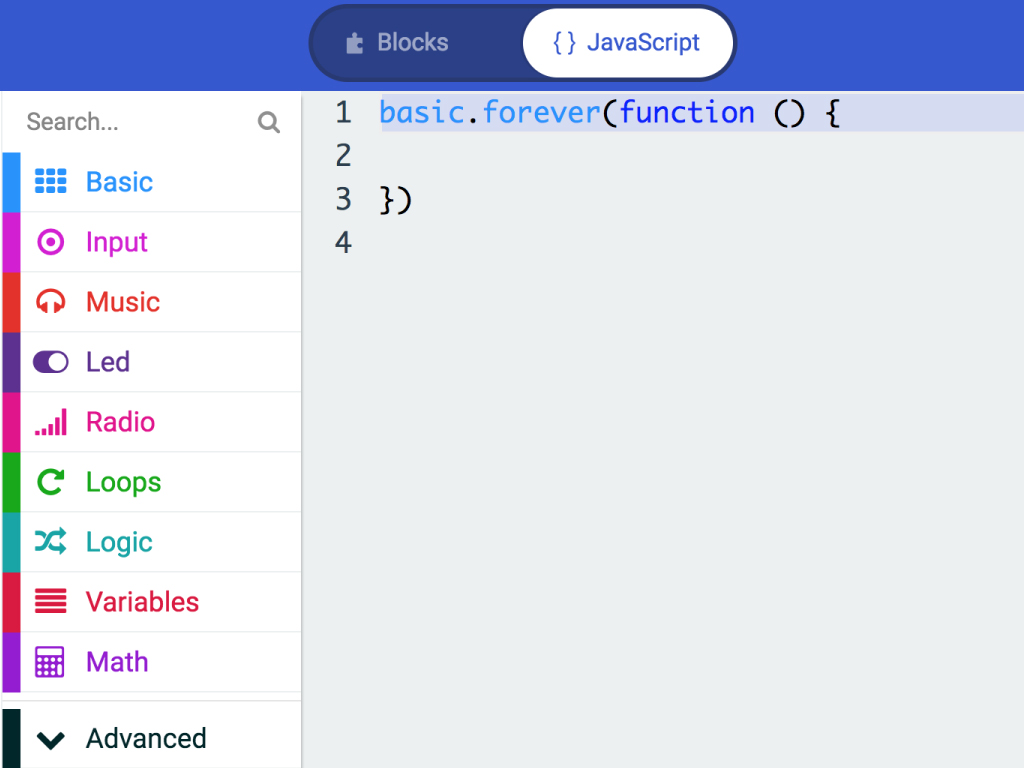
To access the JavaScript programming interface, click on the 'JavaScript' button in the top centre.
This will open the interface where any initial blocks become text. The add on packages still apply here.
Step 8 — Javascript Interface - Programming
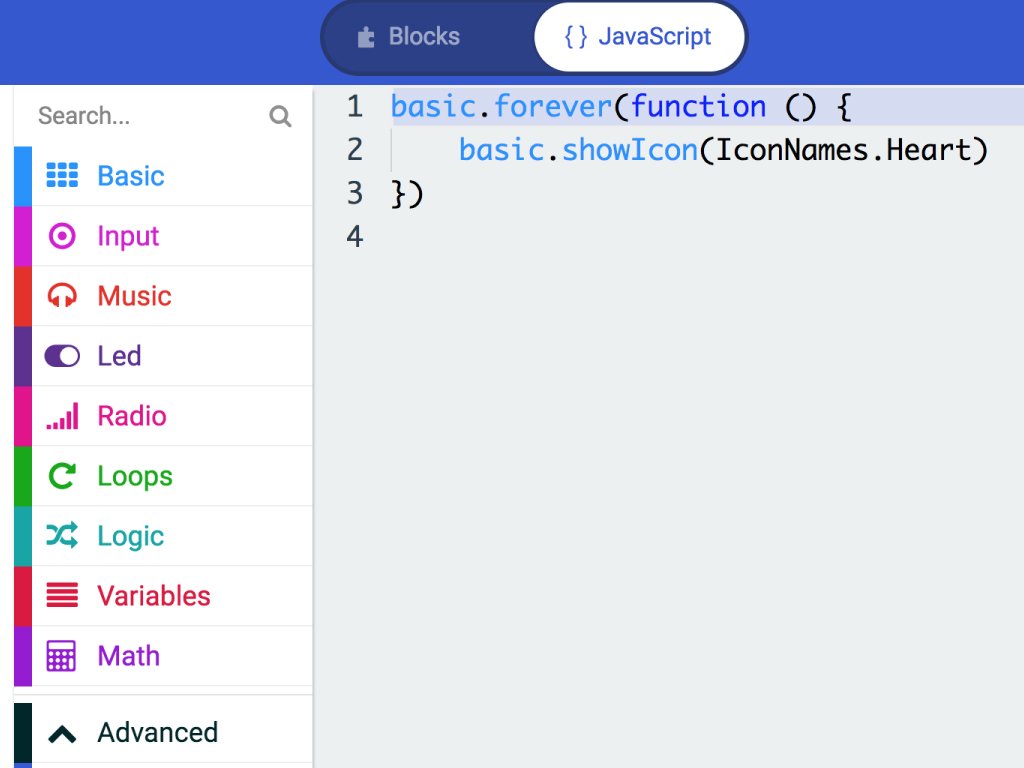
This programming language is javascript and goes beyond the scope of this guide; the categories on the side apply the text equivalent of the 'blocks'
This format is used mostly for precise tweaking or learning javascript.
Step 9 — Adding a program to the micro:bit
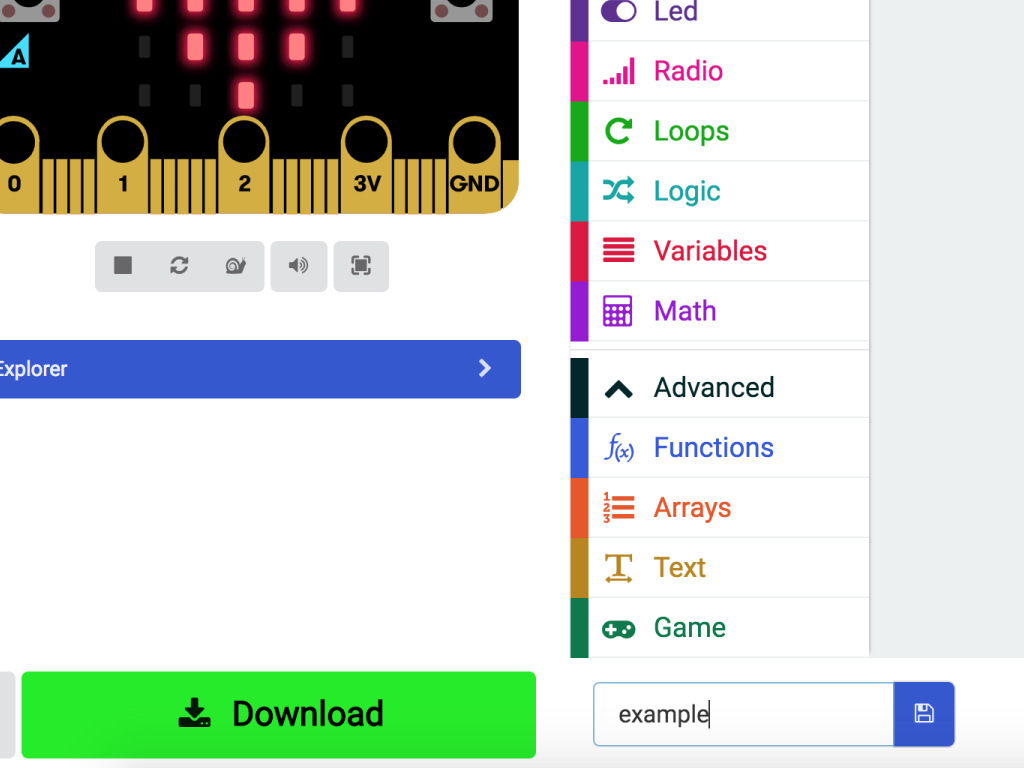
First off, click the download button in the bottom left corner of the screen.
- This will download a hex file (computer program file) which the micro:bit can read.
Next, plug in your micro:bit, this will reveal a USB on your computer.
Lastly copy across the downloaded file to the micro:bit by dragging and dropping it into the MICRO:BIT drive
The micro:bit will flash as the code is being uploaded. Once done, unplug the micro:bit.
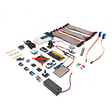
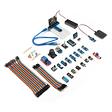
Parts List
Required Parts (3)

Project Summary
3 parts total
Required parts
$237.75
Total (required)
$237.75
Unavailable items will be skipped
