Smoke sensor with micro:bit
Learn to use a smoke sensor with micro:bit
Written By: Cherie Tan
Difficulty
Easy
Steps
12
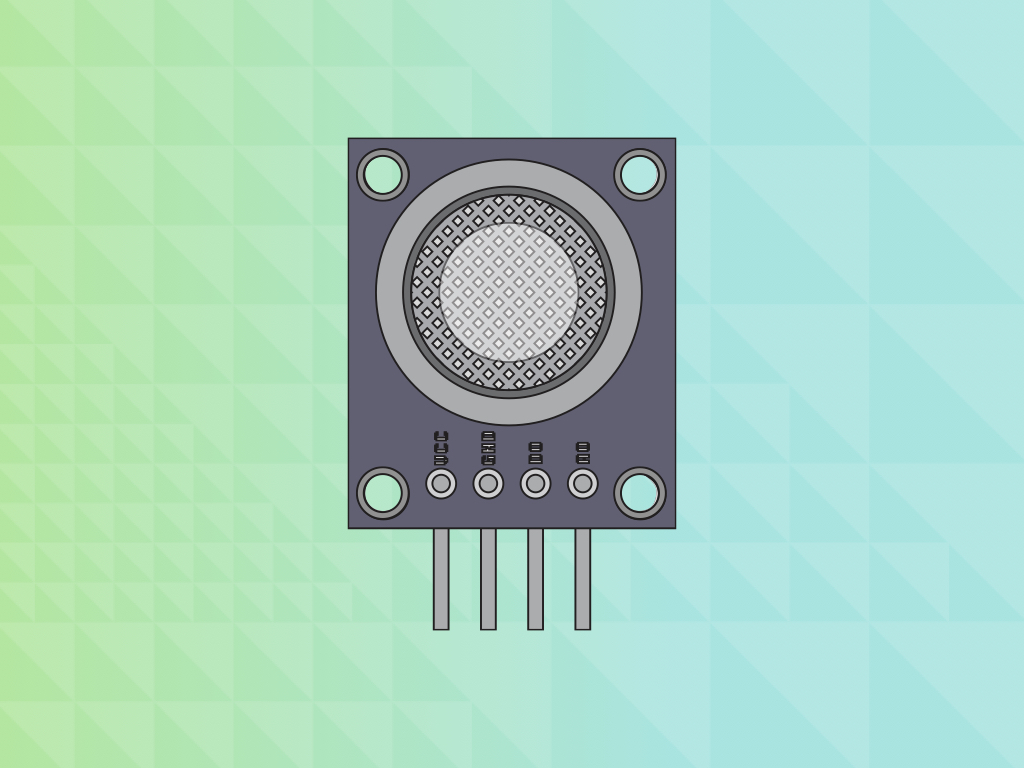
This is the MQ-2 smoke sensor module. It is sensitive to flammable gases such as LPG, propane, and methane.
In this guide, we will learn to connect it to the micro:bit and program it to sound an alarm, if it goes above the threshold level. When it is below the threshold level, a heart icon will be displayed instead.
Complete this guide to understand the basics on how to connect and program a smoke sensor with the micro:bit.
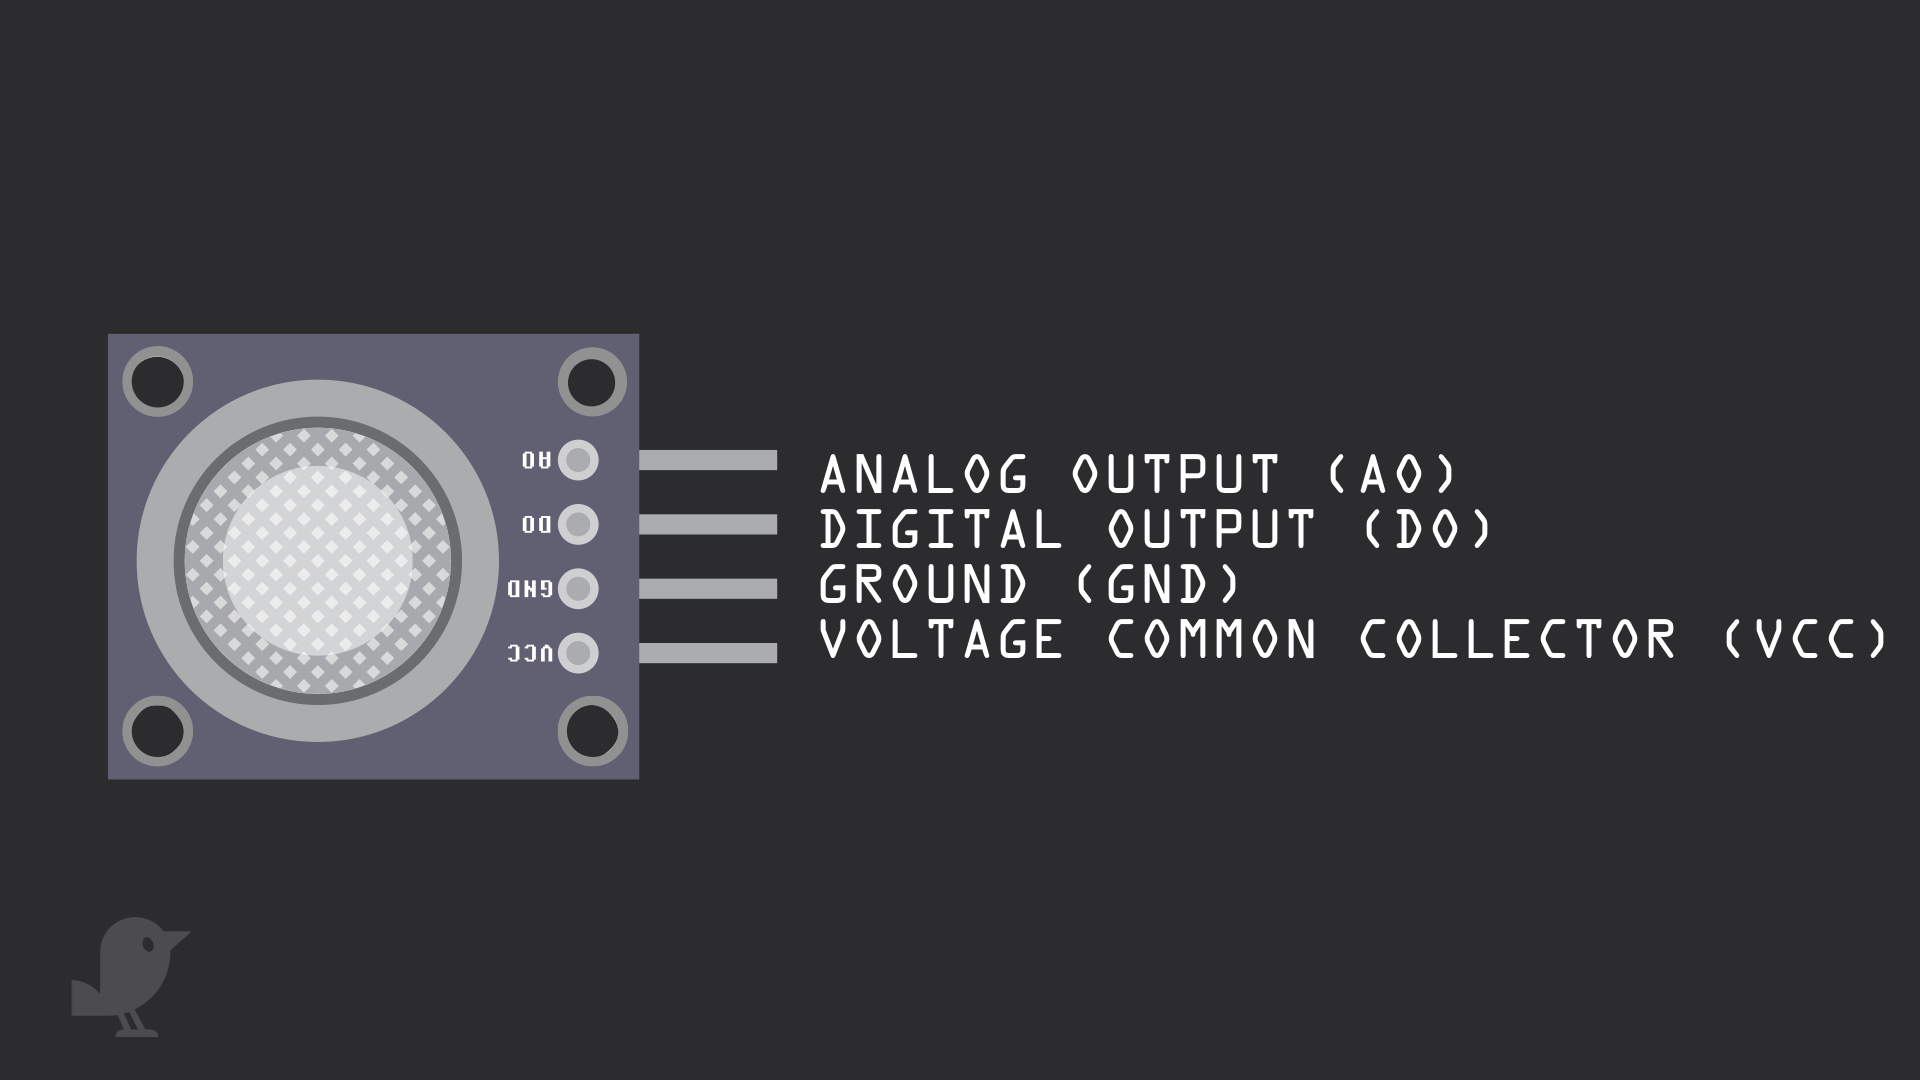
Let's take a look at the smoke sensor module! It has four pins:
AO: Analog Output
DO: Digital Output
GND: In electronics, we define a point in a circuit to be a kind of zero volts or 0V reference point, on which to base all other voltage measurements. This point is called ground or GND.
3.3V : While 'VCC' stands for Voltage Common Collector, we'll connect the VCC pin to 3.3V on the micro:bit
Voltage is the difference in potential between two points. As it is difficult to talk about voltage without a reference point, we need another point to compare it to.
let threshold = 0
let sensorVal = 0
basic.forever(function () {
    sensorVal = pins.analogReadPin(AnalogPin.P1)
    threshold = 800
    if (sensorVal > threshold) {
        music.playTone(262, music.beat(BeatFraction.Whole))
        basic.showIcon(IconNames.Sad)
    } else {
        basic.showIcon(IconNames.Heart)
    }
})
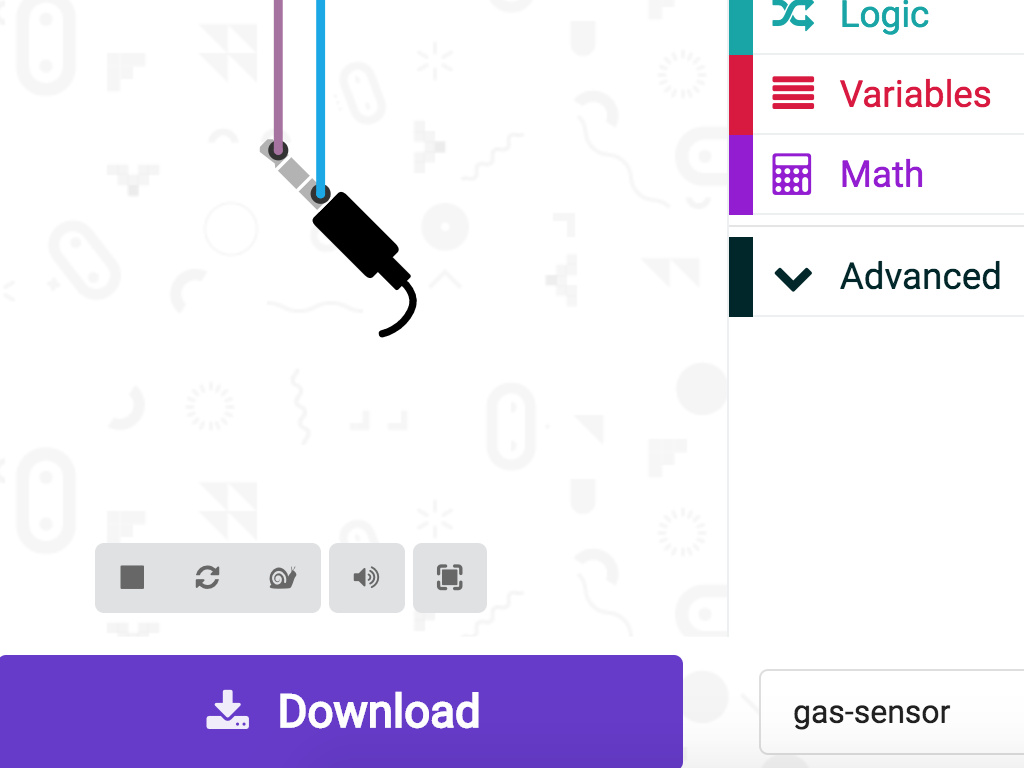
We will get started with programming it using the MakeCode editor.
Click on the 'New Project' button
Copy and paste this code into the Javascript interface
Although a threshold level has been set, this does not mean the device has been calibrated! Calibration is a safety procedure that ensures the detectors are measuring the correct level of flammable gas. But playing around with flammable gases is not something you should try at home, so we will not cover calibration today.
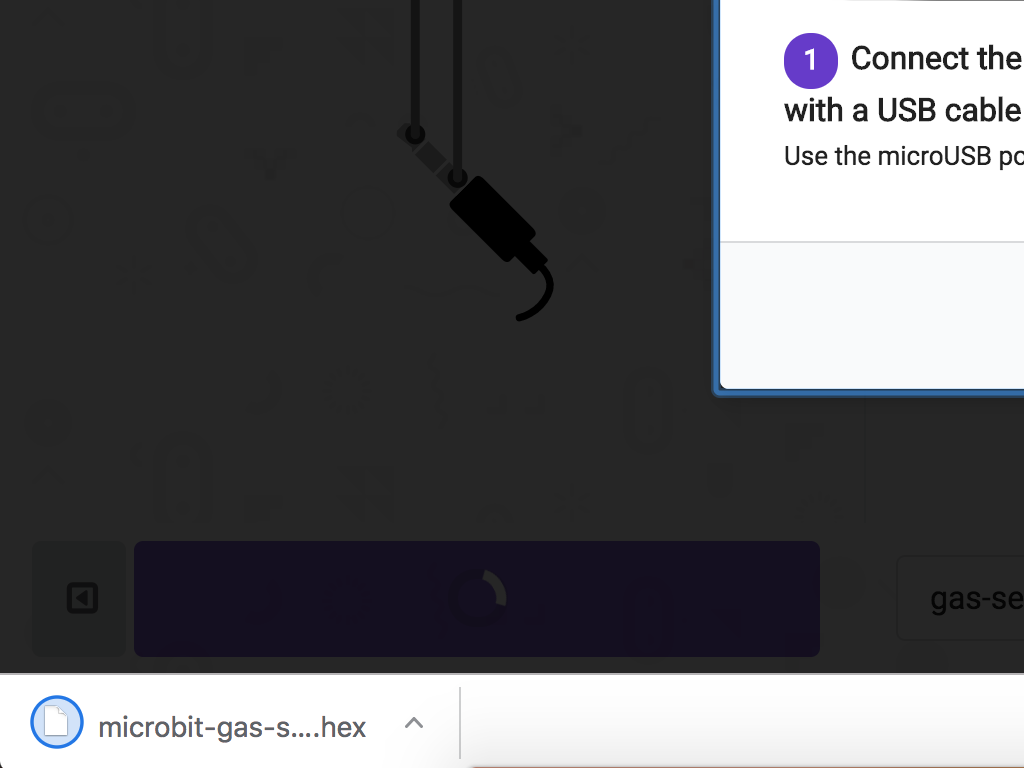
Connect the micro:bit to the computer using a microUSB cable
Download the code by clicking on the 'Download' button in MakeCode editor
Find the downloaded hex file in your Downloads folder
Drag and drop it into the MICRO:BIT drive
The micro:bit will blink as the code is being uploaded. Once it is done uploading, it will stop blinking.