Pushbutton with EagLED
Learn to use a pushbutton with EagLED
Written By: Cherie Tan

Difficulty
Easy
Steps
4
The EagLED comes included with a momentary pushbutton.
In this guide, learn to use the EagLED's pushbutton to turn an LED on and off.
Complete this guide to master the basics involved in using the pushbutton with EagLED.
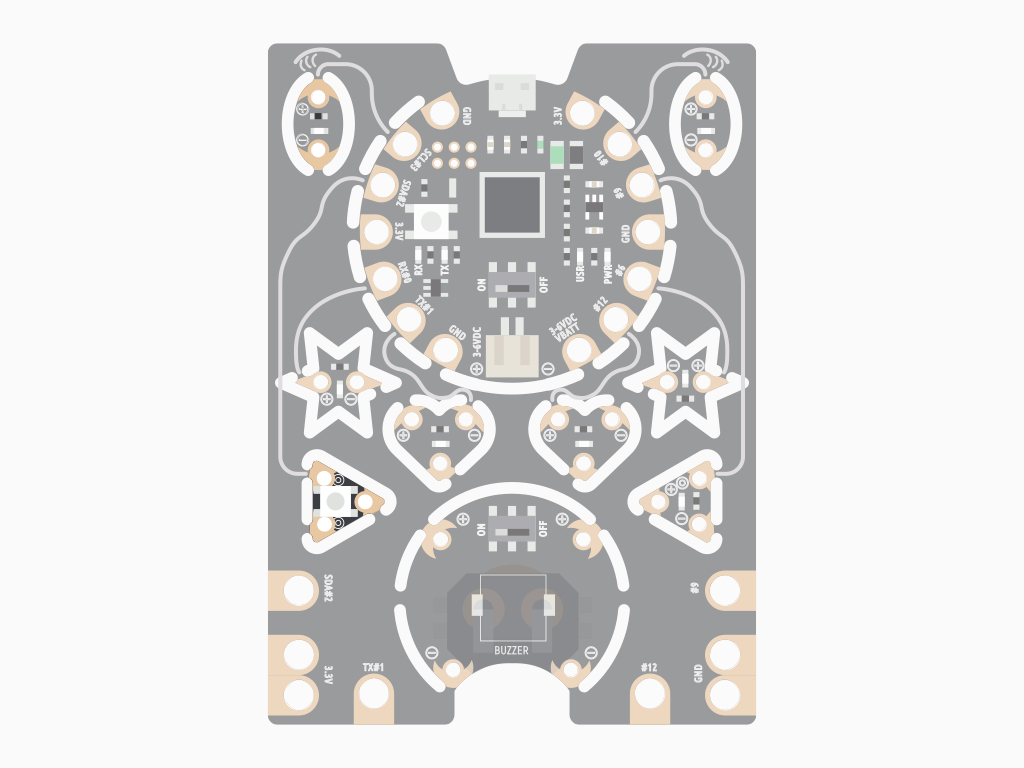
The pushbutton found on the EagLED is a triangular-shaped board. It has three sewing tab pads. By default, when it hasn't been snapped out, the button can be accessed as Pin 2.
void setup()
{
  pinMode(ledPin,OUTPUT); // Set the LED Pin as an output
  pinMode(buttonPin,INPUT_PULLUP); // Set the pushbutton as an input
}
Signals in the air from nearby electronics can cause unpredictability where a pin 'floats' to either HIGH or LOW.
To fix this, external resistors can be used. Alternatively, another option is to use the built-in resisters found in the ATmega chip on the EagLED.
How to access the built-in resistors? Use INPUT_PULLUP in pinMode().
When using any push buttons with the EagLED, a pull-up resistor is needed for reliable operation. We know that:
The pins on the EagLED can be configured as inputs or outputs using the pinMode() function.
The pins on the EagLED can be configured as inputs or outputs using the pinMode() function.
const int ledPin = 3;// the LED pin
const int buttonPin = 2;// the pin our push button is on

void setup()
{
  pinMode(ledPin,OUTPUT); // Set the LED Pin as an output
  pinMode(buttonPin,INPUT_PULLUP); // Set the pushbutton as an input
}

void loop()
{
  int digitalVal = digitalRead(buttonPin); // Take a reading

  if(digitalVal == HIGH)
  {
    digitalWrite(ledPin,LOW); //Turn the LED off
  }
  else
  {
    digitalWrite(ledPin,HIGH);//Turn the LED on
  }
}
To get the pushbutton to turn an LED on with a button press, upload this code to the EagLED. First, click on the 'Verify' button in the Arduino IDE
Then click on the 'Upload' button next to it
Press the pushbutton! The eye-shaped (left) LED will turn on as long as you've got the button pressed.
INPUT_PULLUP inverts the behaviour of the INPUT mode, where HIGH means the sensor is off and LOW means the sensor is on.
const unsigned int ledPin = 3;
const unsigned int buttonPin = 2;

int buttonState = 0;
int oldButtonState = LOW;
int ledState = LOW;

void setup() {
  pinMode(ledPin, OUTPUT);
  pinMode(buttonPin, INPUT_PULLUP);
}

void loop() {
  buttonState = digitalRead(buttonPin);

  if (buttonState != oldButtonState &&
      buttonState == HIGH)
  {
    ledState = (ledState == LOW ? HIGH : LOW);
    digitalWrite(ledPin, ledState);
    delay(50);
  }
  oldButtonState = buttonState;
}
Next, let's make the push button behave as a toggle switch. So on button press the LED will turn on and stay on until the next button press.
Upload this code to the EagLED. First, click on the 'Verify' button in the Arduino IDE.
Then click on the 'Upload' button next to it.
Press the pushbutton! The eye-shaped (left) LED will turn on.
Press the pushbutton again and the LED should turn off.
Press the pushbutton again and the LED should turn off.