Get Started with MakeCode Arcade
MakeCode Arcade 101
Written By: Cherie Tan
Difficulty
Easy
Steps
9
Start game programming with MakeCode Arcade, a beginner-friendly code editor that will get you started with making your own arcade games in no time.
In this guide, we will walk you through the various interfaces and settings in MakeCode Arcade. Then, you will create your first sprite using a custom palette.
Complete this guide to get familiar with MakeCode Arcade to start game programming for the Kittenbot Meowbit!
Before video games were invented, many people went to arcades to play coin-operated games such as pinball, skee-ball, and pac-man. In fact, back in the 70's and 80's many companies had advertised the home computer as a learning tool and gaming machine for boys to use, although plenty of girls used them too. Now, thanks to the accessibility and availability of these devices, it's easy for almost everyone to enjoy and make games.
Microsoft MakeCode arcade is a web-based code editor designed for beginners to create retro arcade games. Beyond that, you can even take the game with you by programming it onto a handheld gaming device such as the Meowbit, which is equipped with everything you'd need in a game console as well as cool additional features such as a built-in light sensor, temperature sensor, multiplayer connector, and gyroscope. In this guide, learn the basics involved in using the editor, add a custom palette, and create your first sprite.
MakeCode Arcade is also designed for seasoned programmers! As you'll see later in this guide, there is a Javascript interface available for use which supports Static TypeScript, a kind of Javascript optimised for compilation on microcontrollers.
To access the editor, first, go to: https://arcade.makecode.com/#
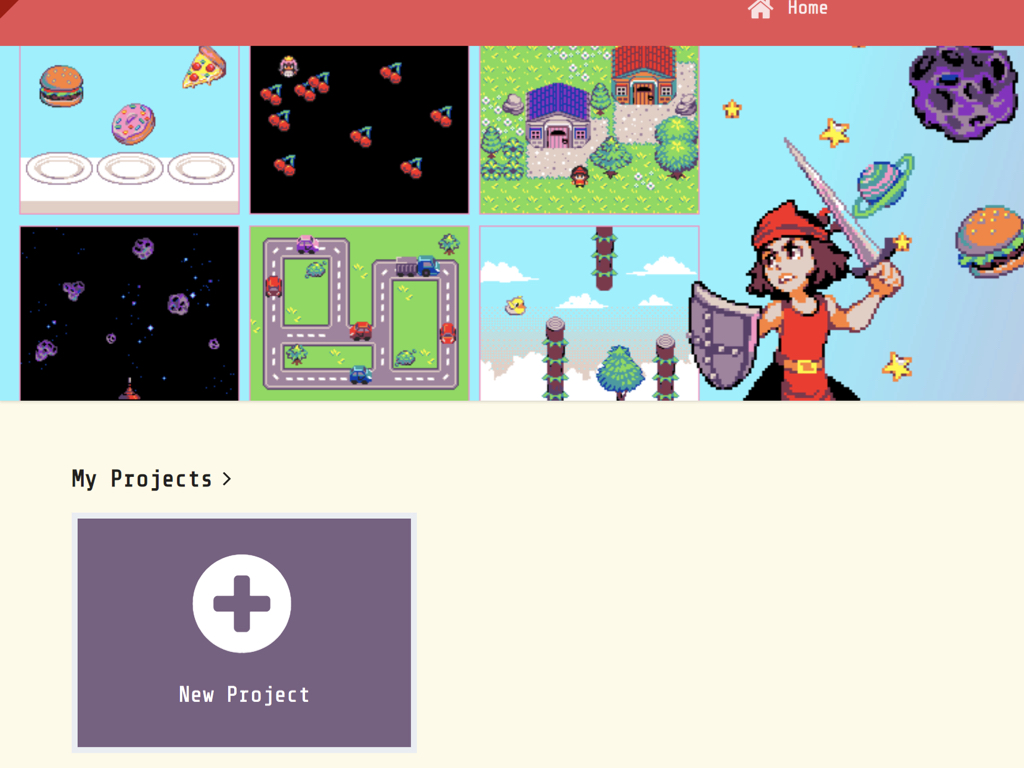
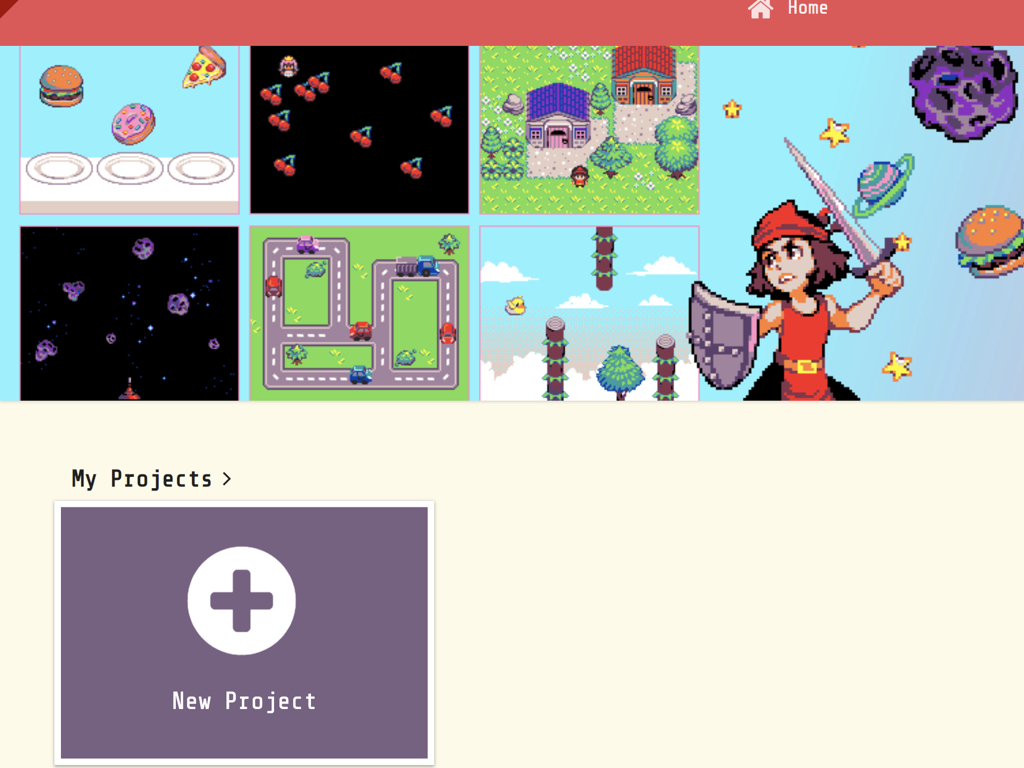
Click on 'New Project'
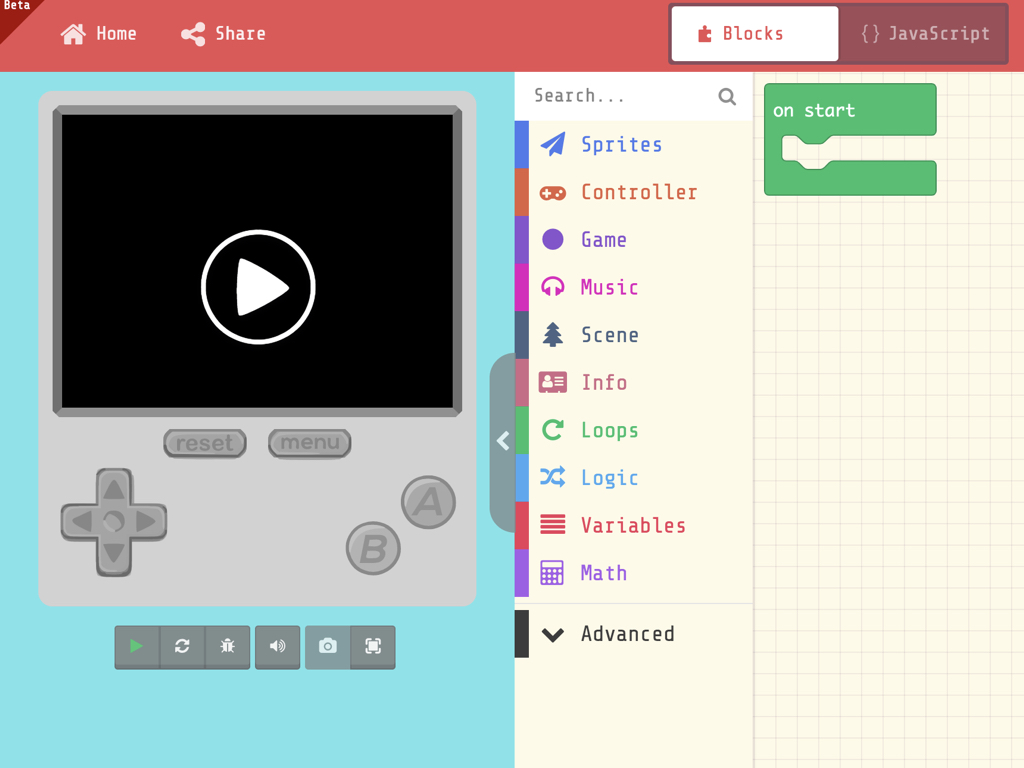
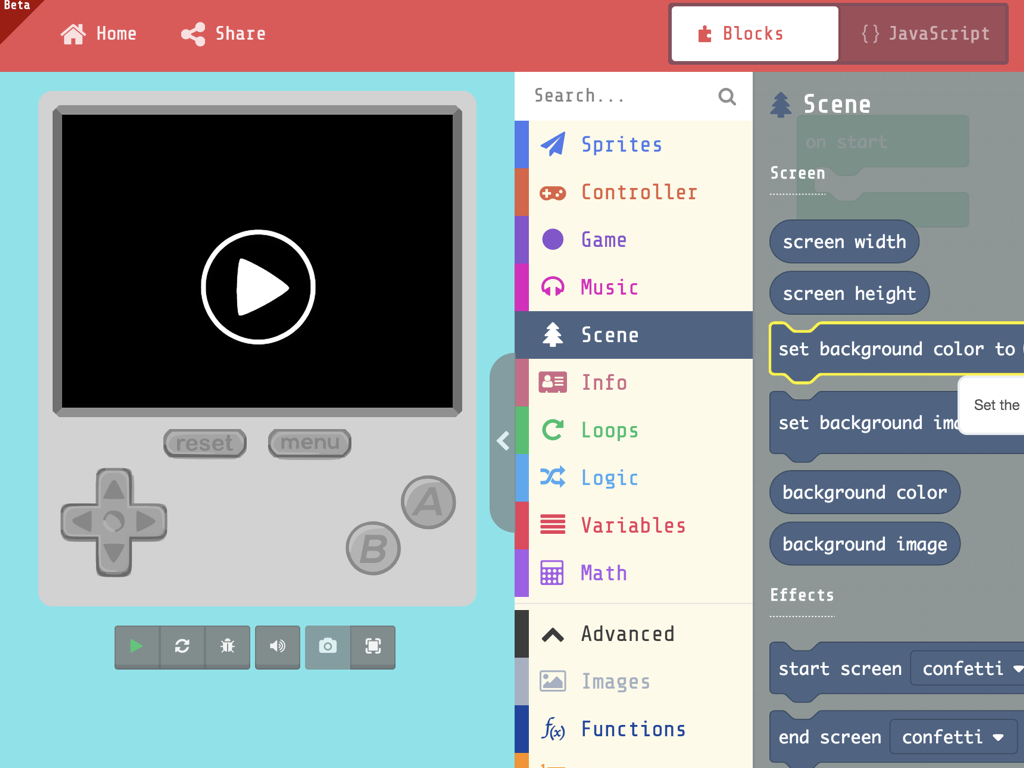
Similar to the blocks interface found in the Microsoft MakeCode editor, this blocks interface is a visual programming interface. With it, you can easily snap 'blocks' into place to program your game.
On the left side is the location of all the 'blocks' separated into their respective categories. There is also a handheld game simulator next to this which will give you a preview of the game.
In the middle, this is where the blocks will be placed.
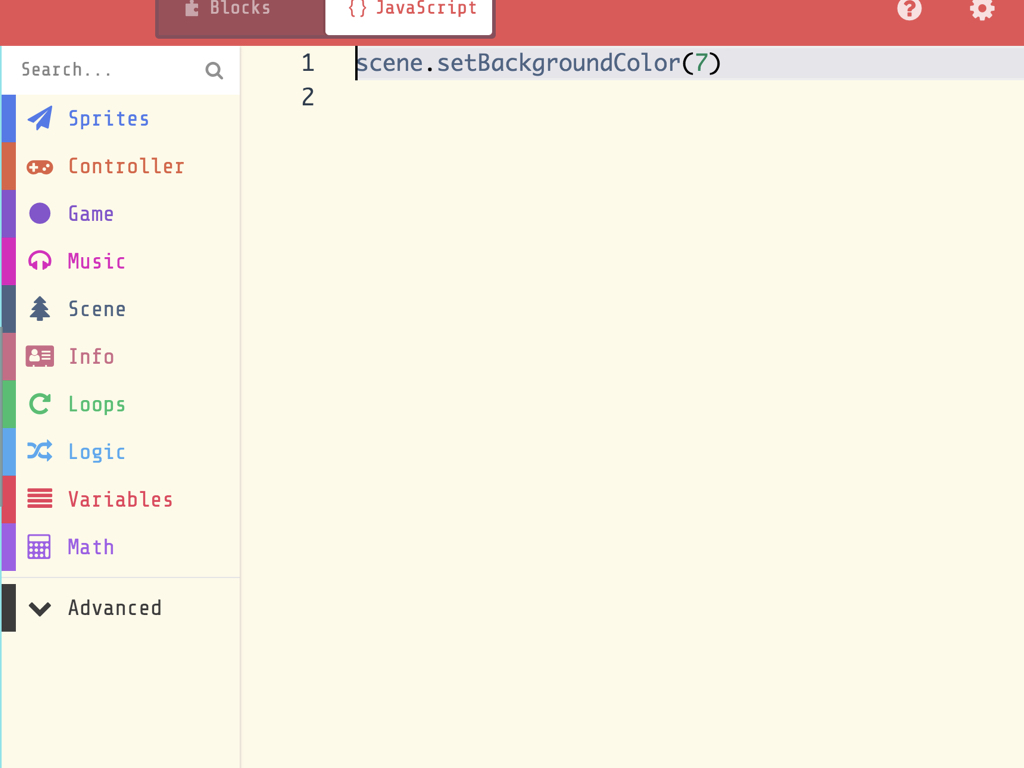
To access the JavaScript programming interface, click on the 'JavaScript' button in the top centre.
This will open the interface where any initial blocks become text.
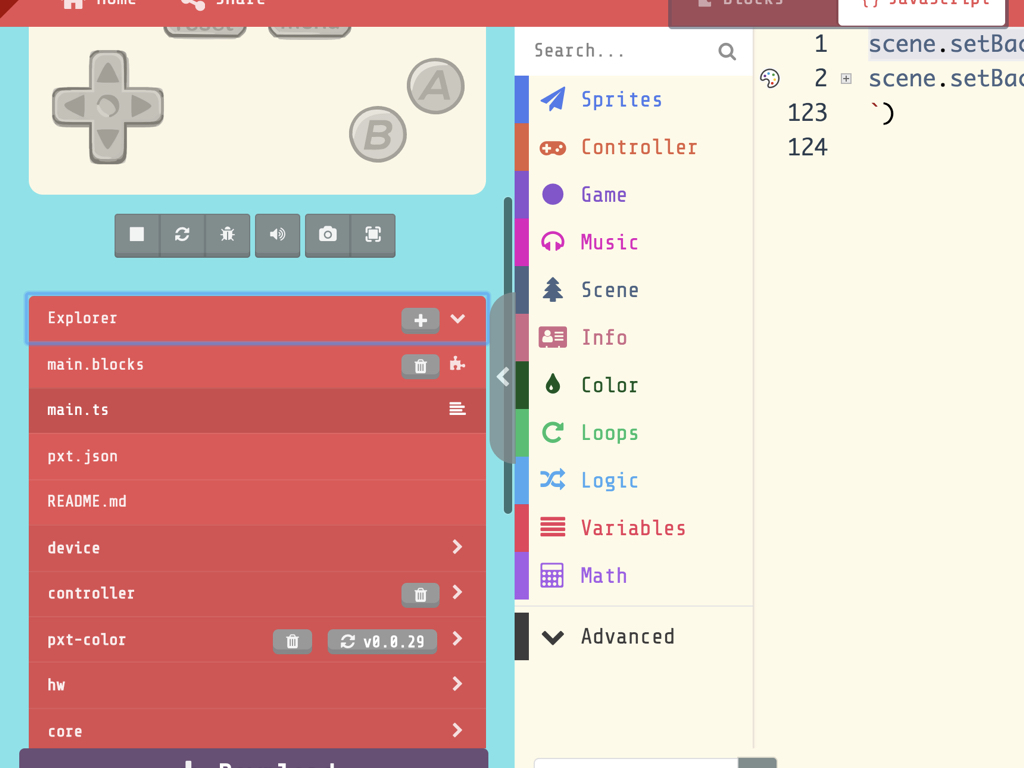
In this case, the "set background color to ..." block has been transformed into the equivalent javascript code: scne.setBackgroundColor(7)
You can now search for the extension package you need. In this example, we have added the controller package, which gives us extra game controller functionalities. Before adding the package, if you click on the Controller tab you will notice that there are blocks for 'single player' and 'multiplayer'.
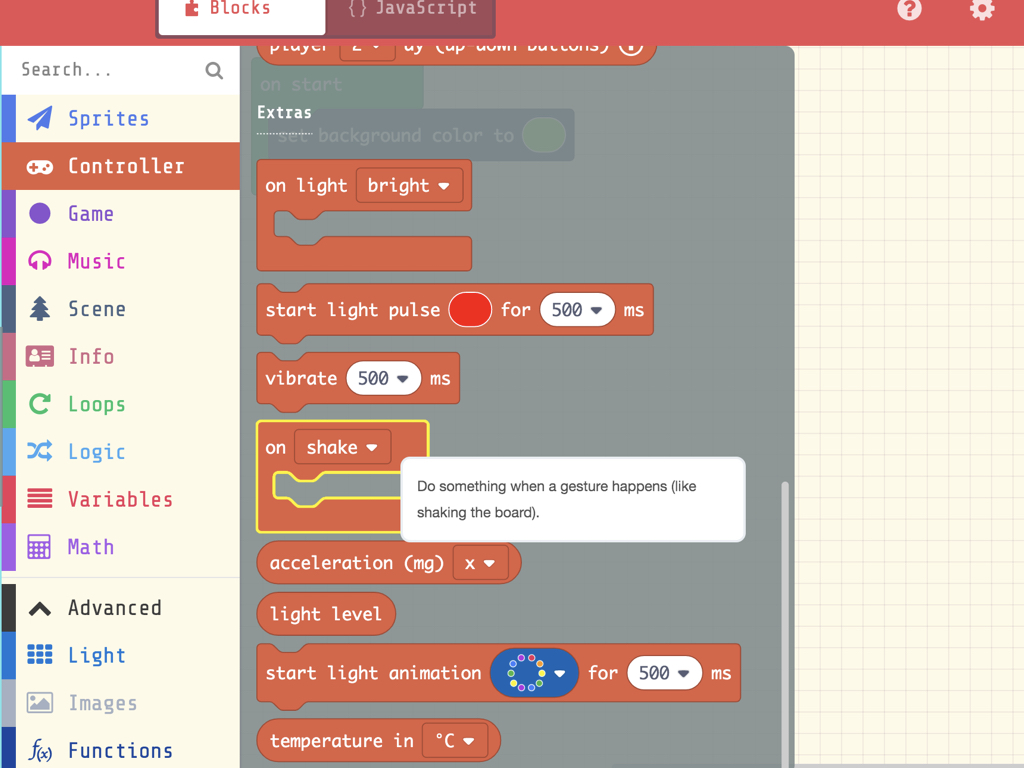
After adding the package, re-click on the tab and you will find a whole new set of blocks under the section "Extras". These blocks add extra functionality such as shake detection or monitoring of light conditions. So for example, you could create a game that changes state based on whether or not the board has been shook!
After adding the package, re-click on the tab and you will find a whole new set of blocks under the section "Extras". These blocks add extra functionality such as shake detection or monitoring of light conditions. So for example, you could create a game that changes state based on whether or not the board has been shook!
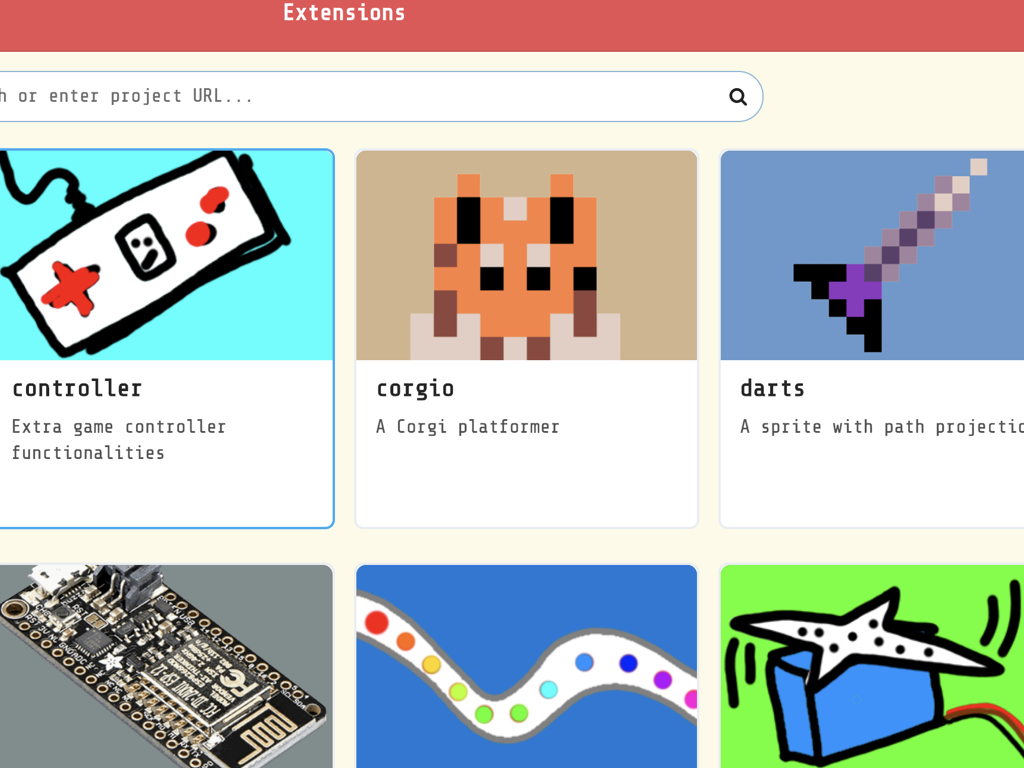
Extension packages can be used to add on to the functionality of the MakeCode Arcade editor or Kittenbot Meowbit
To add a package, click on the 'Extensions' button
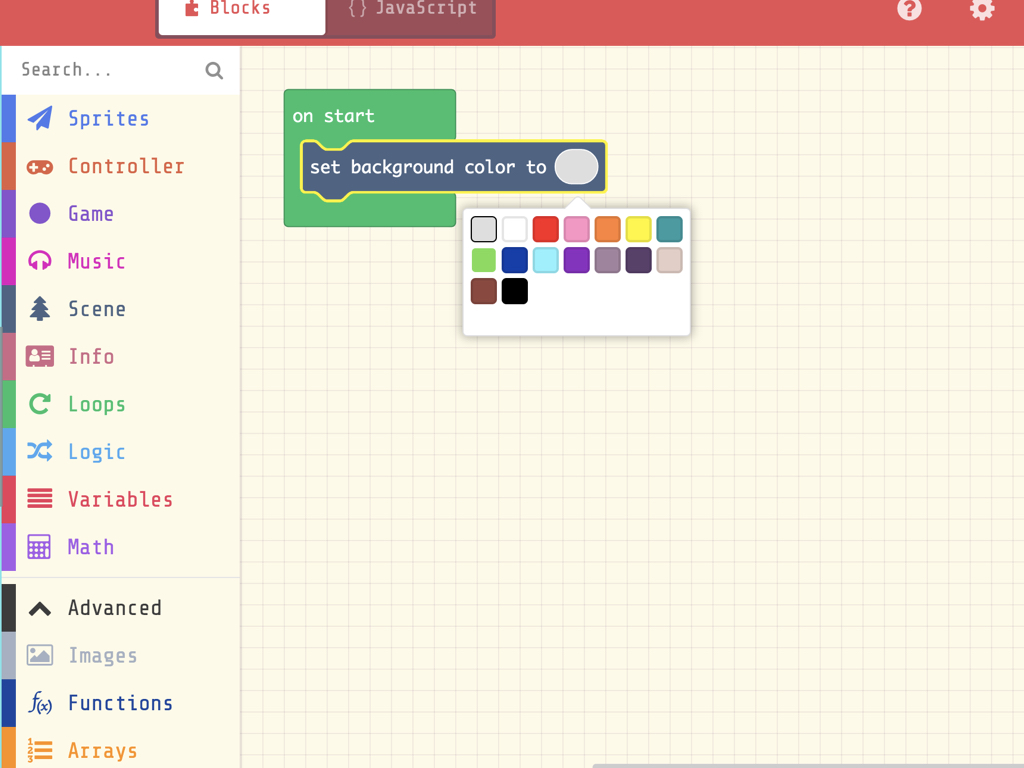
Hover your mouse cursor over a block and it will tell you what it does.
Being able to set the background colour is all well and good, but what if you wanted to go beyond these colours? First, click on the Javascript interface button
Next, click on the Explorer tab to expand its options, this can be found on the left-hand side of the editor.
Click on pxt.json
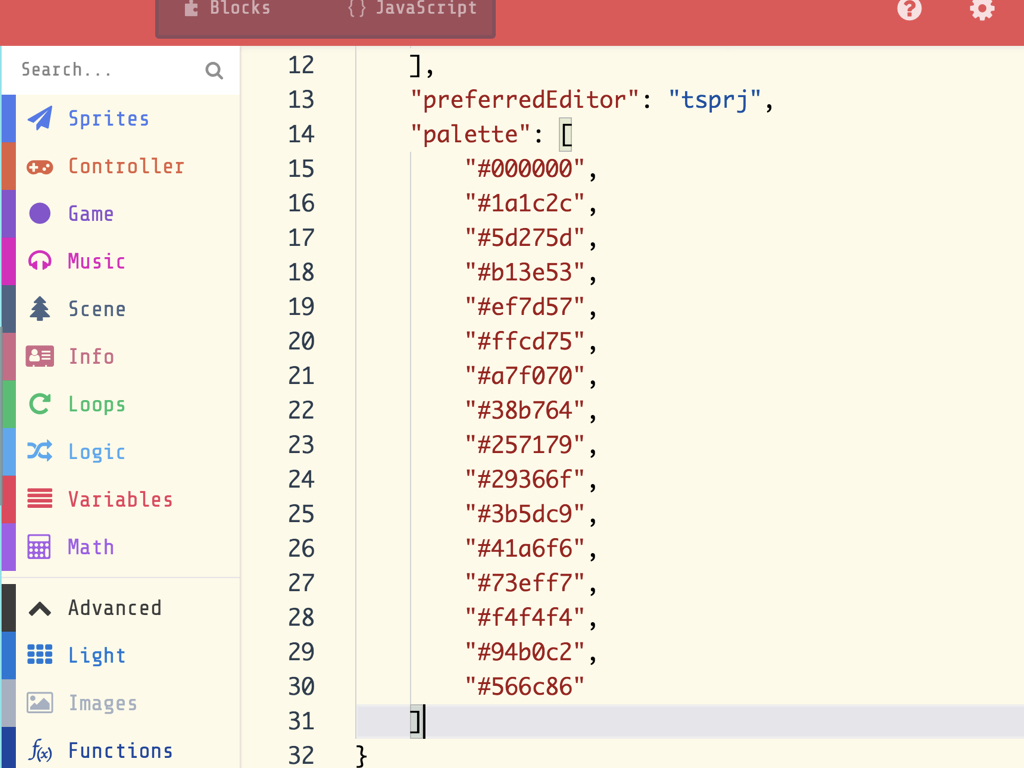
    "palette": [
        "#000000",
        "#1a1c2c",
        "#5d275d",
        "#b13e53",
        "#ef7d57",
        "#ffcd75",
        "#a7f070",
        "#38b764",
        "#257179",
        "#29366f",
        "#3b5dc9",
        "#41a6f6",
        "#73eff7",
        "#94b0c2",
        "#566c86",
        "#f4f4f4"
    ]
The MakeCode Arcade editor uses a default palette if left unchanged. To change the colour palette, copy this palette code and use it in the next step.
What are these? These are Hex Color Codes, which are hexadecimal values that represent colours.
According to the MakeCode Arcade Art and Images documentation, "Images in arcade are stored using 4 bits per color. The color 0 is reserved for transparency so, at any one time, you have the remaining 15 colors available to work with. The image color values are really indices that map to 16 entries of the current palette of RGB colors."
We have left the first hex color code alone, since it is reserved for transparency. Feel free to change any of the other 15 values.
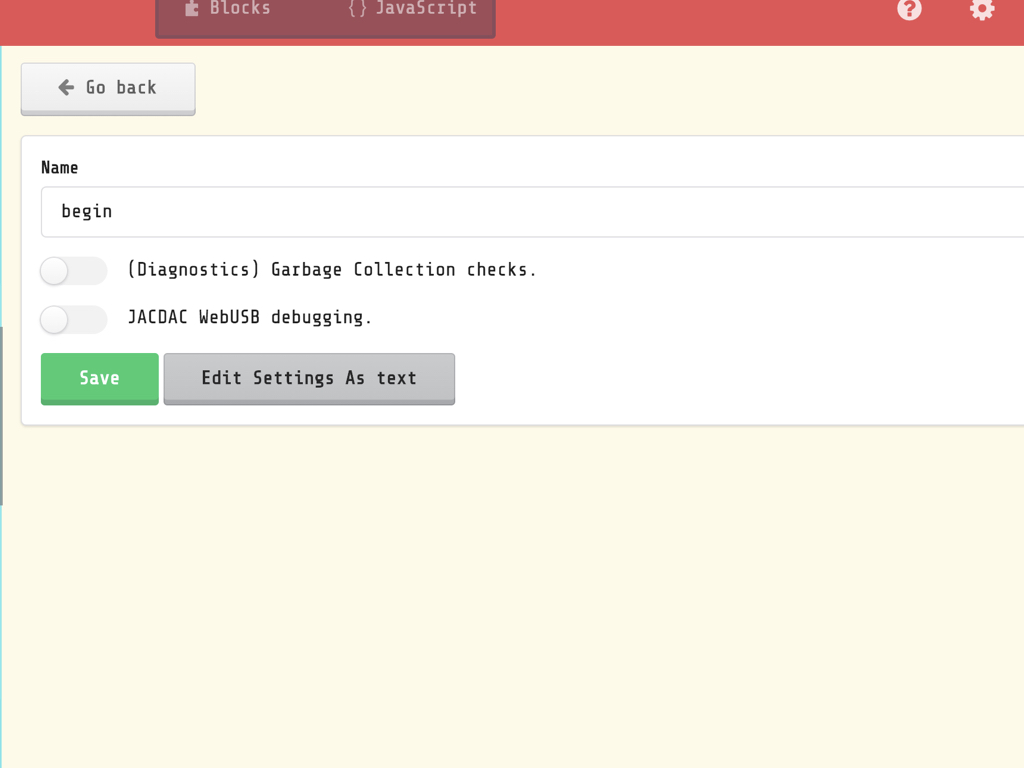
Click on 'Edit Settings As text'
Add a comma after "preferredEditor": "tsprj"
Paste the palette code after it, make sure the closing curly brace stays at the end.
Then, click on main.ts file in the Explorer list to refresh the game.
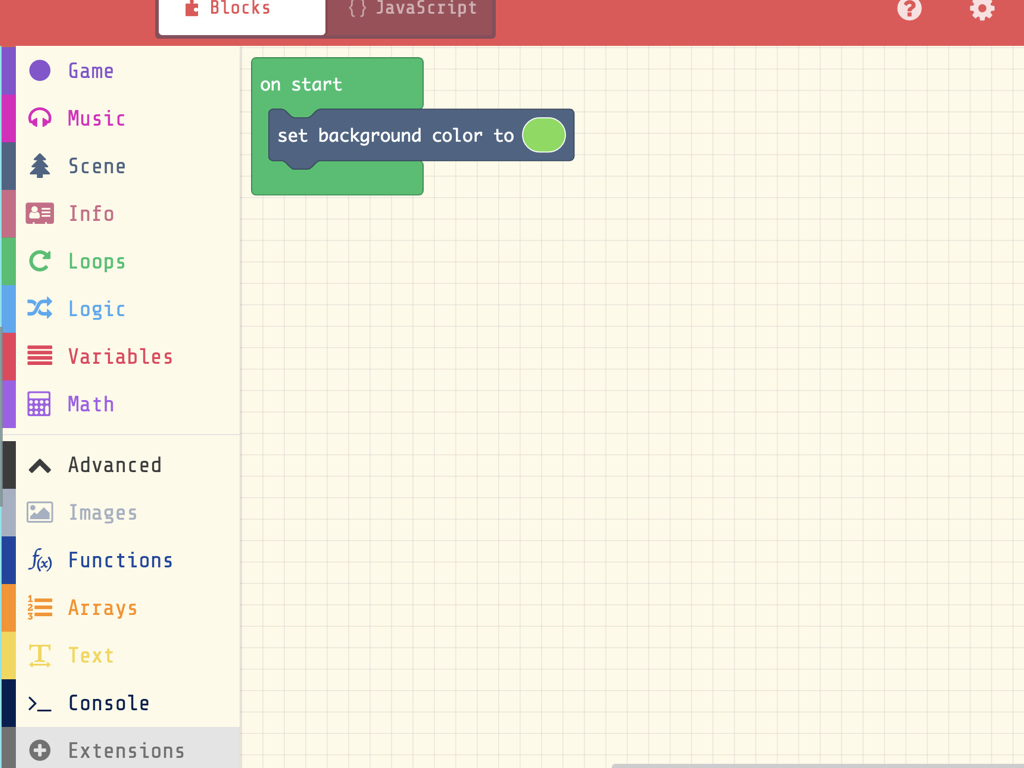
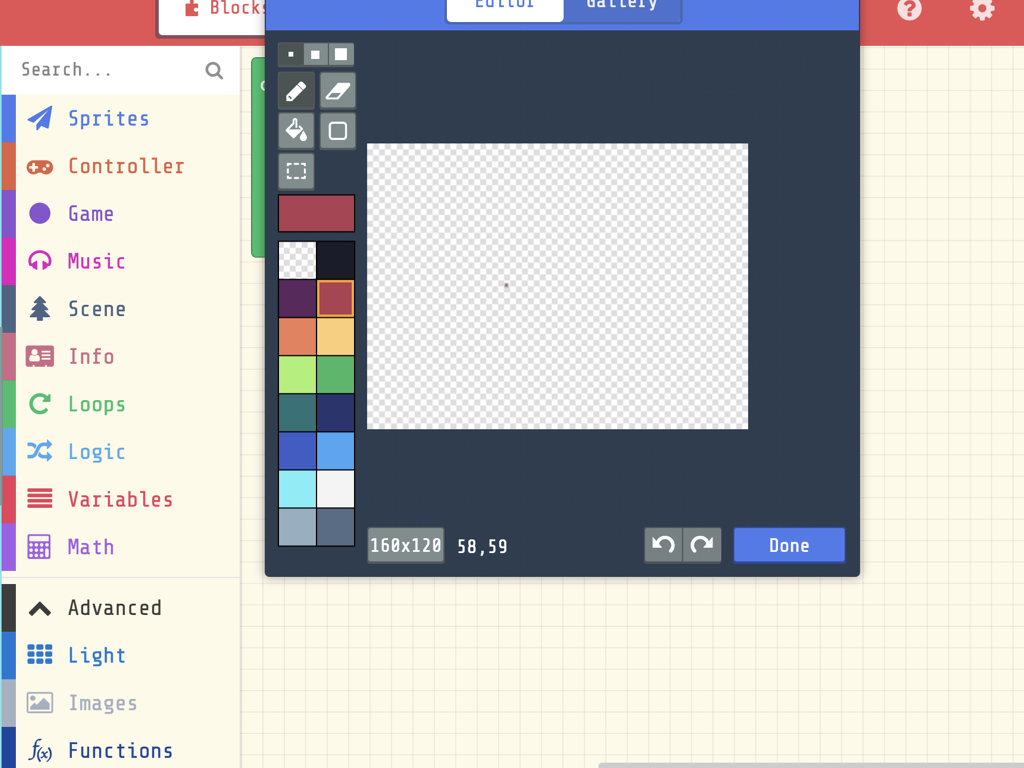
Go back into the Blocks interface and click on the palette icon in the 'set background image to ... ' block. The custom palette will now be usable!
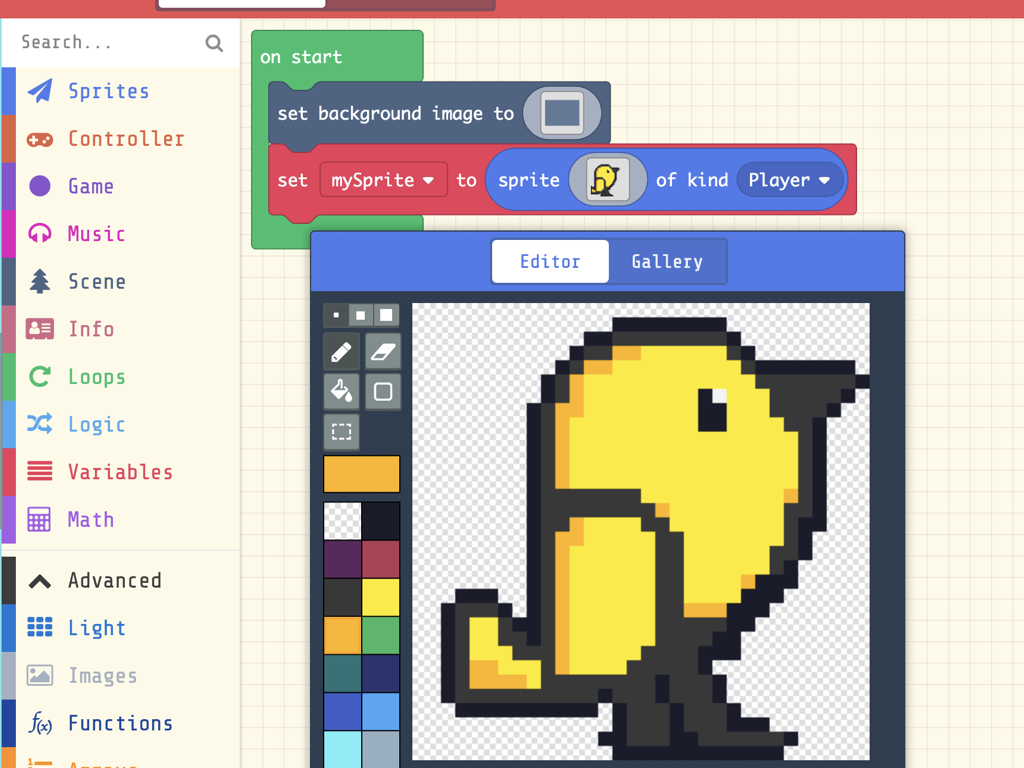
While the editor doesn't let you import sprite files, you can create your own from scratch. Most games need a player sprite, so let's make one. First, click on the Sprites tab.
Drag and drop a 'set mySprite to sprite ... of kind ... ' into the editor.
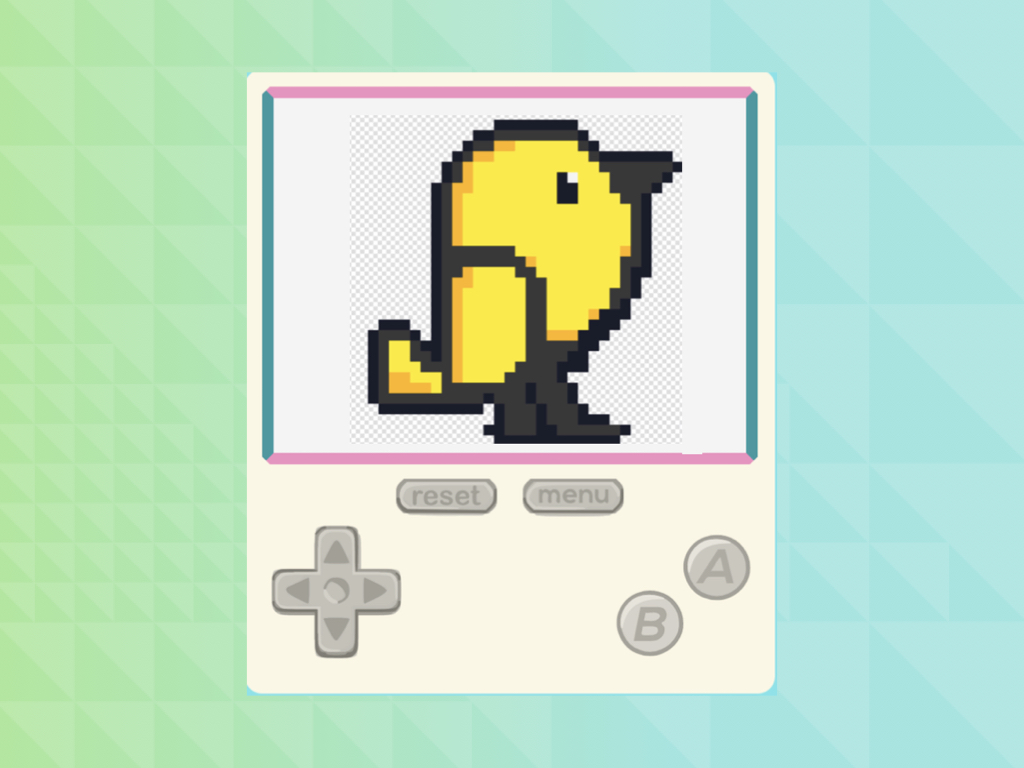
Click on the box icon in the 'sprite ... of kind player' block to open up the sprite editor. Start creating your first sprite!