OLED Watch with EagLED
Make a watch with the EagLED
Written By: Cherie Tan
Difficulty
Medium
Steps
14
The EagLED e-textile wearable development kit comes with LEDs and sensors as well as SCL and SDA sew tabs. By using the SCL and SDA sew tabs on the EagLED, it is possible to connect via I2C to other external sensors or modules,
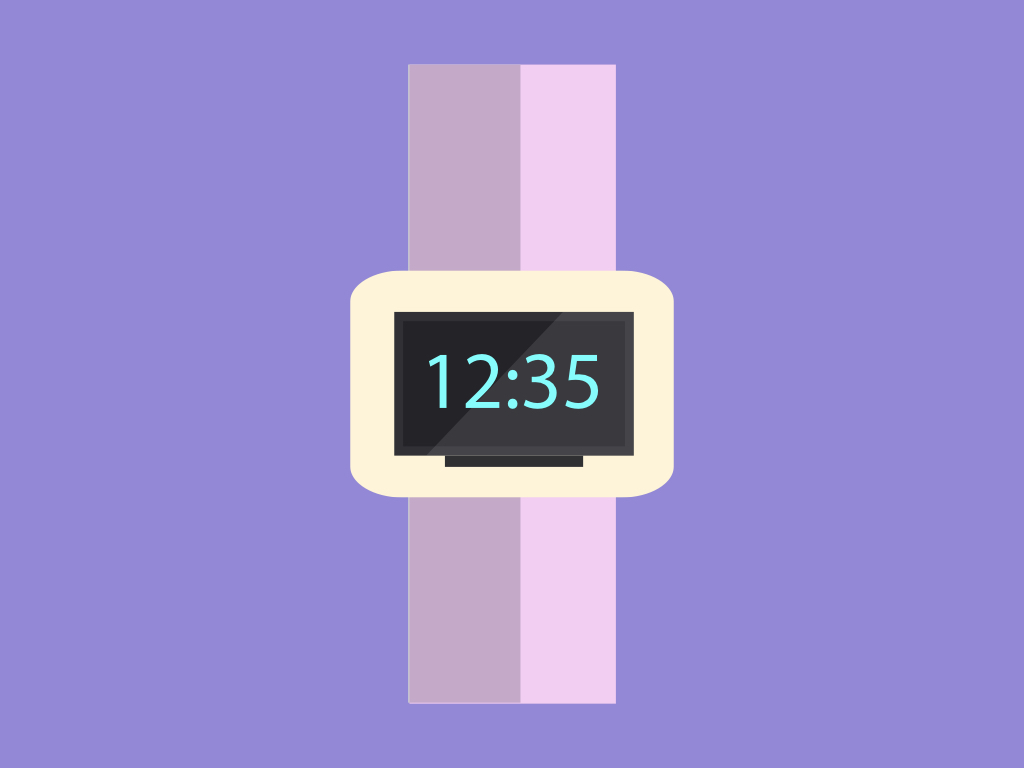
In this guide, learn to connect a 0.96'' OLED screen to the EagLED and create your own simple OLED watch. The watch shows the time as well as uses an LED as a visual reminder.
Complete this guide to get familiar with using the EagLED together with other components through I2C.

I2C stands for Inter-integrated Circuit and it is a communication protocol, and it allows multiple devices to communicate with each other over typically short distances.
It can be used to communicate with more complex components such as a 0.96'' OLED screen.
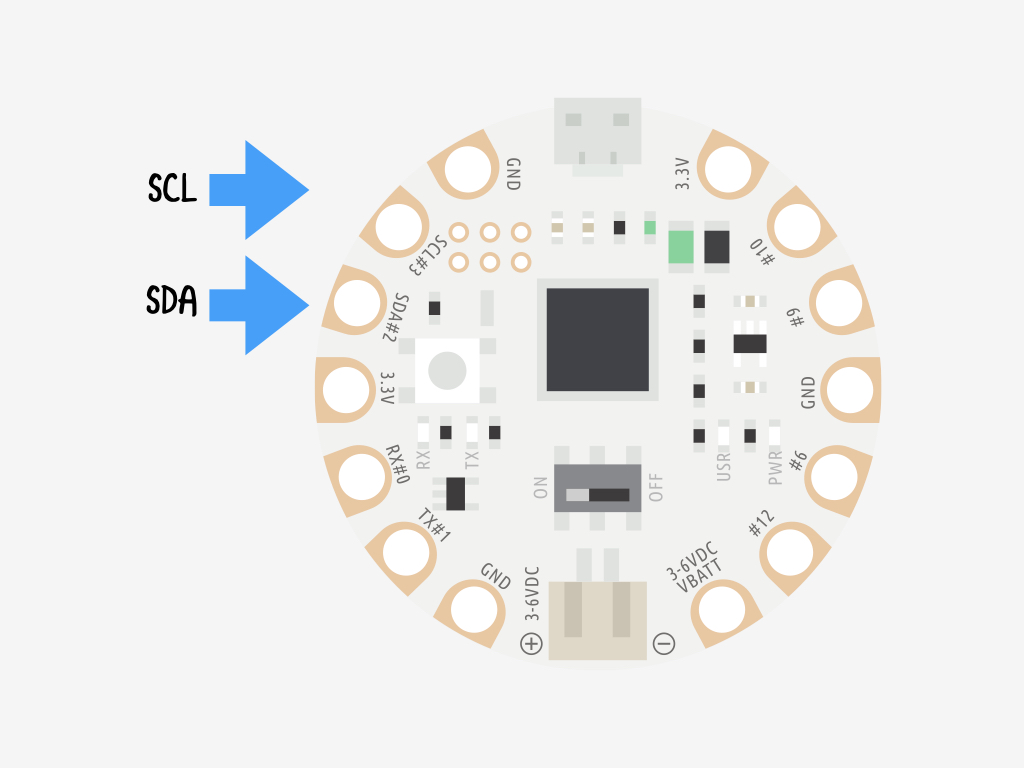
So how do we use it with the EagLED? The OLED screen has SDA and SCL pins which will be connected to "#2" and "#3" sew tabs on the EagLED.
What is an OLED screen? An OLED screen stands for organic light-emitting diode screen, composed of layers including layers of organic compound that lights up when fed with electricity.
Since the mid-twentieth century, the electroluminescence of organic materials has been a well-known phenomenon. Then in 1987, organic light emitting diodes (OLEDs) became known for its promising practical applications. Ever since then, it's become a popular choice as a bright, vibrant display that can offer beautiful colours, energy efficiency and it can come in a variety of form factors i.e. as transparent and flexible displays. Also, it works without a backlight and can display deep black levels as well as a high contrast ratio in low light conditions i.e. in a dark room.
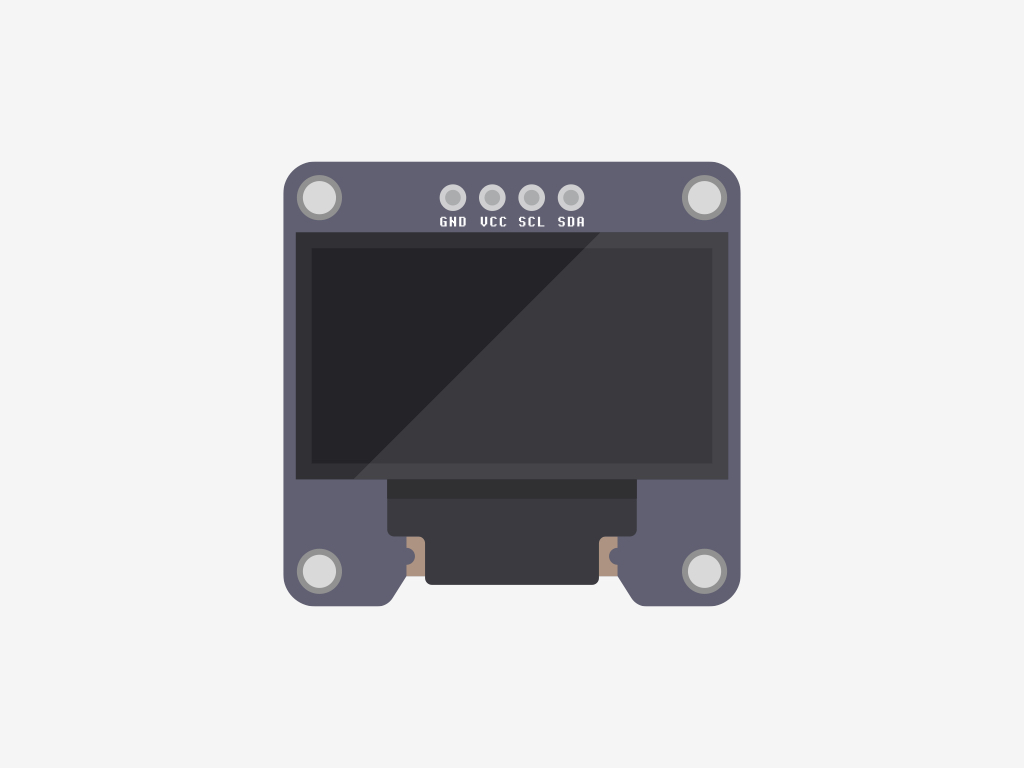
In this guide, an SSD1306 0.96'' OLED module is used.
The SSD1306 OLED screen has four pins:
GND: In electronics, we define a point in a circuit to be a kind of zero volts or 0V reference point, on which to base all other voltage measurements. This point is called common ground or GND.
VCC : While 'VCC' stands for Voltage Common Collector, we'll connect the VCC pin to 3.3V on the EagLED
Serial Clock (SCL)
Serial Data (SDA)
Voltage is the difference in electric potential between two points. As it is difficult to talk about voltage without a reference point, we need another point to compare it to.
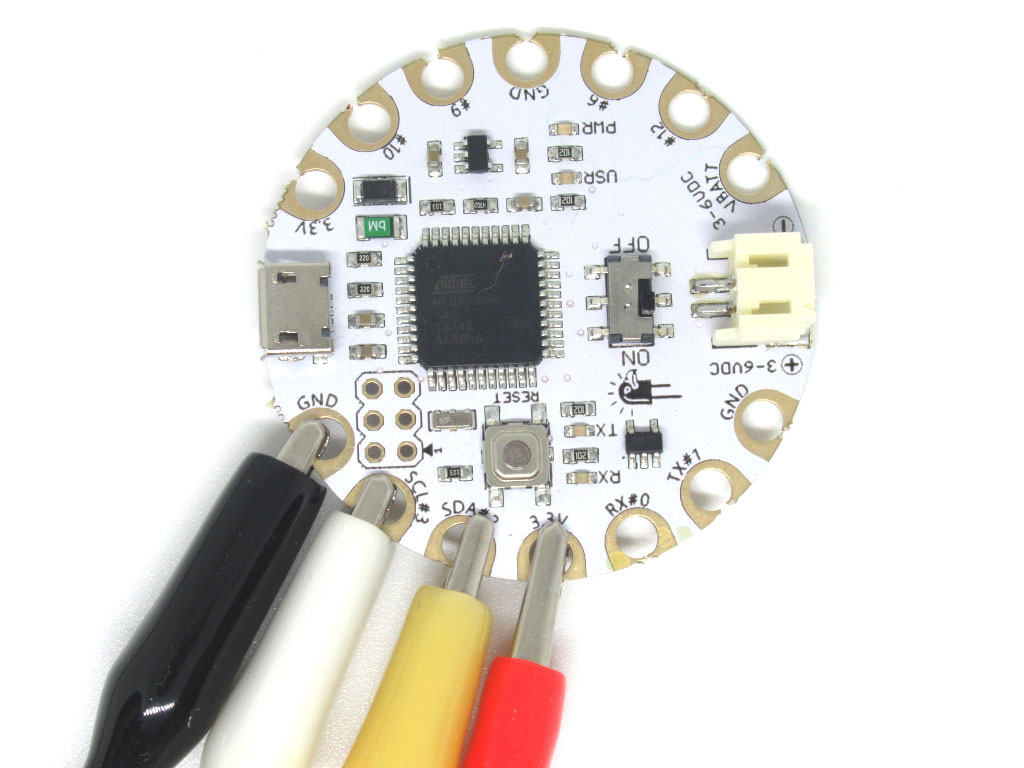
To connect the SCL and SDA pins to the EagLED, they must be connected to Pins 3 and 2.
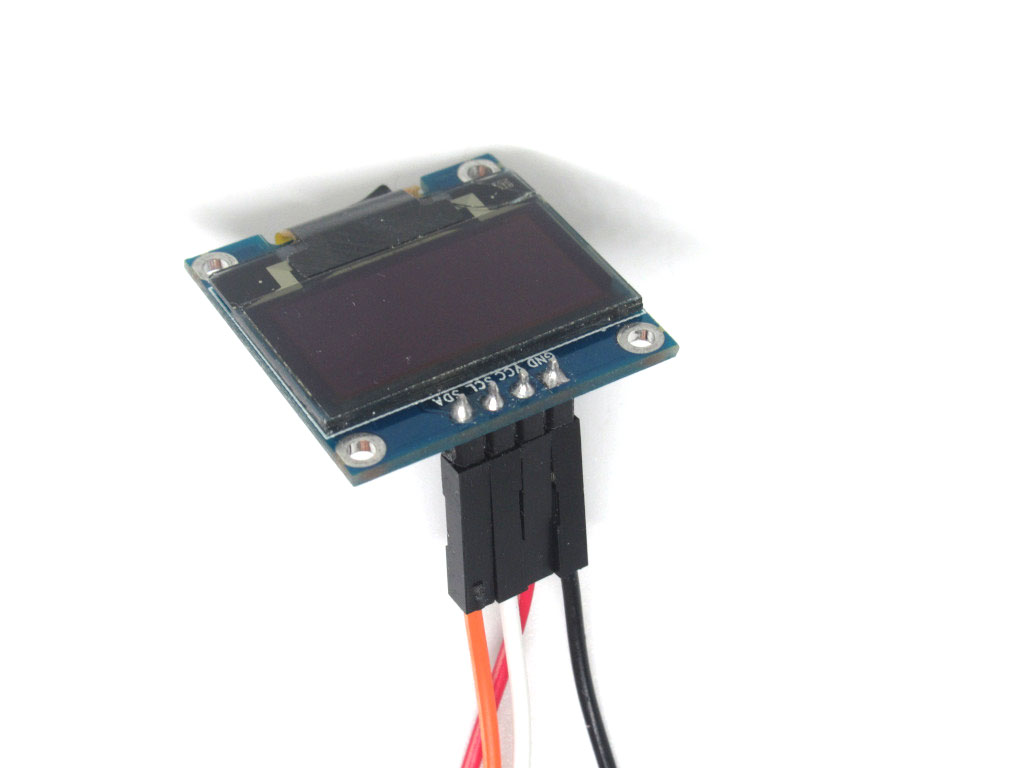
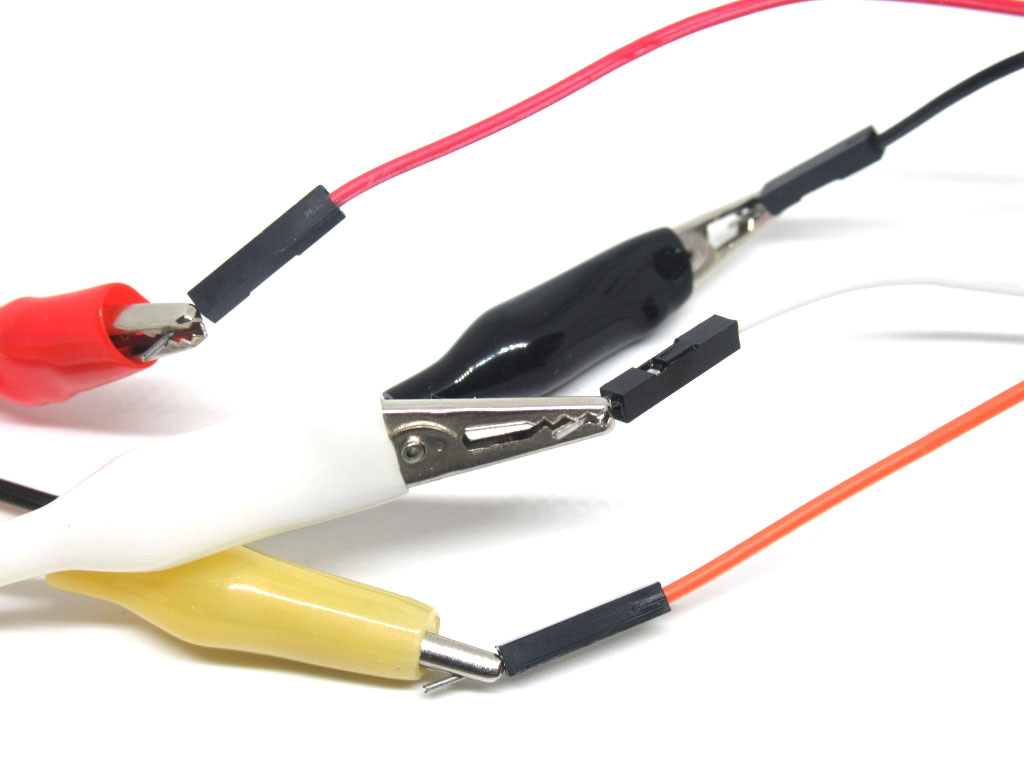
Before stitching the EagLED and components to felt fabric, we'll use alligator clips for prototyping.
M-F jumper wires are used to connect to the SSD1306's header pins and alligator clips as shown.
Then alligator clips are then connected to them and the EagLED.
Start the Arduino IDE
Before you can use the EagLED with Arduino IDE, it requires the necessary library. Please follow our guide 'Get Started With the EagLED' to set it up.
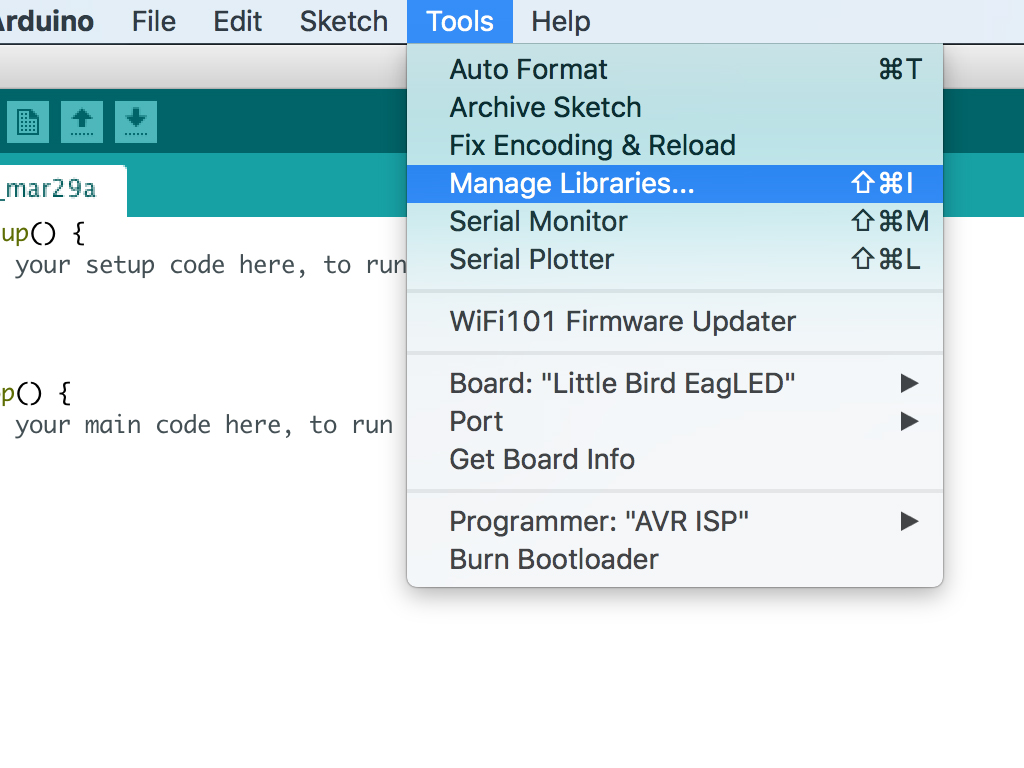
Next, to keep it simple, we'll use an existing SSD1306 library. To open up the Library Manager, click on Tools > Manage Libraries
Install the SSD1306 library by Alexey Dynda
Once complete, it should say "INSTALLED" next to the library name
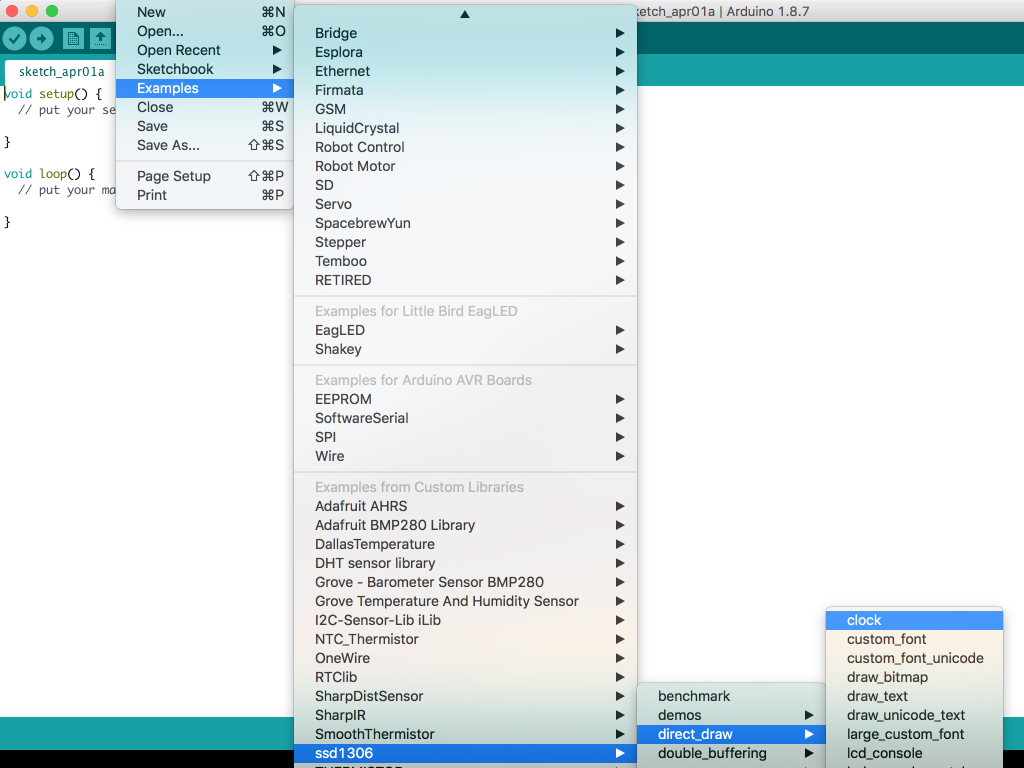
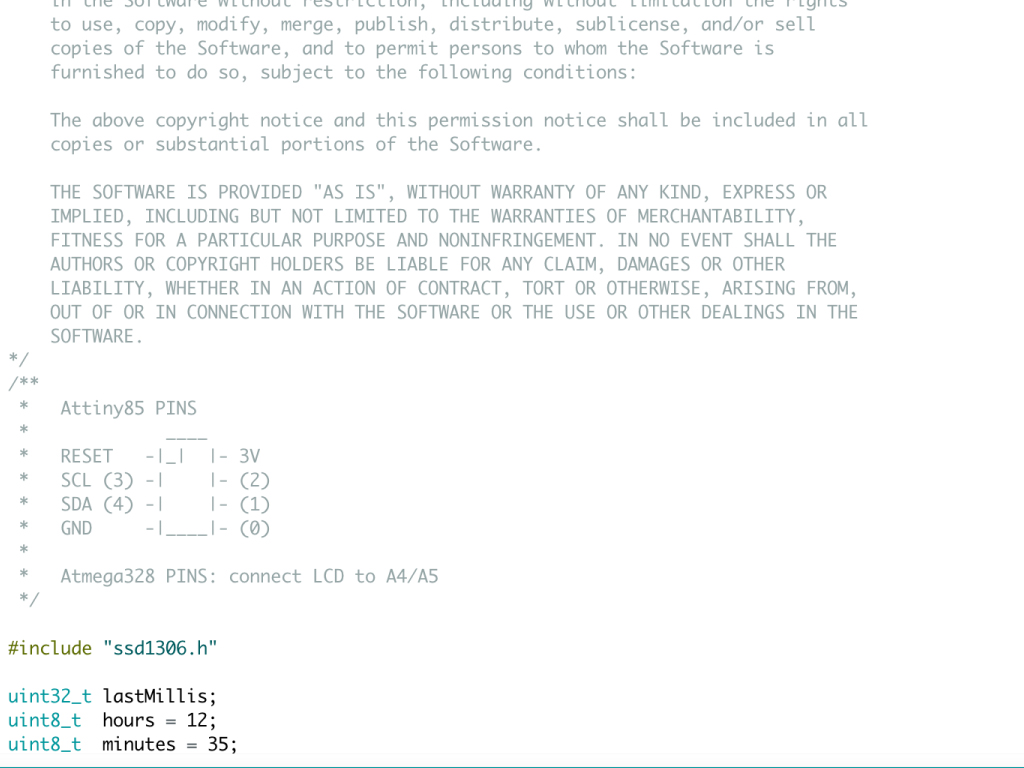
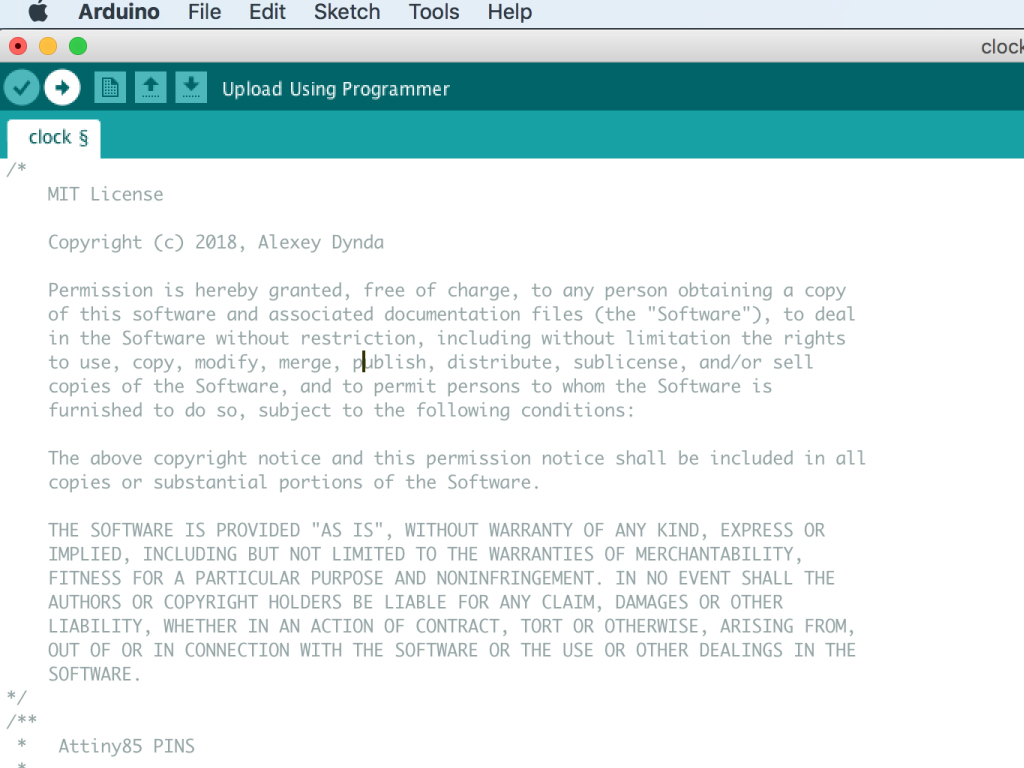
Go to File > Examples > ssd1306 > direct_draw > clock
Change the variables 'hours' and 'minutes' to the current hour and minute.
Click on the 'Verify' button up the top left hand corner of the Arduino IDE
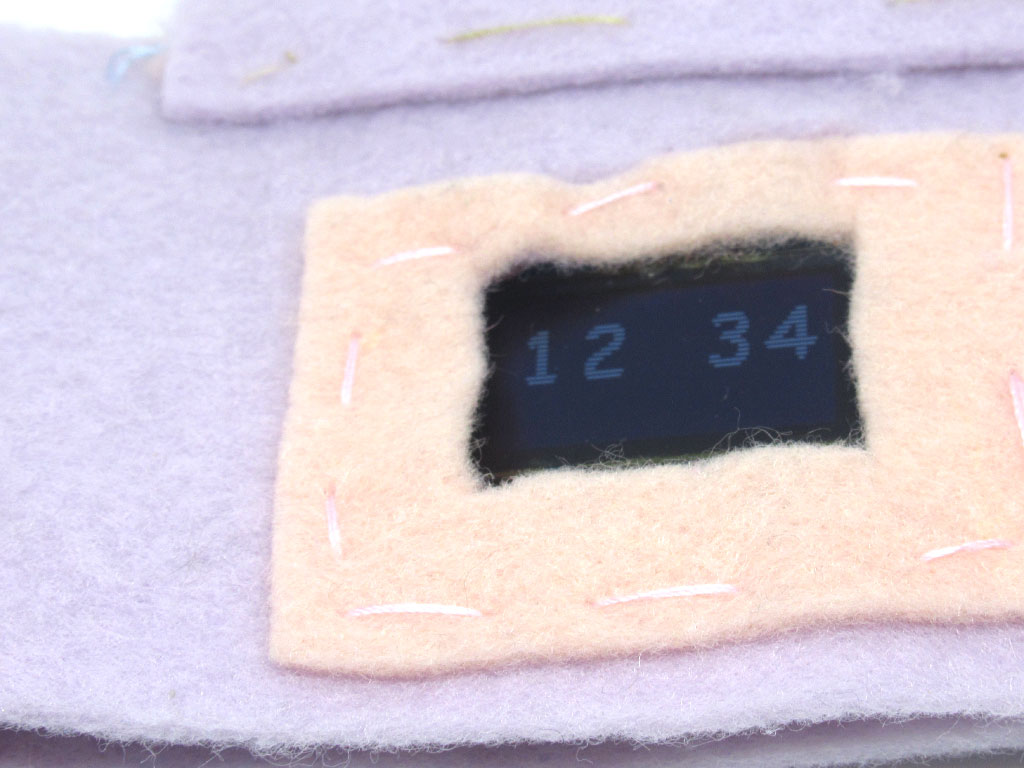
Then click on the 'Upload' button beside it. The OLED screen will now show the time as programmed.
Next, we'll move the prototype onto the felt fabric. First, cut the header pins protruding at the back of the OLED display module with the wire cutters. This is so that it can lay flat against the felt fabric.
Then solder four wires to 'GND', 'VCC', 'SCL' and 'SDA'.
Insert heat shrink tube and apply some heat so that it shrinks and wraps around the wires to prevent any accidental shorts.
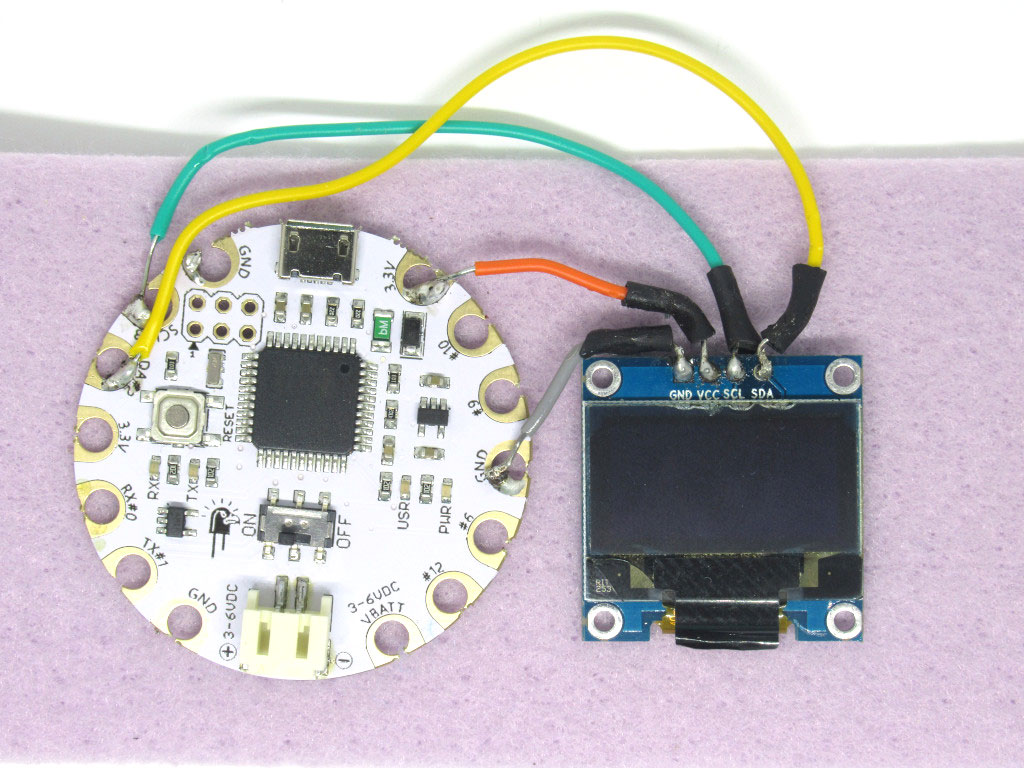
Then connect these wires to the EagLED:
First, 'GND' to 'GND'
First, 'GND' to 'GND'
Then connect 'VCC' on the OLED screen to '3.3V on EagLED.
Next, connect 'SCL' on OLED screen to 'SCL#3' on EagLED
Finally, connect 'SDA' on OLED screen to 'SDA#2' on EagLED
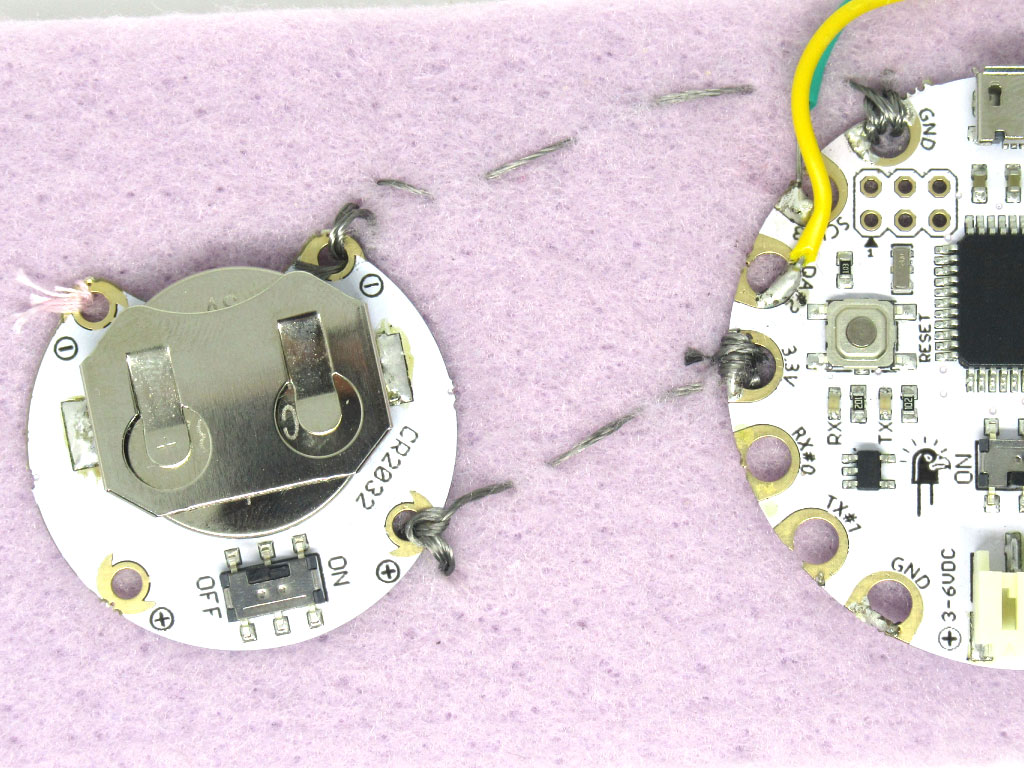
Stitch a line of conductive thread from '-' on the coin cell battery holder to 'GND' on the EagLED.
Then stitch a line of conductive hread from '+' to '3.3V'
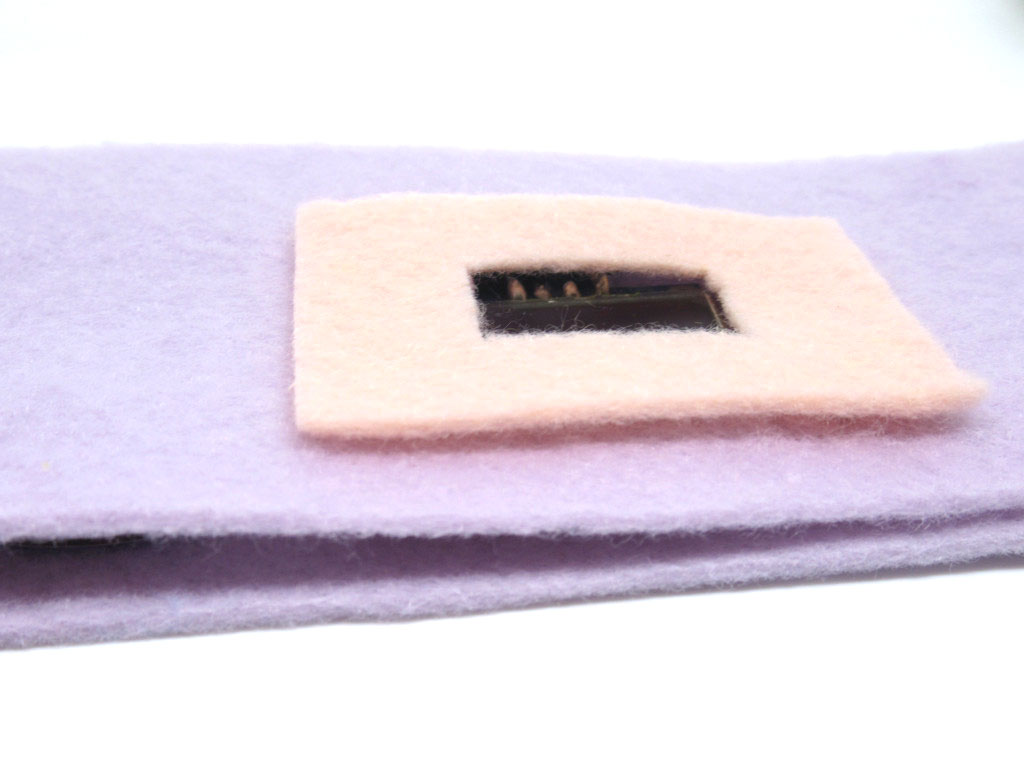
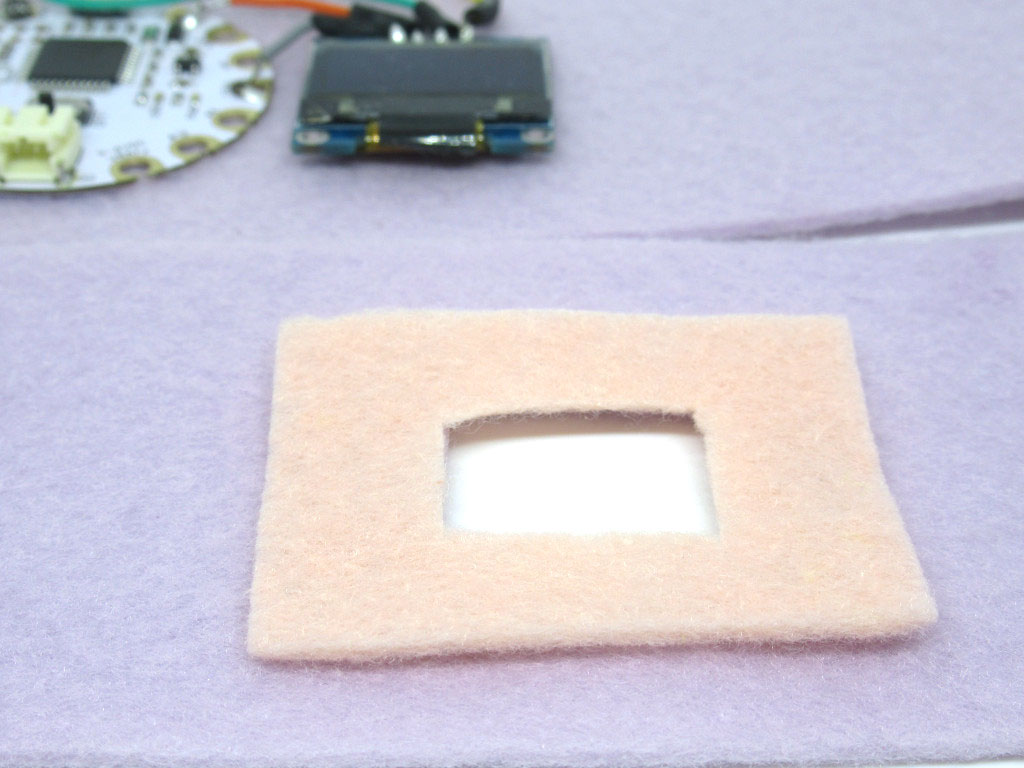
Cut out another rectangular length of felt fabric of the same size as the previous one.
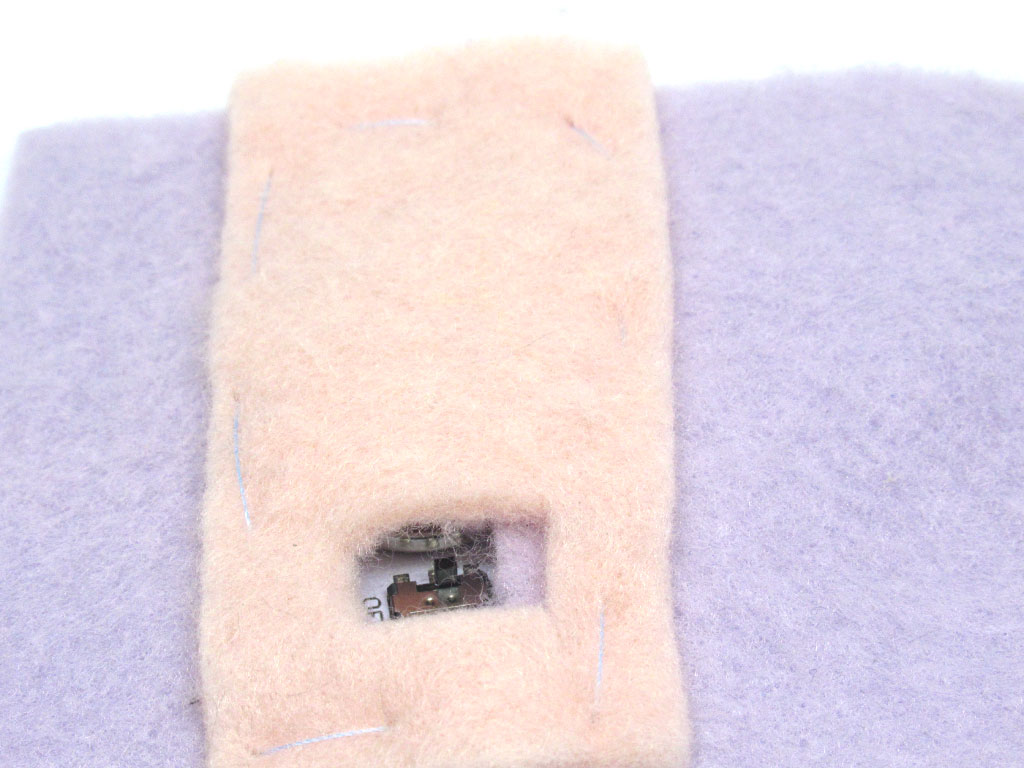
Stitch together the two pieces of fabric to enclose and secure the watch.
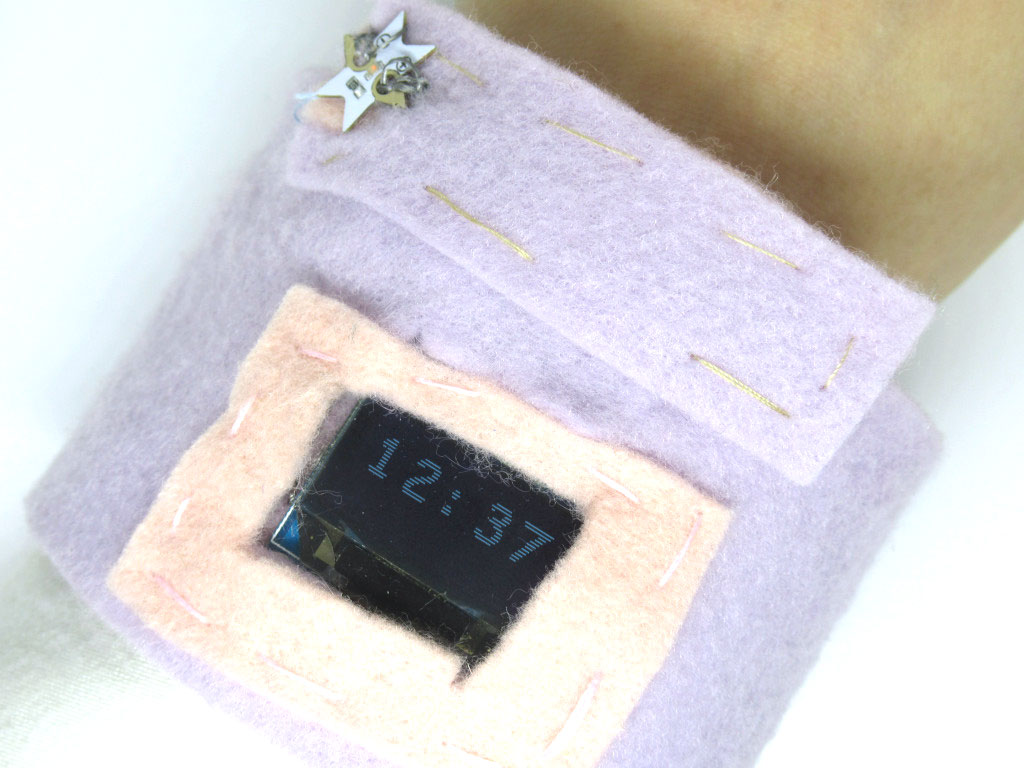
Once complete, your OLED watch with EagLED may look something like this. Now that you've gained some experience with using the EagLED with external components, using the very same I2C protocol, you could build sound-responsive lights or even a pulse monitor.
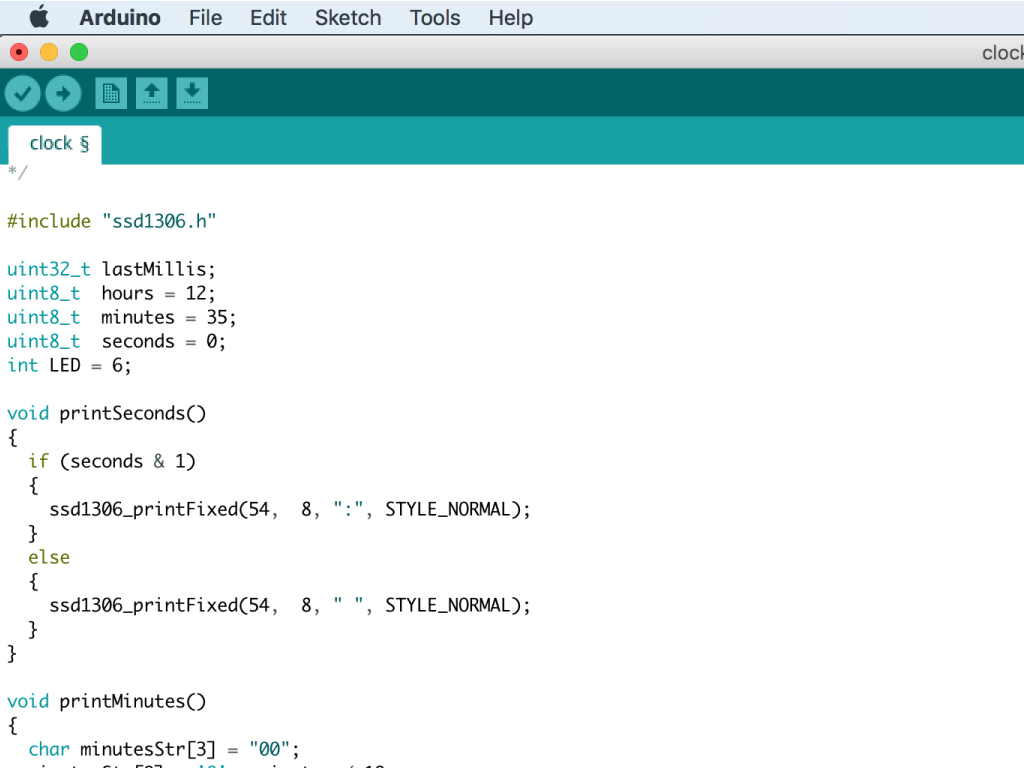
We've changed a few things from the previous sketch.
Over at the top, we've added a variable for the LED and assigned it to Pin 6 with int LED = 6;
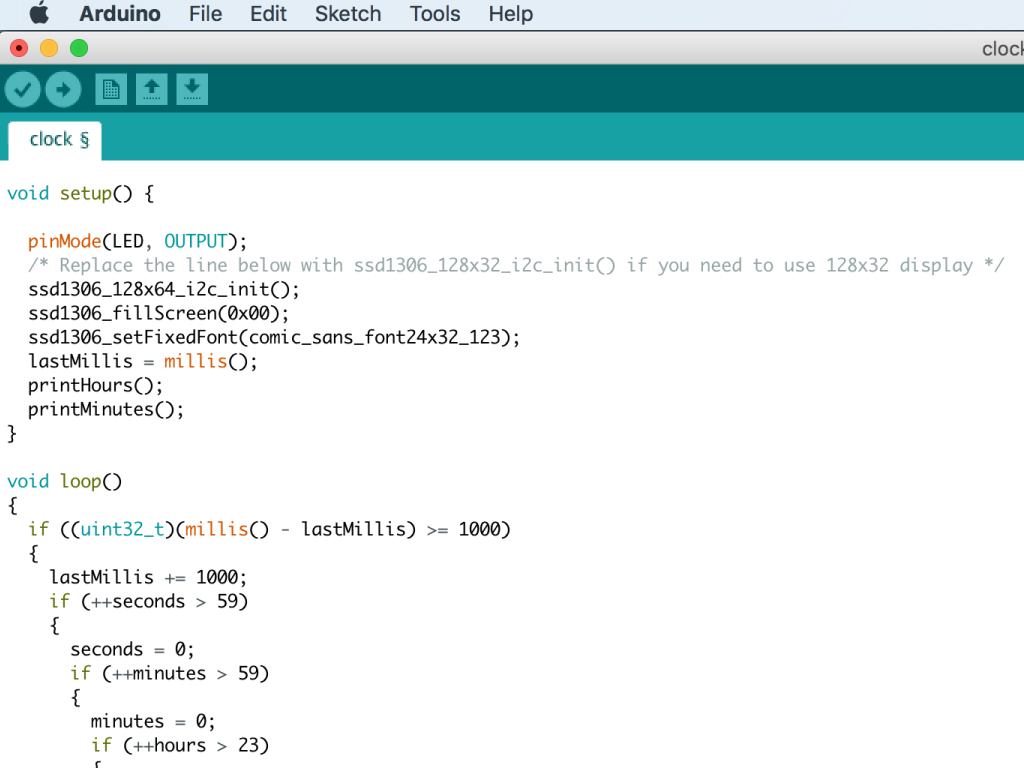
Then in void setup() we've added pinMode(LED, OUTPUT);
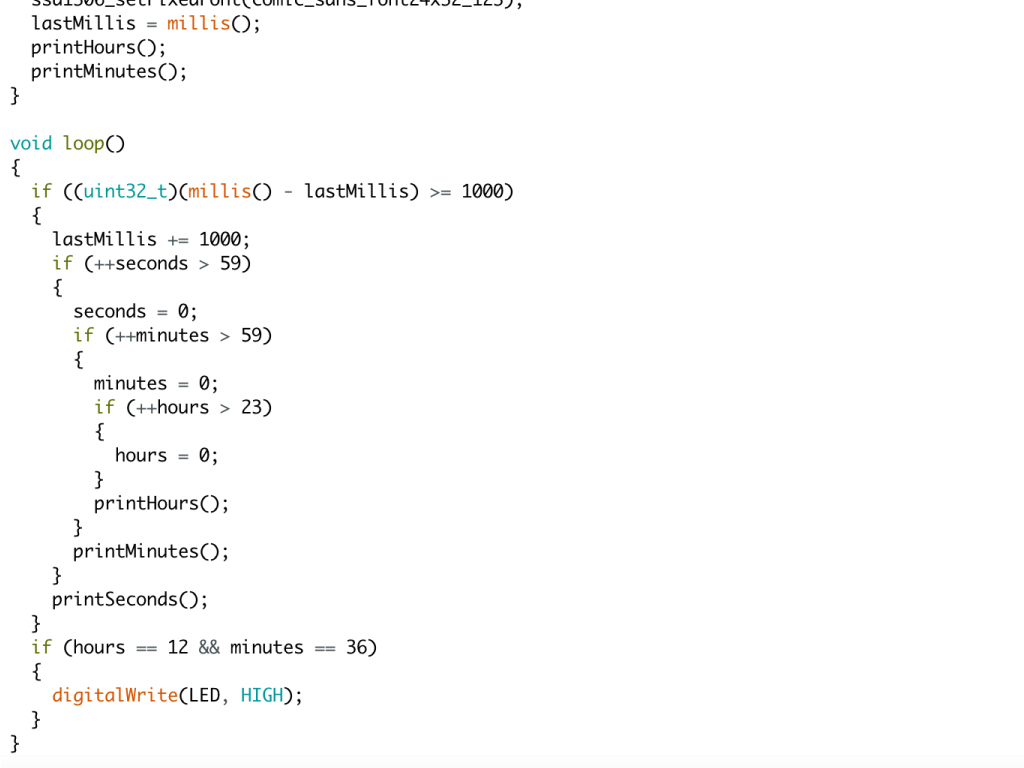
Finally, we'll use this LED as an indicator that a particular time has passed. This can be used as a visual indicator or a reminder for an event in your daily schedule etc. In void loop() we've added: if (hours == 12 && minutes == 36) { digitalWrite(LED, HIGH); }
Change the hours and minutes in that if statement to the particular time you'd like to set it to.
