Gyroscope with ShakeUp
Plot measurements from the ShakeUp's built-in gyroscope
Written By: Cherie Tan

Difficulty
Easy
Steps
8
When things rotate around an axis, they have what's called angular velocity, which is a measurement of how fast it is spinning around that axis. A gyroscope can be used to measure angular velocity.
In this guide, learn to use the ShakeUp's built-in gyroscope with the Arduino IDE and plot its measurements in the Serial Plotter.
Complete this guide to get started with using the gyroscope.

They're useful when you want to know the orientation of an object in motion. That is to say, where it is pointing.
Usually, the measurements are in units of rotations per minute (RPM) or degrees per second (°/s).
In this guide, we'll show you how to get started with using the ShakeUp's built-in 3-axis gyroscope.
When things rotate around an axis, they have what's called angular velocity, which is a measurement of how fast it is spinning around that axis.
For example, a spinning wheel can be measured in revolutions per second (RPS), or in degrees per second (°/s).
So how can we measure this? By using a gyroscope!
There are three axises that the ShakeUp's built-in gyroscope can measure:
x-axis, y-axis, and z-axis.
x-axis, y-axis, and z-axis.

Already got the Arduino IDE installed and set up for the ShakeUp? Move on to the next step! If not, please follow our guide on how to set up the Arduino IDE for ShakeUp.
Next, in the Arduino IDE, open up the example sketch for the Accelerometer:
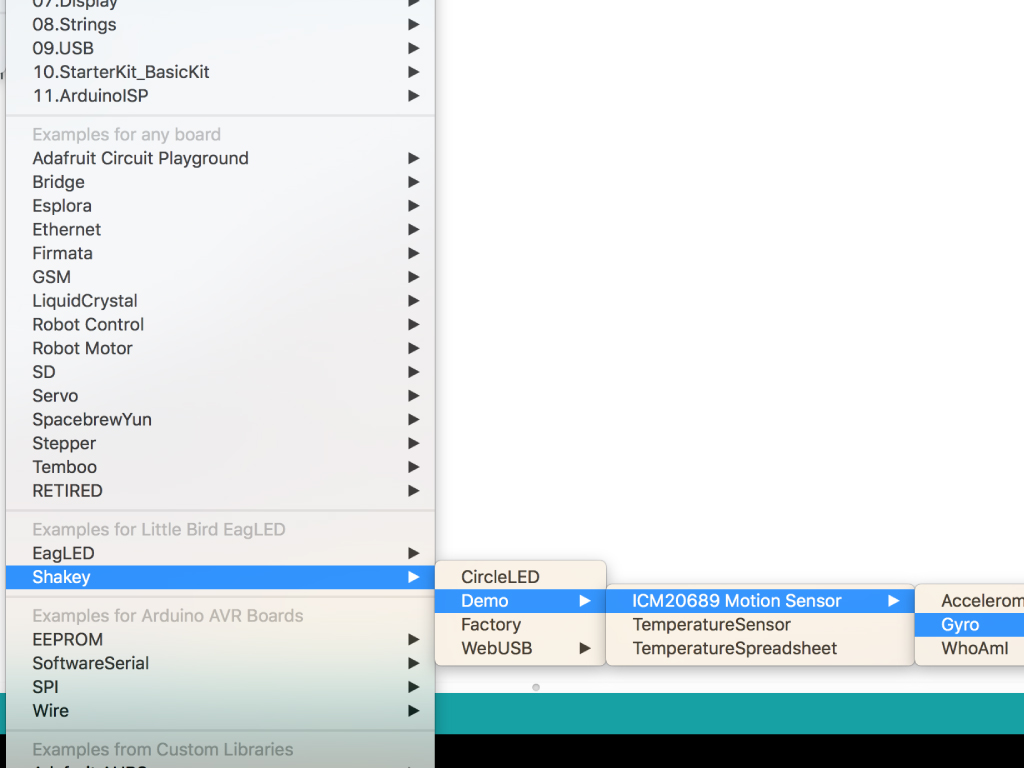
File > Examples > ShaKey > Demo > ICM20689 Motion Sensor > Gyro
File > Examples > ShaKey > Demo > ICM20689 Motion Sensor > Gyro
#include <LittleBird_ICM20689.h>

LittleBird_ICM20689 motion;

void setup() {
  Serial.begin(115200);
  motion.begin();
  motion.init();
  motion.calibrate();
}

void loop() {
  Serial.print(motion.getGyroX());
  delay(10);
}
Let's remove some code to focus on the rate of change in angular velocity along the X axis. Upload this code to your ShakeUp!

Open up the Serial Plotter by going to Tools > Serial Plotter
Make sure the baud rate is set to 115200. This can be found at the bottom right hand corner of the Serial Plotter window.
Move the ShakeUp along its x-axis and watch the graph.
#include <LittleBird_ICM20689.h>

LittleBird_ICM20689 motion;

void setup() {
  Serial.begin(115200);
  motion.begin();
  motion.init();
  motion.calibrate();
}

void loop() {
  Serial.print(motion.getGyroX());
  Serial.print(" ");
  Serial.print(motion.getGyroY());
  Serial.print(" ");
  Serial.println(motion.getGyroZ());

  delay(10);
}
Next, let's get measurements from all three axises. In order to plot multiple variables simultaneously, a 'space' is printed between the print statements. Upload this code to the ShakeUp.
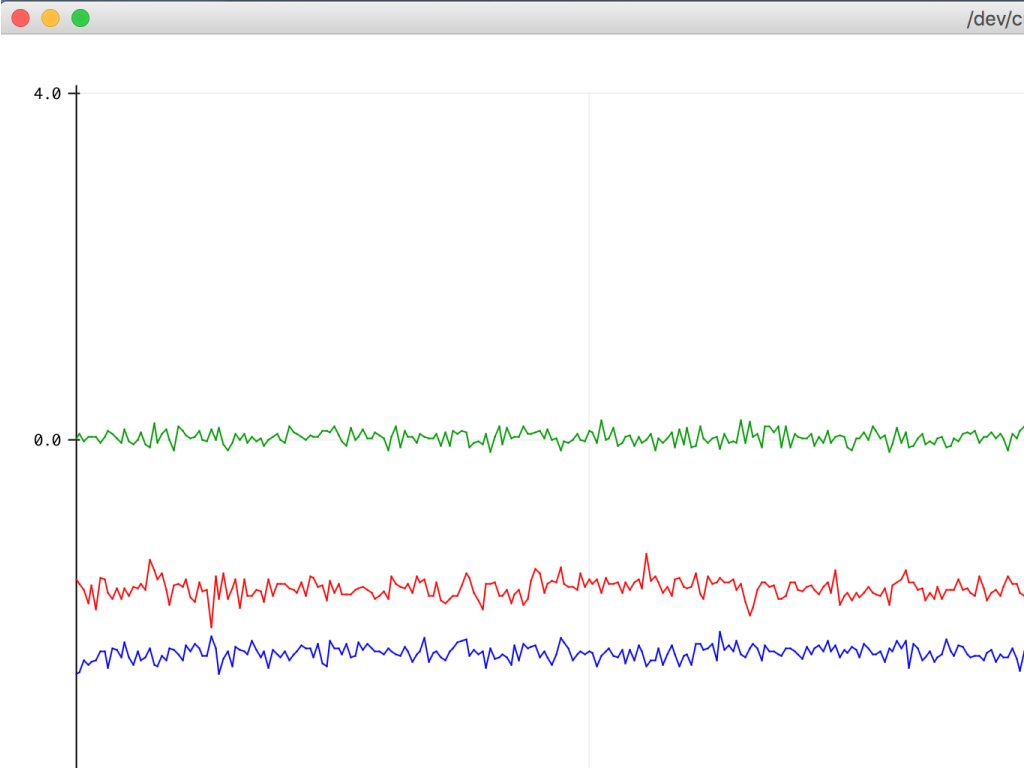
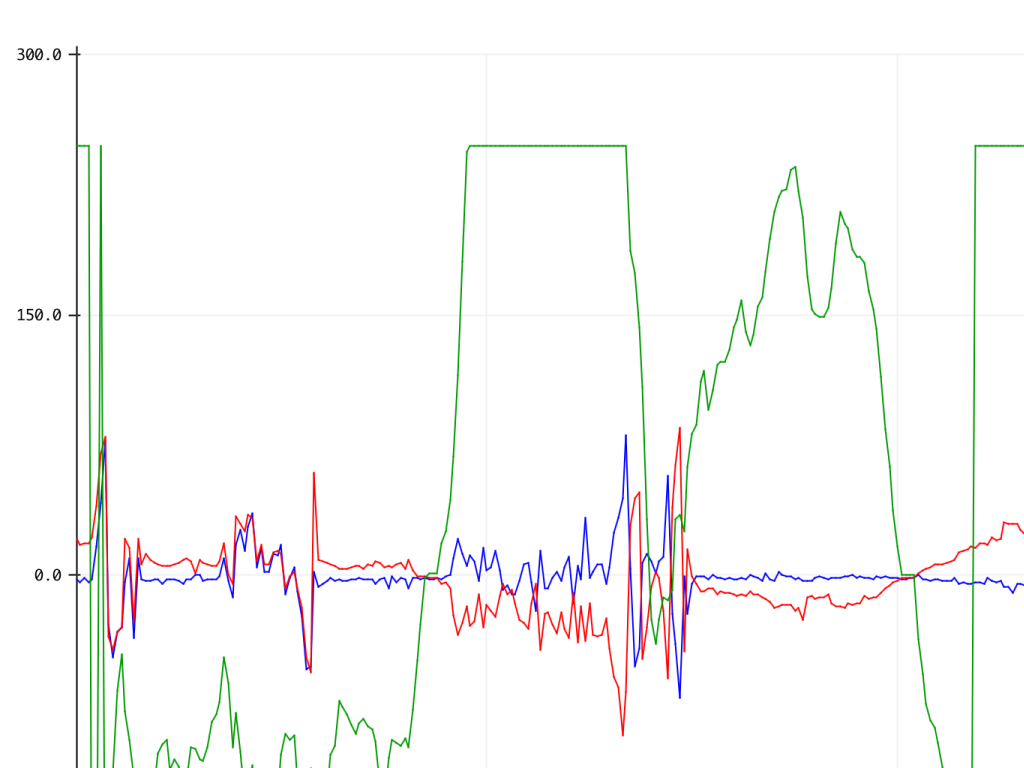

Go to Tools > Serial Plotter again. This time you should see three lines corresponding to the angular velocity measurement along the:
X-axis = Blue
Y-axis = Red
Z-axis = Green
X-axis = Blue
Y-axis = Red
Z-axis = Green
You might notice that the gyroscope measurements may include negative values. It will output positive or negative value measurements depending on whether the applied angular velocity along the sensing axis is counterclockwise or clockwise.

So when do you use a gyroscope? You've probably used a gyroscope when using your mobile phone, tablet, a drone, a motion-based game controller or a wearable sensor for health and fitness. They're also commonly used in high tech stuff such as motion-capture, gesture detection, space navigation, missile control, and flight guidance.
Now that you have a basic understanding of how a gyroscope works, if you haven't already, check out our guide on how to use the built-in accelerometer on the ShakeUp. You could also get started with motion control over in Processing where you'll learn to rotate a 3D cube with the accelerometer.